43
10.0 DIGITAL I/O OPTION
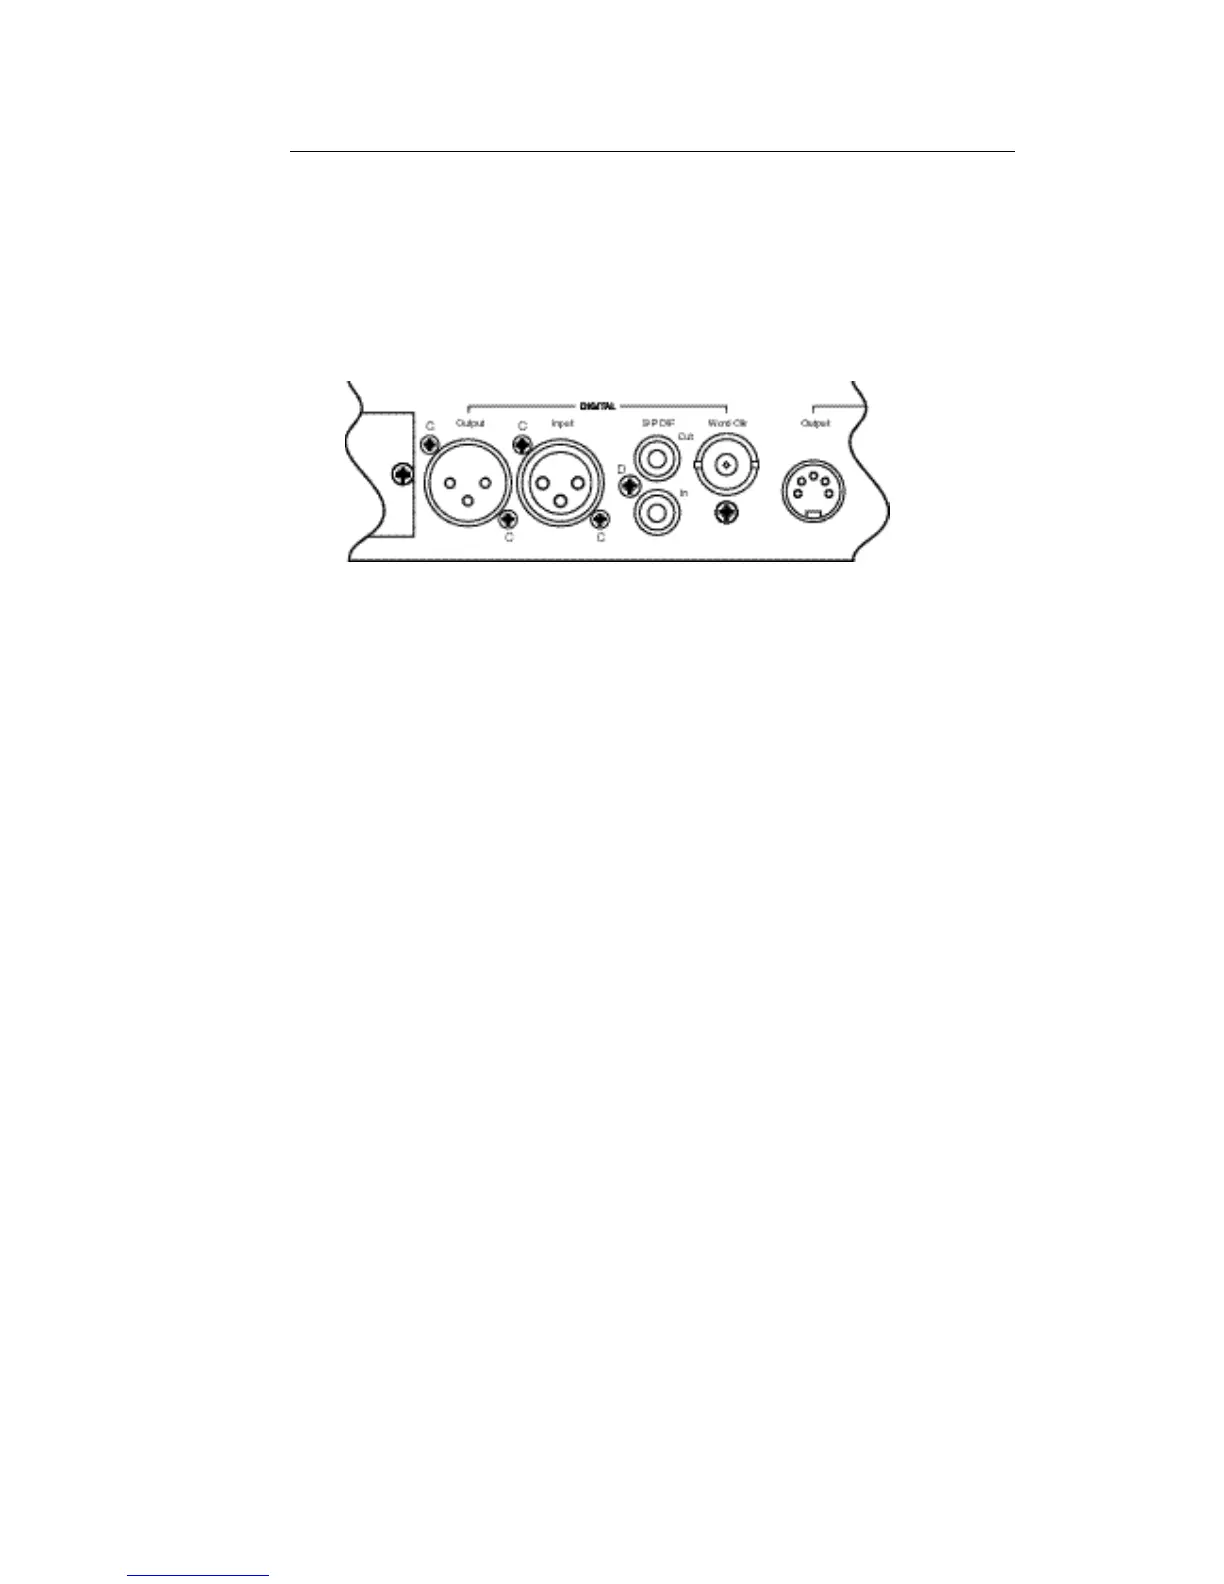
• From the rear of the unit fit four M2.5 x 8 pan head screws to position 'C' (Input
and Output XLRs) and the No. 4 self tap screw to position 'D' (S/P DIF
connectors).
• Secure the ‘WORD CLOCK’ BNC connector with the nut supplied.
• Replace the cover, plug in the mains cable and switch the unit on
• Press UTILITY and check that 'DIGITAL INPUT' and 'DIGITAL OUTPUT SR' menus
are displayed.
• Check that all the other front panel controls are still working OK.