FLAPS_V6_HBR_datasheet_manual_EN.odt
4.3 Actuator installation
Observe the following points when installing the actuator:
• use the full mechanical travel range of the actuator piston rod to fully retract or
extract the flaps, adjust the design of the flaps control elements so that the
actuator (piston rod) is retracted as much as possible with the zero flaps
(position 0), with full flaps (position 3, or position 2 for HBR 3P) pulled out as far as
possible
• verify the self-locking of the actuator in individual positions 0,1,2,(3) (all positions -
according to the used control unit) with respect to the maximum design loading
pressure on the flaps in flight; if the pressure exceeds the self-locking, use a higher
self-locking actuator
ATTENTION! Failure to observe the above points may result in damage to the
airplane / flaps in extreme situations
ATTENTION! If the actuator is not equipped with internal limit switches, it is
NECESSARY to install these switches externally. More about this in the relevant section
of chapter Electrical connections.
ATTENTION! If external limit switches are used in installation, it is necessary to ensure
that they are reliably activated before the actuator piston rod hits one of its ends. Choose
the location of the limit switches with sufficient margin.
ATTENTION! If external limit switches are used in installation, make sure that they are
activated at the ends of the track, even if they are loosened slightly, by self-loosening of
the screws, or other defects on switches or aircraft components.
16/33
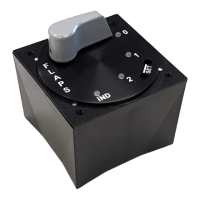
(POSITION 2 for HBR 3P)