HVM200 Reference Manual Setting Up the Measurement 3-2
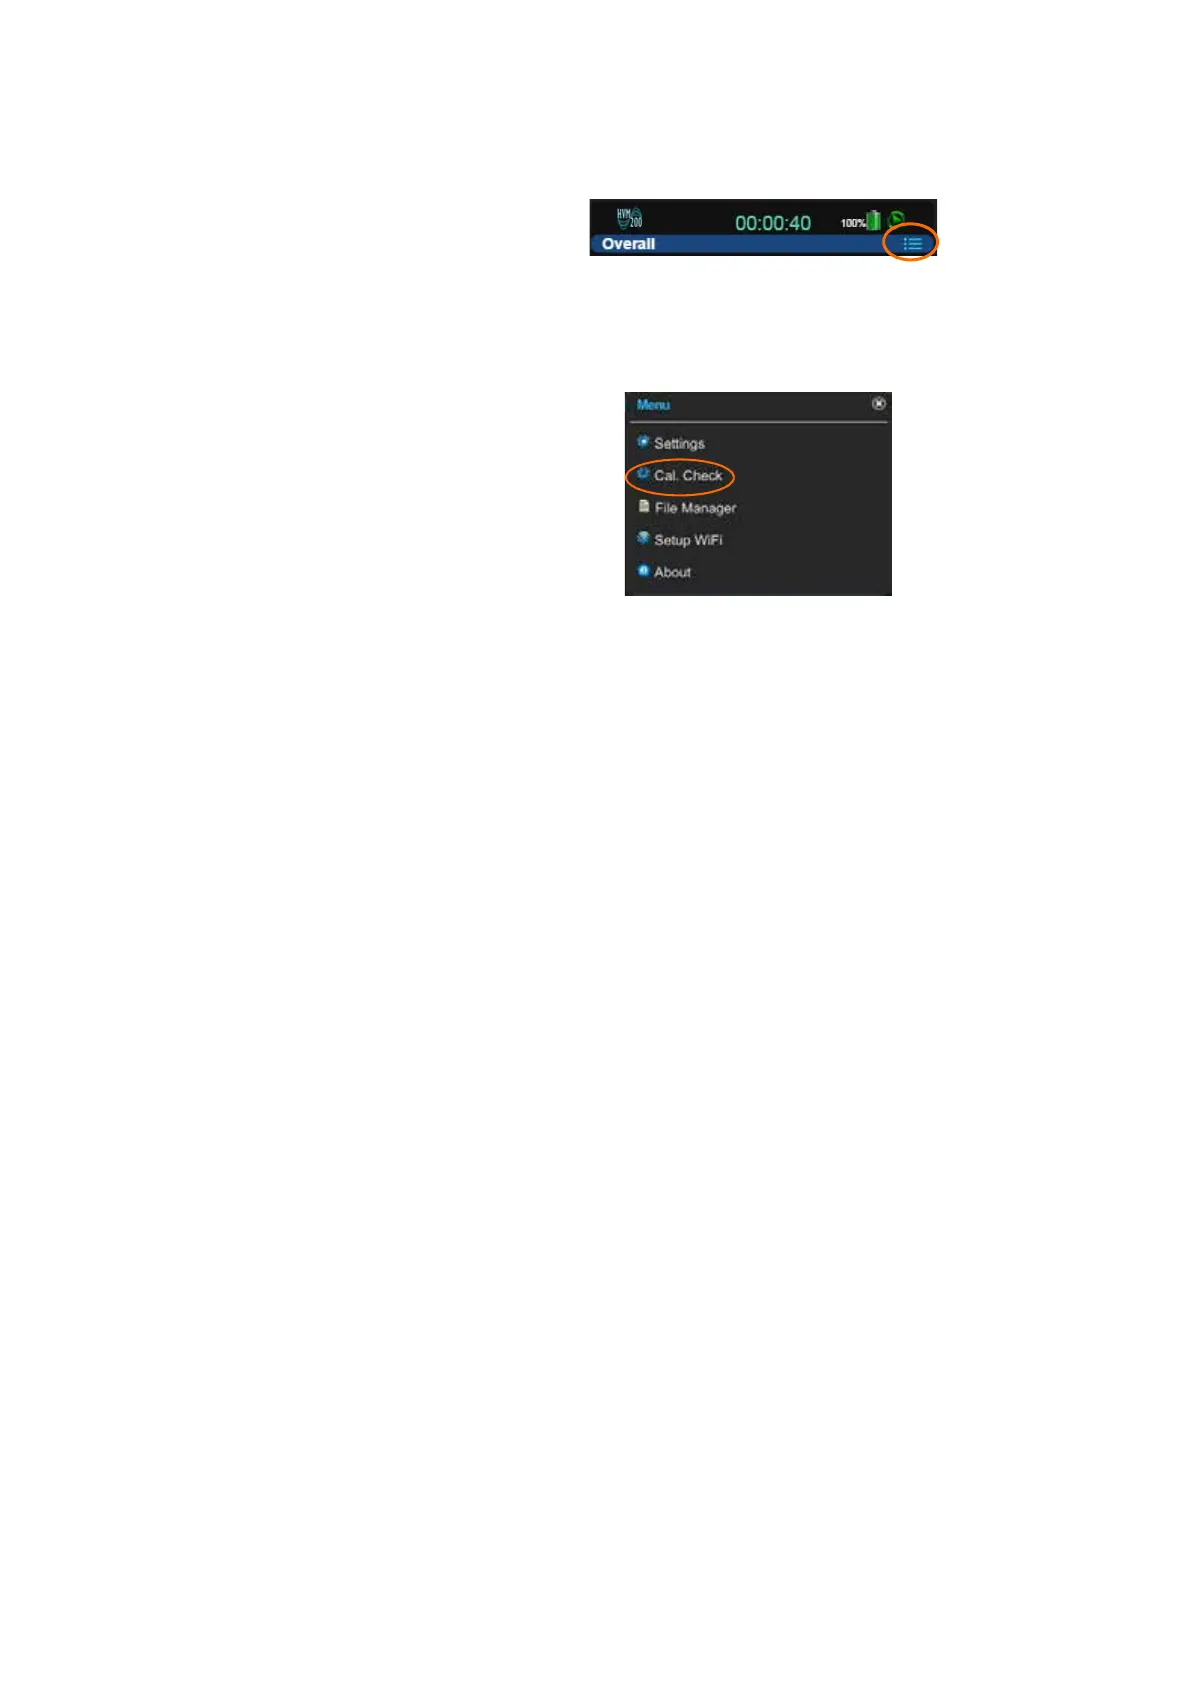
Step 3 Click the Menu icon.
FIGURE 3-1 Menu Icon
TAKE NOTE A calibration can only
be made if the meter is stopped and
currently on Live. Performing a cali-
bration will automatically put the
meter in this state.
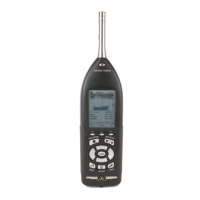
Step 4 Click Cal. Check on Menu.
FIGURE 3-2 Cal. Check Option
Step 5 Enter the Reference value for the shaker you will use to per-
form the calibration check and click Set. This value is usu-
ally provided in the shaker reference documentation.
Step 6 Attach the transducer on your shaker so that the axis you
wish to check is oriented properly.
Step 7 Start the shaker and note the a
rms
values for each axis, as
follows:
TAKE NOTE The filter is automati-
cally set to the Fb weighting during
calibration check measurements and
restored when finished.
• Values are gray when level has not been checked.
• Values are white when level is being checked.
• Values are red if the axis measurement is complete and the
level varies from the reference value by more than ± 5%.
• Values are green if the axis measurement is complete and
the level is within ± 5% of the reference value.
Step 8 Repeat the process for each axis on the accelerometer.