About X-431 Station
Diagnostics
Toolbox & Apps
FAQ
Initial Use
30
www.x431.com +86 755 8455 7891
LAUNCH
Station
User's Guide
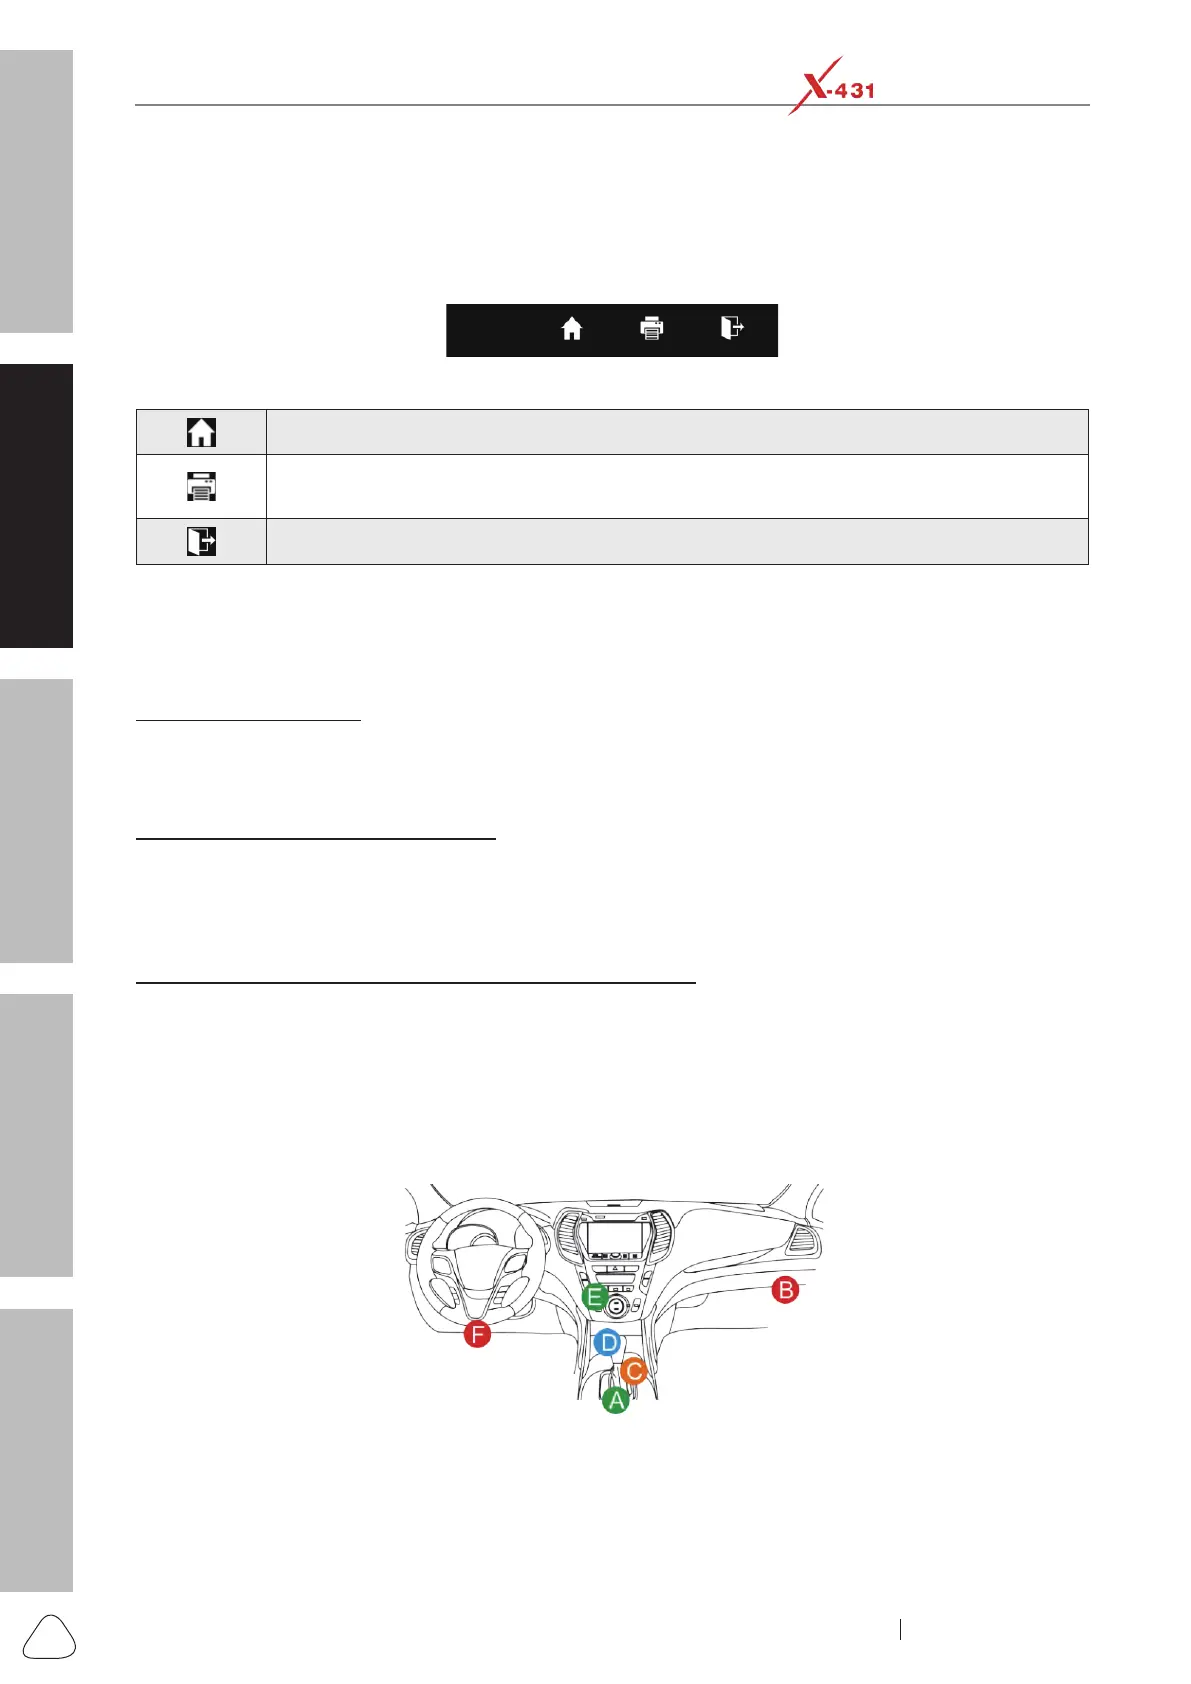
2.5 Diagnostics Toolbar
The diagnostics toolbar contains several buttons that allow you to print the displayed data or make other
controls. It is displayed on the upper right corner of the screen and goes through the whole diagnostic
session. The table below provides a brief description for the operations of the diagnostics toolbar buttons:
Diagnostic toolbar
Navigates to the home screen.
Prints the current screen.
To perform printing, you need to purchase an extra Wi-Fi printer separately.
Exits the current diagnostic session.
2.6 Preparation & Connections
2.6.1 Preparation
Normal testing conditions
• Turn on the vehicle ignition key.
• Vehicle battery voltage range should be 9-18V or 11-36V.
• Throttle should be closed at its close position.
Select testing connectors/adaptor cables
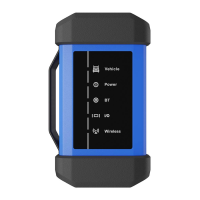
If a vehicle equipped with universal OBD II 16pin diagnostic socket is equipped, please use the included
VCI device (For vehicles with non-OBD II 16pin diagnostic socket, a non-16 PIN dongle is required).
2.6.2 Vehicle Connection
A. For Passenger Vehicles (For Passenger Vehicle Version)
1. Locate the vehicle’s DLC: The DLC (Data Link Connector or Diagnostic Link Connector) is the
standardized 16-cavity connector where diagnostic code readers interface with the vehicle’s on-board
computer. The DLC is usually located 12 inches from the center of the instrument panel (dash), under or
around the driver’s side for most vehicles. If Data Link Connector is not located under dashboard, a label
should be there telling location. For some Asian and European vehicles, the DLC is located behind the
ashtray and the ashtray must be removed to access the connector. If the DLC cannot be found, refer to
the vehicle’s service manual for the location.
Potential DLC Location