7.RemovethepowercordconnectorfromtherearI/Oassembly.
Figure23.RemovingthepowercordconnectorfromtherearI/Oassembly
8.ToreinstalltherearI/Oassembly,installthetwoscrewstosecurethepowercordconnector.Position
thenewrearI/Oassemblyintoplace,andthenalignthescrewholeswiththecorrespondingholesinthe
computermainbracket,andtheninstalltheotherthreescrewstosecuretherearI/Oassembly.
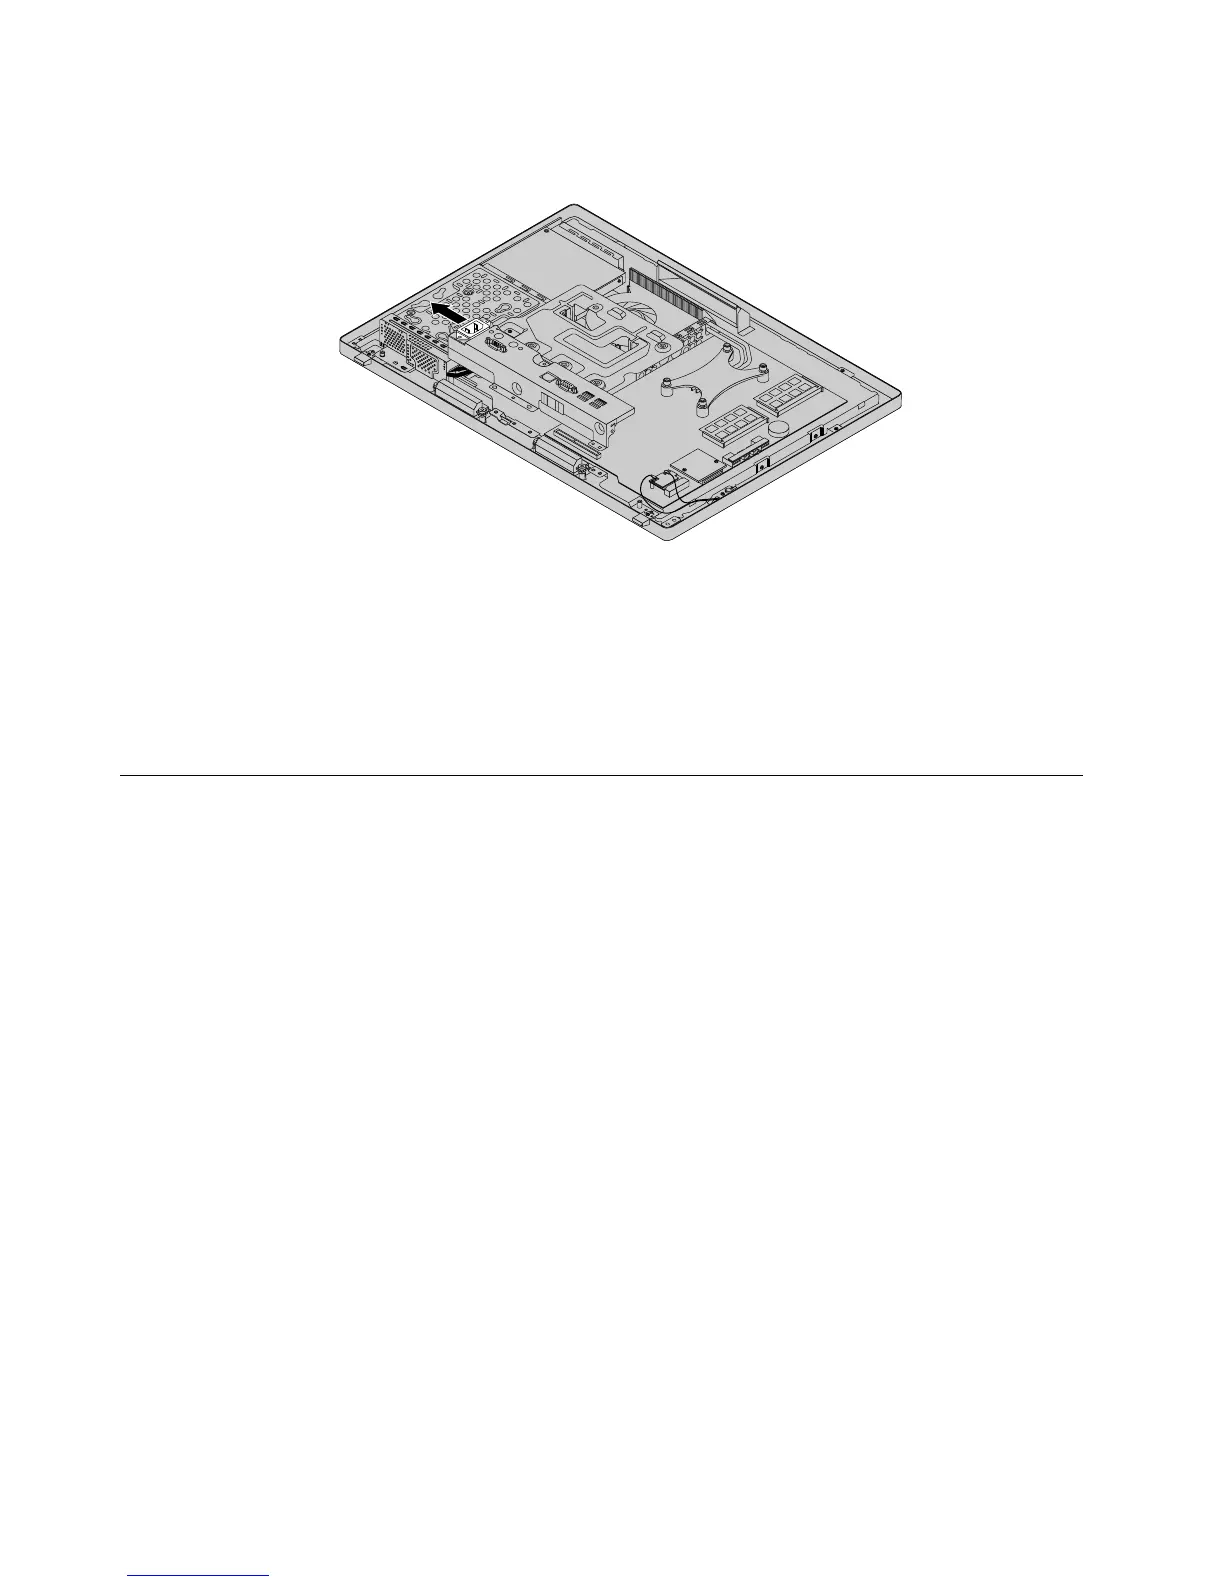
9.Reinstallthesystemboardshield.See“Removingandreinstallingthesystemboardshield”onpage83.
10.Goto“Completingthepartsreplacement”onpage108.
RemovingtheVESAmountbracket
Attention:Donotopenyourcomputerorattemptanyrepairbeforereadingandunderstandingthe
“Importantsafetyinformation”onpage1
ThissectionprovidesinstructionsonhowtoremovetheVESAmountbracket.
ToremovetheVESAmountbracket,dothefollowing:
1.Removeallmediafromthedrivesandturnoffallattacheddevicesandthecomputer.Then,disconnect
allpowercordsfromelectricaloutletsanddisconnectallcablesthatareconnectedtothecomputer.
2.Placeasoft,cleantowelorclothonthedeskorotheratsurface.Holdthesidesofyourcomputerand
gentlylayitdownsothatthescreenisagainstthesurfaceandthecoverisfacingup.
3.Removethecomputercover.See“Removingthecomputercover”onpage75.
4.LocatetheVESAmountbracket.See“LocatingmajorFRUsandCRUs”onpage66.
5.Removethesystemboardshield.See“Removingandreinstallingthesystemboardshield”onpage83.
6.RemovetherearI/Oassembly.See“ReplacingtherearI/Oassembly”onpage84.
86ThinkCentreE73zHardwareMaintenanceManual