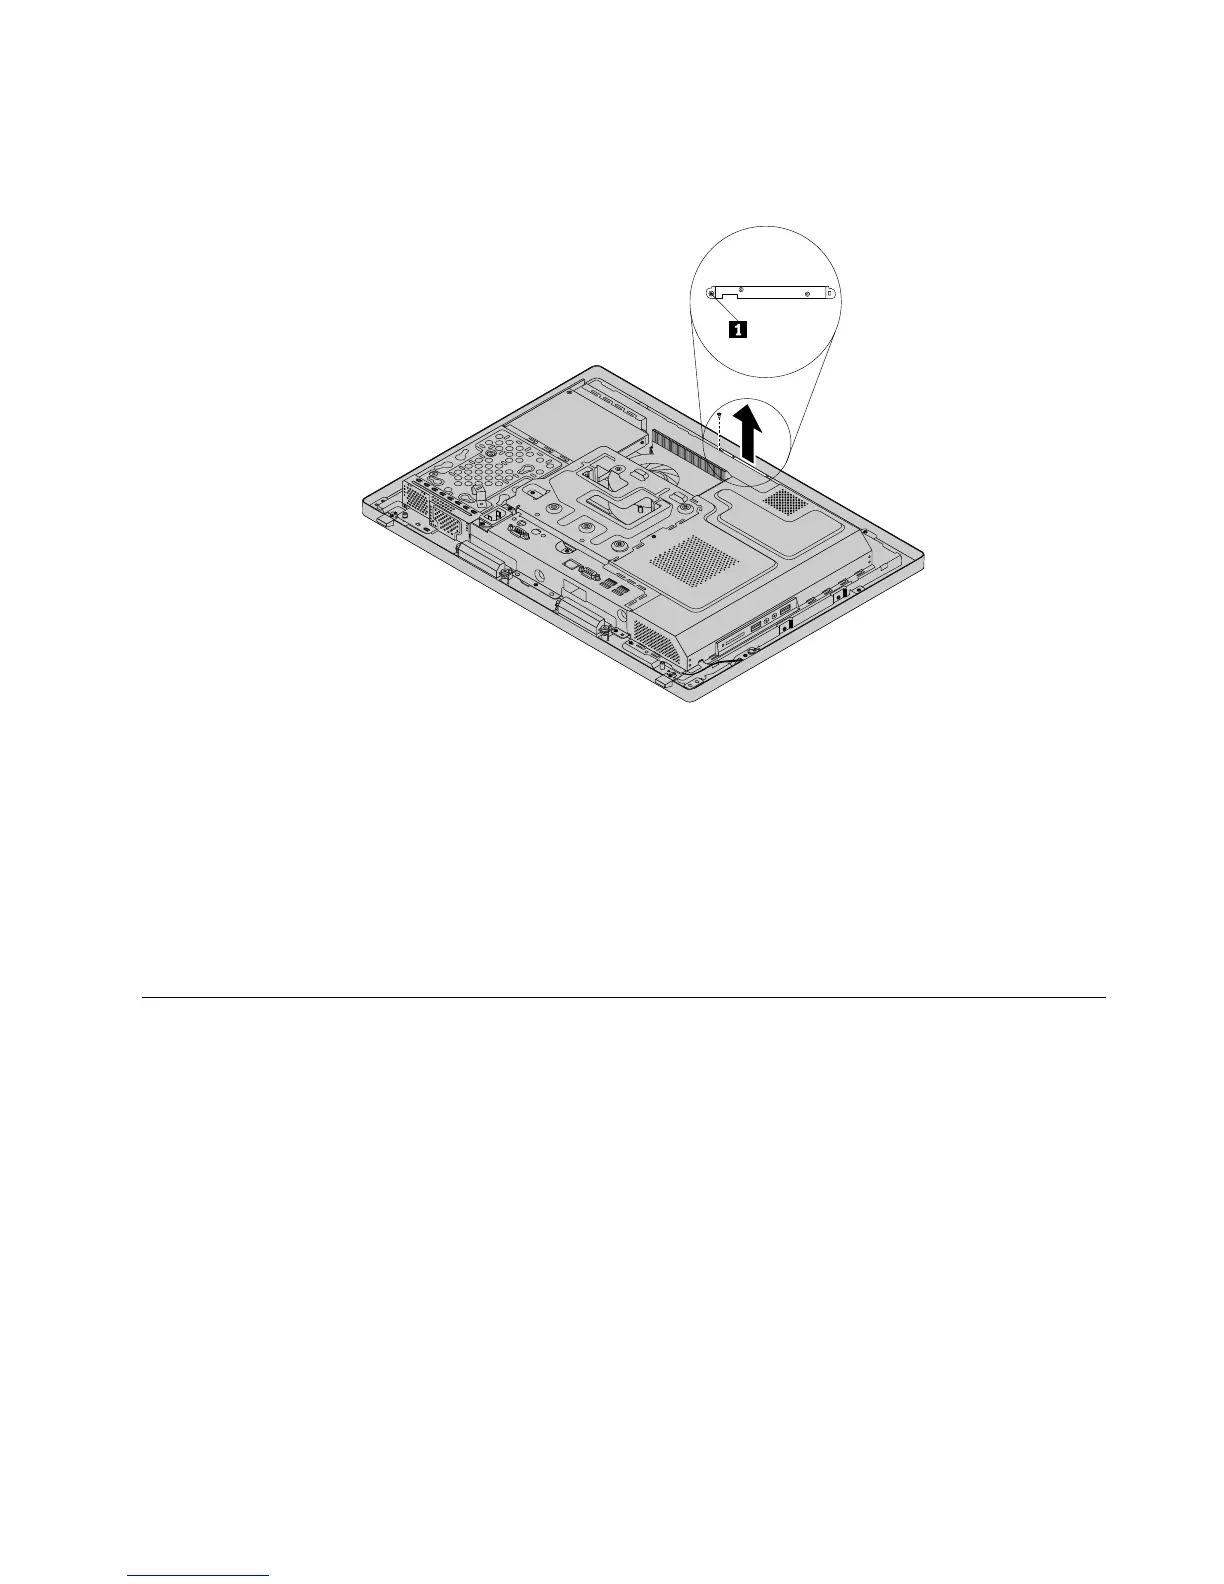
7.Removethescrewthatsecurestheintegratedcameratothefrontbezeltoremovetheintegrated
camerafromthecomputer.
Figure39.Removingtheintegratedcamera
8.Toreinstalltheintegratedcamera,positionthenewintegratedcameraandalignthescrewholesinthe
newintegratedcamerawiththoseinthefrontbezel.
9.Installthescrewtosecurethenewintegratedcameratothefrontbezel.
10.Routethenewintegratedcameracable,andthenconnecttheintegratedcameracabletothesystem
board.See“Locatingpartsonthesystemboard”onpage69.
11.Reinstallthesystemboardshield.See“Removingandreinstallingthesystemboardshield”onpage83.
12.Goto“Completingthepartsreplacement”onpage108.
Replacingthesystemboard
Attention:Donotopenyourcomputerorattemptanyrepairbeforereadingandunderstandingthe
“Importantsafetyinformation”onpage1
Thissectionprovidesinstructionsonhowtoreplacethesystemboard.
Toreplacethesystemboard,dothefollowing:
1.Removeallmediafromthedrivesandturnoffallattacheddevicesandthecomputer.Then,disconnect
allpowercordsfromelectricaloutletsanddisconnectallcablesthatareconnectedtothecomputer.
2.Placeasoft,cleantowelorclothonthedeskorotheratsurface.Holdthesidesofyourcomputerand
gentlylayitdownsothatthescreenisagainstthesurfaceandthecoverisfacingup.
3.Removethecomputercover.See“Removingthecomputercover”onpage75.
4.Removethesystemboardshield.See“Removingandreinstallingthesystemboardshield”onpage83.
5.Locatethesystemboardinthecomputer.See“LocatingmajorFRUsandCRUs”onpage66.
6.Removetheheatsinkassembly.See“Replacingtheheatsinkassembly”onpage90.
7.Removethemicroprocessor.See“Replacingthemicroprocessor”onpage91.
Chapter9.ReplacingFRUs101