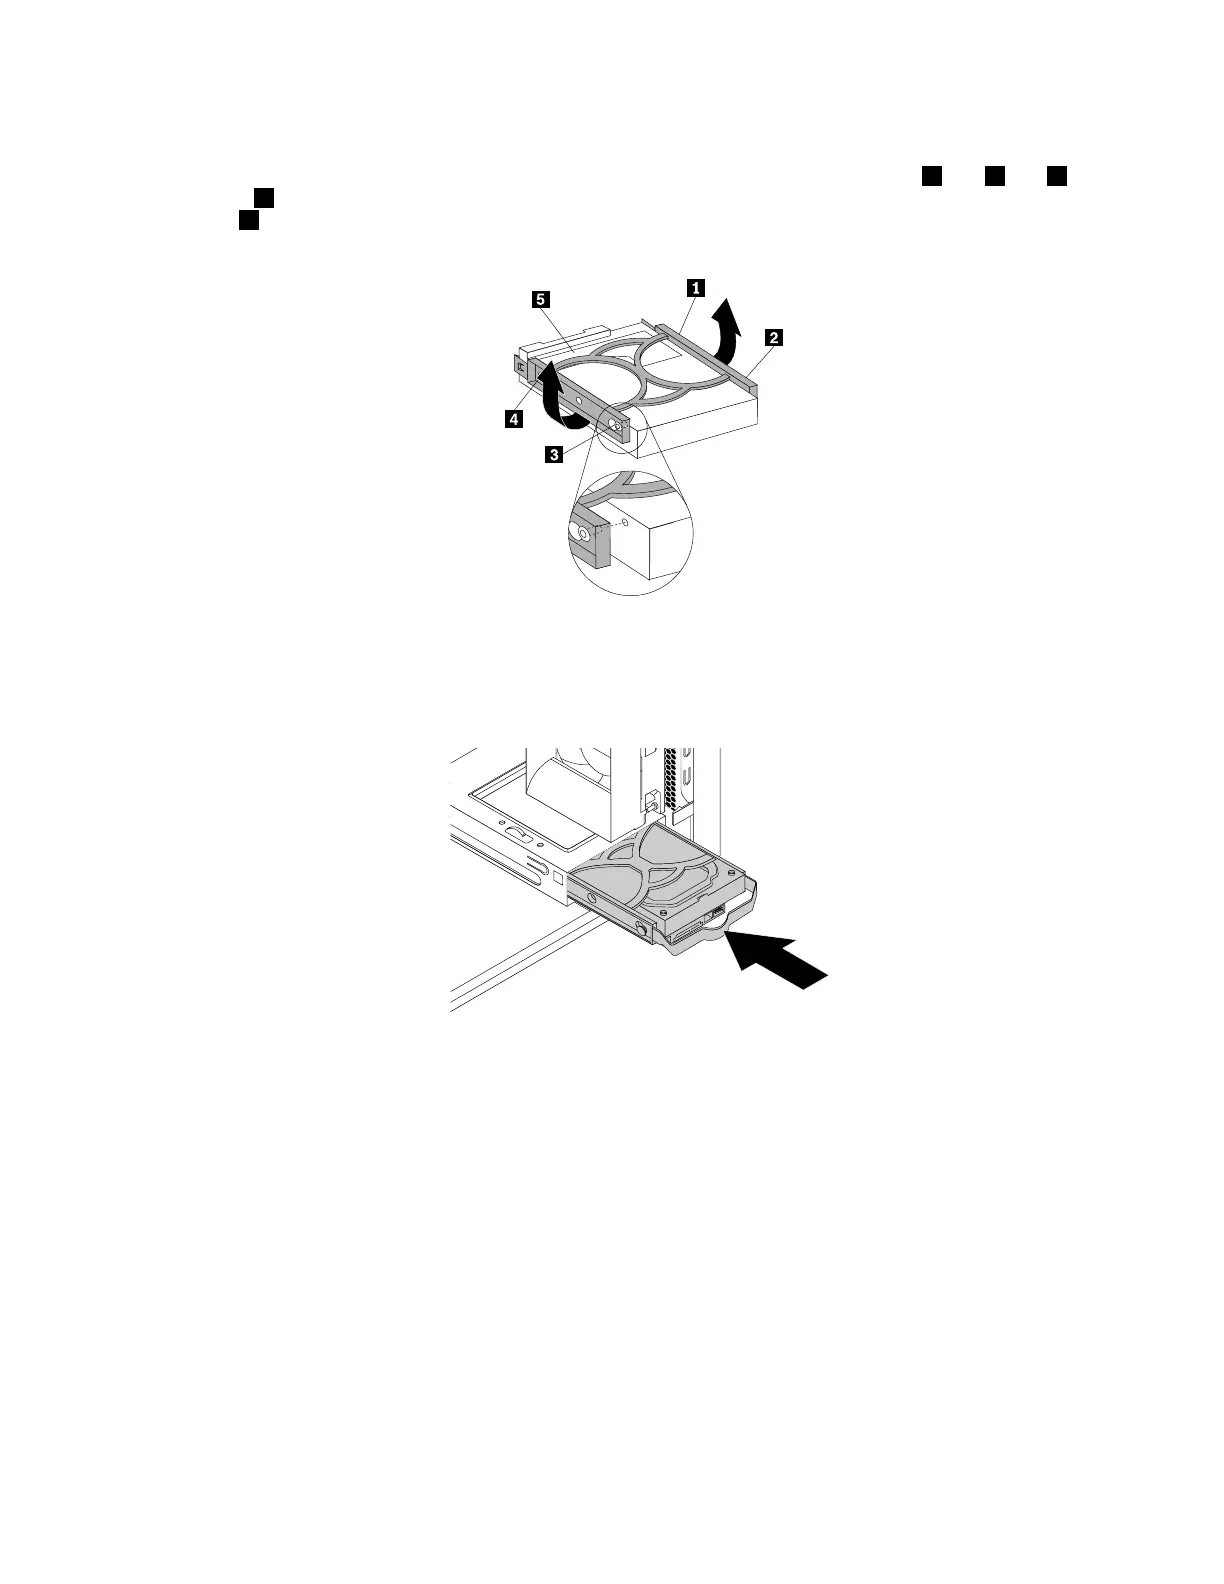
6.Flexthesidesofthebluebrackettoremovetheharddiskdrivefromthebracket.
7.Toinstallanewharddiskdriveintothebluebracket,flexthebracketandalignpin1,pin2,pin3,
andpin4onthebracketwiththecorrespondingholesintheharddiskdrive.Donottouchthecircuit
board5onthebottomoftheharddiskdrive.
Figure70.Installingtheharddiskdriveintothebracket
8.Slidethenewharddiskdriveintothedrivecageuntilitsnapsintoposition.
Figure71.Installingthesecondaryharddiskdrive
9.Connectthesignalcableandthepowercabletothenewharddiskdrive.
Whattodonext:
•Toworkwithanotherpieceofhardware,gototheappropriatesection.
•Tocompletetheinstallationorreplacement,goto“Completingthepartsreplacement”onpage105.
Installingthetertiaryharddiskdrive
Attention:Donotopenyourcomputerorattemptanyrepairbeforereadingandunderstandingthe“Read
thisfirst:Importantsafetyinformation”onpagev.
Note:Youcaninstallatertiary3.5-inchharddiskdriveora2.5-inchsolid-statedriveintothesecondary
optical-drivebayinyourcomputer.
Chapter7.Installingorreplacinghardware93