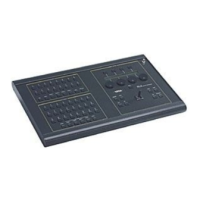
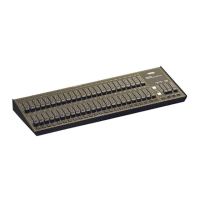
User Guide
Leviton MLC 16D Motorized Lighting Controller Page 17 of 62
62
7
Turn Modify wheel 4 to select <Save> or <Cancel>.
8
Press F4, above <Save> or <Cancel>.
The action is saved or cancelled.
9
Press Blackout or Edit to exit the Mouse Resolution menu.
Entering Channel Test Mode
Channel Test mode allows you to control output channels directly. This is useful
when the traits of a fixture are not known or if index values need to be
determined.
To change the mouse resolution:
1
Press Edit.
2
Press F4, above Setup.
3
Press F2, above Fixture.
4
Press F4, above Test.
5
Press F1 through F4, until you find the DMX output channel of the fixture
you want to test.
Note:
Use F2 and F3 to decrease and increase the output channel
numbers by 1. Use F1 and F4 to decrease and increase the output
channel numbers by 10.
6
Turn Modify wheels 1 through 4 to vary the level of the output channels
above them.
7
Press Blackout or Edit to exit the Test mode menu.
Clearing and Initializing Memory
You can clear all or parts of the console's flash memory.
Clearing Scenes, Patterns, and Shows
To clear scenes, patterns, and shows:
1
Press Edit.
2
Press F4, above Setup.
3
Press F3, above Console.
4
Press More six times.
5
Press the Function button above the desired option.
-
Choose Clear All to clear all scenes, patterns, and shows.
-
Choose Clear Scene to clear all scene memory.
-
Choose Clear Pattern to clear all pattern memory.
-
Choose Clear Show to clear all show memory.
A confirmation menu appears for each of the options.
6
Press F3, above Yes, to clear or initialize the memory,
or press F4, above No, to return to the Memory menu.
7
Press Blackout or Edit to exit the Memory menu.