4-10 Service Manual
2580+, 2581+, 2590+, 2591+
Power supply removal
1. Remove the rear cover. See “Covers, rear removal” on page 4-5.
2. Remove the top cover. See “Covers, top removal” on page 4-5.
3. Remove the INA support frame. See “INA support frame removal” on page 4-8.
4. Remove the print unit. See “Print unit removal” on page 4-21.
5. Remove the power supply cable. See “Power supply cable removal” on page 4-10.
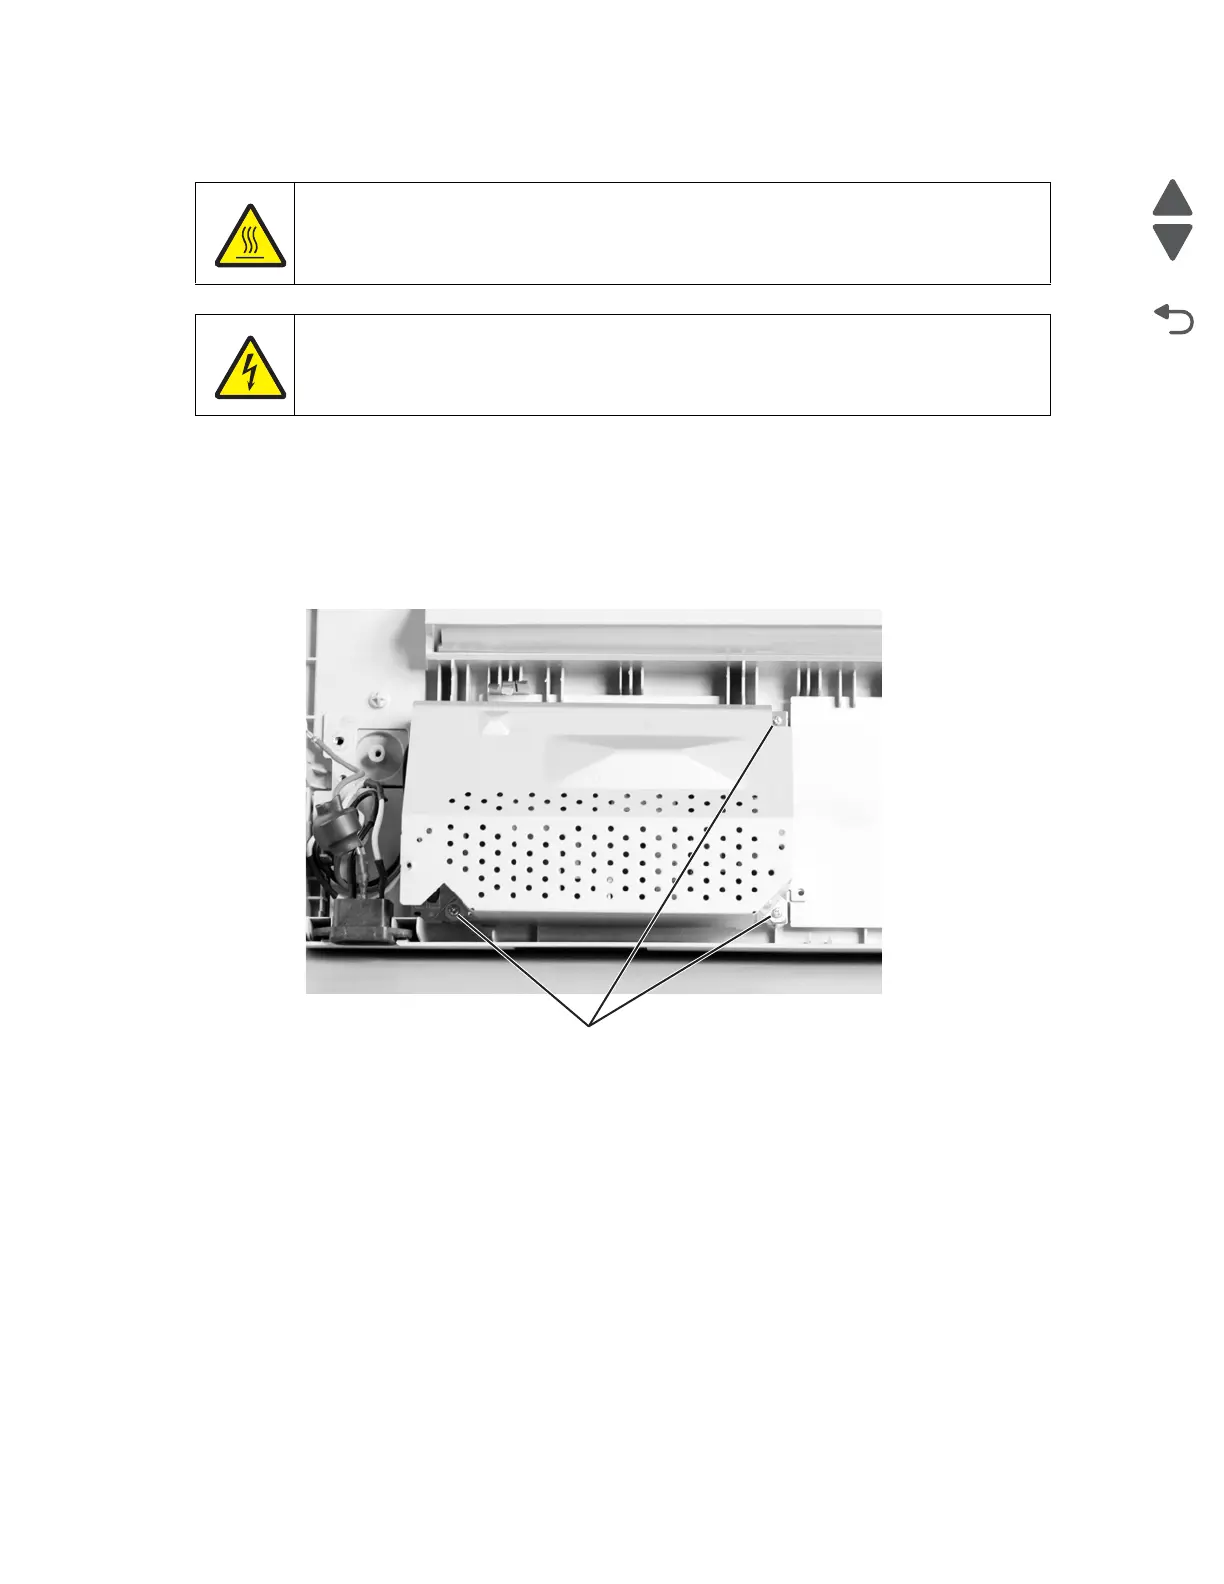
6. Remove the three screws, then remove the power supply.
Power supply cable removal
1. Remove the rear cover. See “Covers, rear removal” on page 4-5.
2. Remove the top cover. See “Covers, top removal” on page 4-5.
3. Disconnect the power supply cable (A) from the logic board.
CAUTION
The power supply may be hot.
CAUTION
The capacitors may still have a residual charge. Be careful not to touch the terminals of the
capacitor.