Repair information 4-21
2580+, 2581+, 2590+, 2591+
Print handling removals
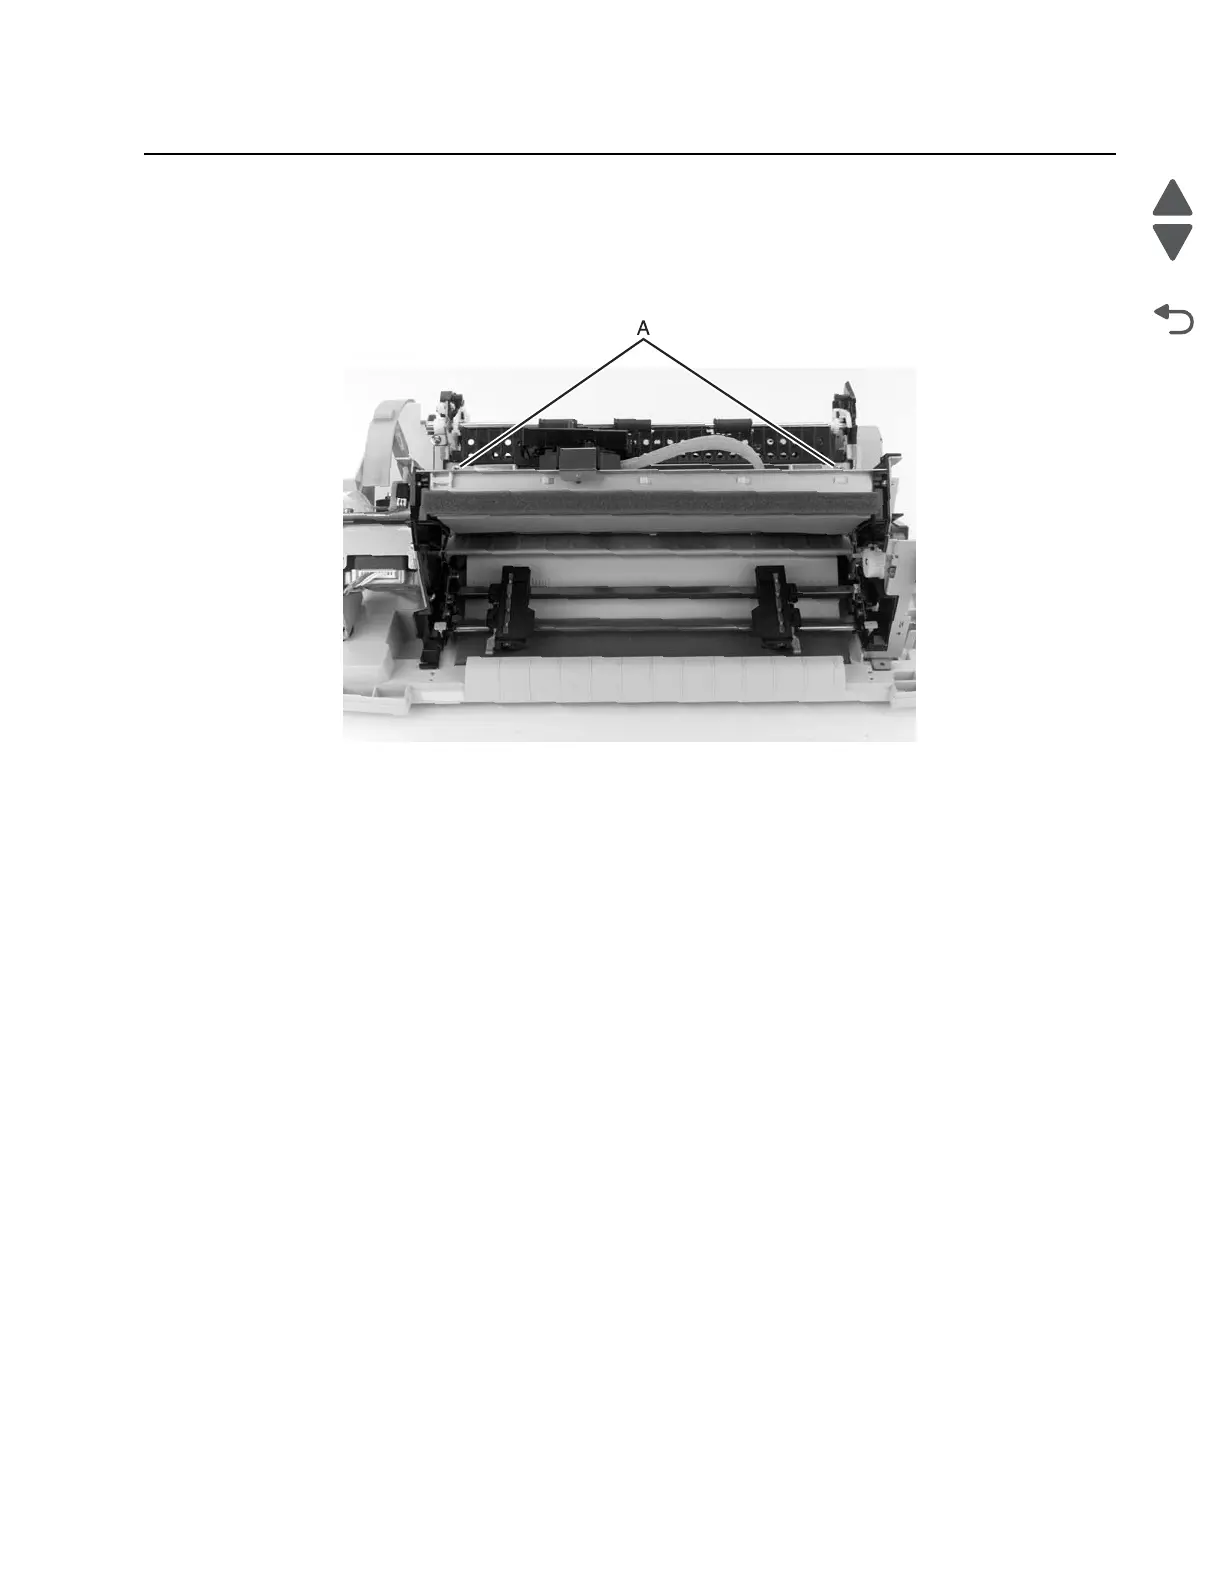
Platen removal
1. Remove the top cover. Go to “Covers, top removal” on page 4-5.
2. Remove the two platen screws (A) from each end of the platen.
3. Remove the platen from the paper tray.
4. Perform the printhead-to-platen gap adjustment. Go to “Printhead-to-platen gap adjustment” on
page 4-2.
Print unit removal
1. Remove the rear cover. See “Covers, rear removal” on page 4-5.
2. Remove the top cover. See “Covers, top removal” on page 4-5.
3. Remove the forms thickness lever. See “Forms thickness lever removal” on page 4-19.
4. Remove the INA support frame. See “INA support frame removal” on page 4-8.