Repair information 4-33
2580+, 2581+, 2590+, 2591+
14. While holding the lower pinch roller shaft by the gear (F), move the shaft to the left approximately one-half
inch. Lift the shaft up and to the back of the printer, and then carefully remove the lower pinch roller and
shaft.
15. Perform the printhead-to-platen gap adjustment. Go to “Printhead-to-platen gap adjustment” on
page 4-2.
Roller, lower feed removal
1. Remove the rear cover. See “Covers, rear removal” on page 4-5.
2. Remove the top cover. Go to “Covers, top removal” on page 4-5.
3. Remove the print unit. Go to “Print unit removal” on page 4-21.
4. Remove the carrier. Go to “Carrier removal” on page 4-12.
5. Remove the two screws securing the black bracket to the inside of the right side frame.
6. Remove the right side sub frame and the right side gears. Go to “Right side gears, sub frame removal”
on page 4-28.
7. Remove the left side gears. Go to “Left side gears removal” on page 4-27.
8. Remove the gears and C-clip from both ends of the lower feed roller.
9. Remove the upper feed roller. Go to “Roller, upper feed removal” on page 4-30.
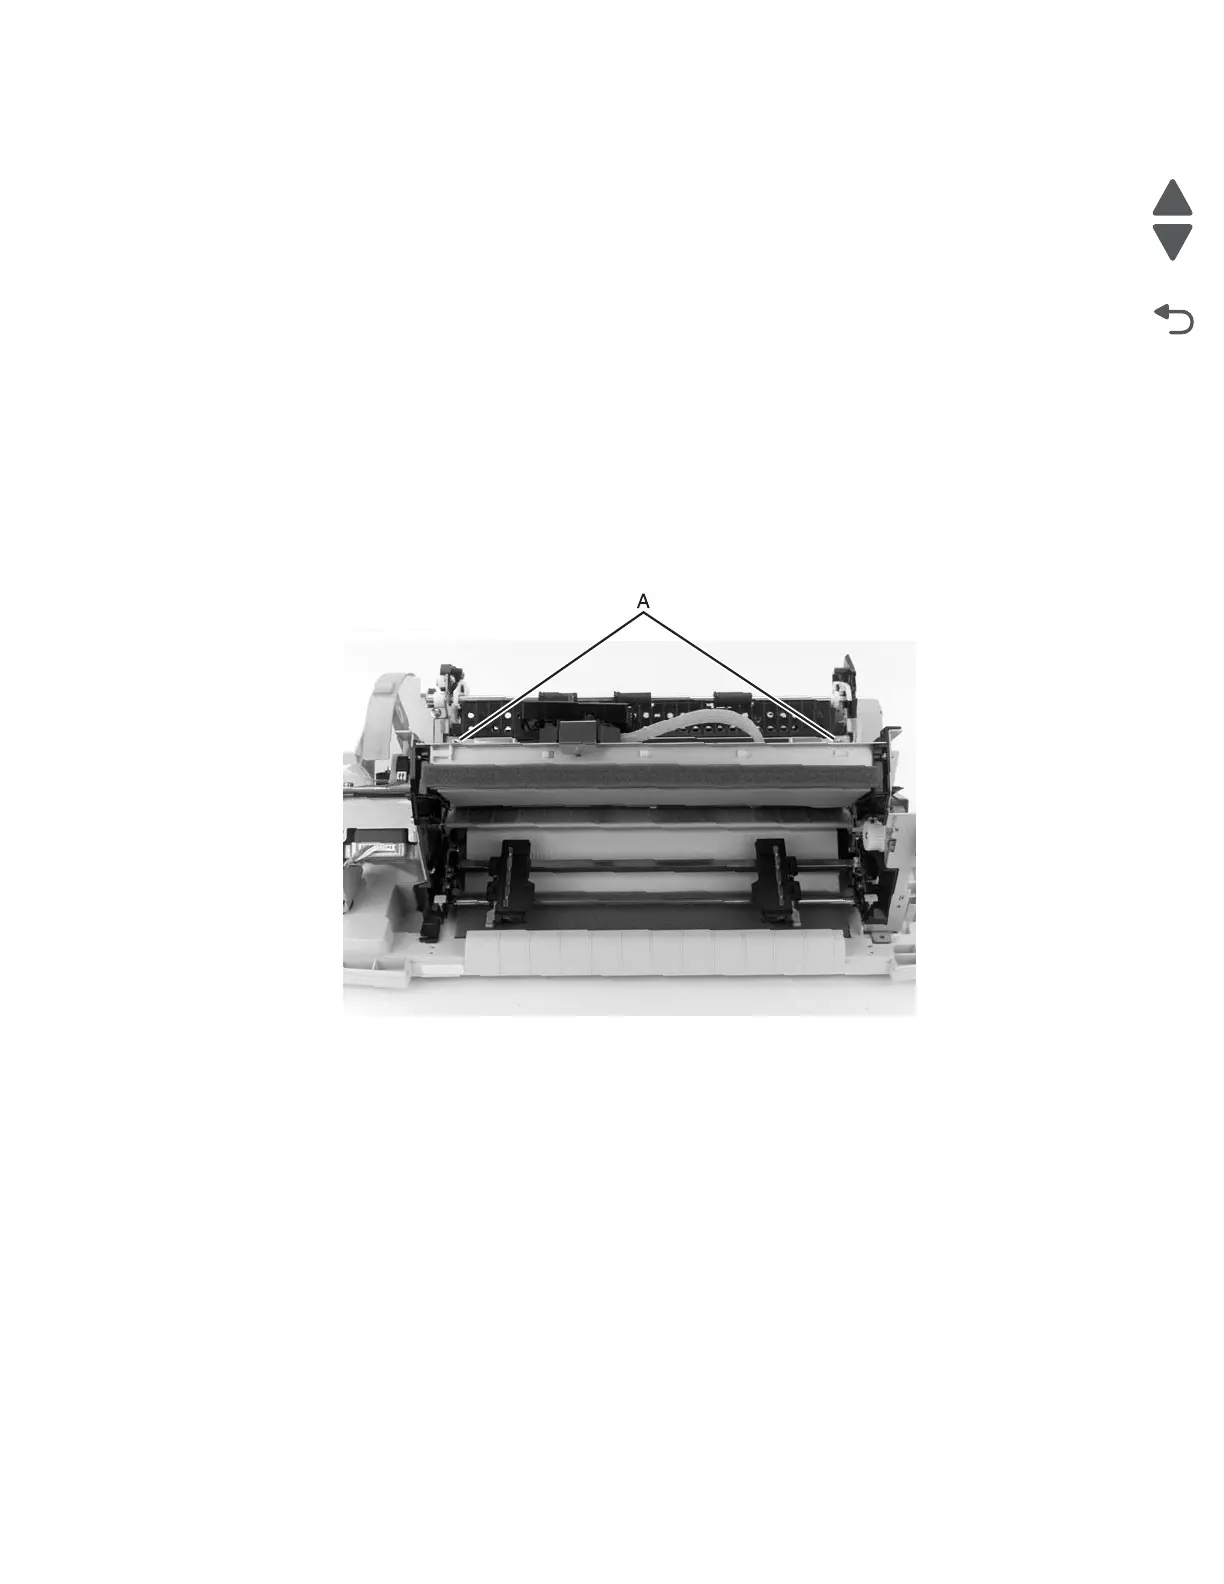
10. Remove the two screws (A) securing the platen to the side frames.
11. Remove the carrier motor bracket. Go to “Carrier motor assembly removal” on page 4-16.
12. Remove the five screws securing the left side frame, and then remove the frame.
13. Remove the four screws from the right side frame, and then remove the bottom frame assembly.
14. Remove the five screws from the frame support plate, and then remove the lower feed roller.
15. Be sure to perform the printhead-to-platen gap adjustment. Go to “Printhead-to-platen gap adjustment”
on page 4-2.