2-2 Service Manual
4506-1xx
Diagnostics—E120 2
Power-On Self Test (POST) sequence
When you turn the printer on, it performs a POST. Check for correct POST functioning of the base printer by
observing the following process:
1. All operator panel lights turn on momentarily.
2. Lights then flash on and off sequentially.
3. After the lights quit flashing, the Ready/Data light flashes until the fuser comes up to temperature (5–20
additional seconds, depending on the initial temperature of the fuser) and then stays on.
4. The motor drive and fan come on.
5. If there is a problem in the printer such as a paper jam, the panel lights indicate the problem. See “” on
page 2-3 for more information.
6. The printer cycles down into standby mode, and the Ready/Data light comes on solid.
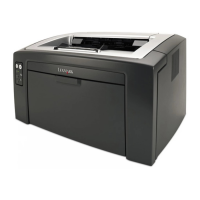
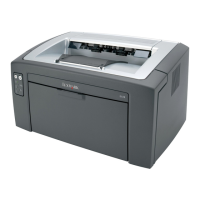
Overview of the operator panel—E120
The printer operator panel has two buttons and two lights. Lights indicate the status of the printer. Buttons are
used to continue or cancel the current print job.
When the printer is turned on, both lights cycle as a self test is performed. Also, when the printer is reset, or
when a printer setting is changed in the menus, both lights cycle.
To learn more about the panel lights or to determine the status of the printer when lights are on, see“Light
patterns and error messages” on page 2-3.
• Press and release Continue to resume printing.
• Press and release Continue twice quickly to display the secondary light sequence.
• Press and release Continue twice quickly to display the tertiary light sequences if present.
• Press and release Continue from the Ready state to print the menu settings page.
• Press and release Cancel to cancel current job.
• Press and hold Cancel until all lights come on to reset.
Ready / Data
Continue
Cancel
Error