2-26 Service Manual
4506-1xx
Operator Panel Service Check
Dead machine service check
CAUTION: Check the AC line voltage. The voltage should be within the following limits:
• 100 V ac (volts alternating current) – 127 V ac for the 110 V printer
• 200 V ac – 240 V ac for the 220 V printer
For information about the LVPS/HVPS, see “LVPS portion of the LVPS/HVPS” on page 2-28.
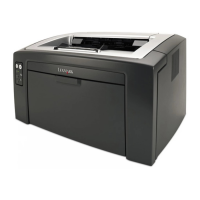
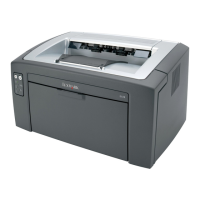
Operator panel
(2 LED and 6 LED)
Warning: Do not
replace the operator
panel and controller
card at the same time.
Each card contains the
printer settings. When
either of these cards is
new, it obtains some of
the settings from the
other card. Settings
are lost when both are
new and replaced at
the same time.
Check the switches (buttons) with the printer off and operator panel cables
disconnected.
• Check continuity between the ground and pin 6 (pins numbered from top) of
J40 (operator panel card) while pressing . Check continuity between
ground and pin 7 while pressing .
• If either fail continuity, replace the operator panel. See “Operator panel
removal (all models)” on page 4-18.
• Connect the operator panel cable and turn the printer on. Verify +5 V dc on
pin 1 of J40. If this fails, verify +5 V dc on pin 1 of J15 on the controller card.
Replace the cable if the voltage is verified on the controller card but not on
the operator panel.
• Disconnect the cable at both ends to perform a continuity check.