4-12 Service Manual
4506-1xx
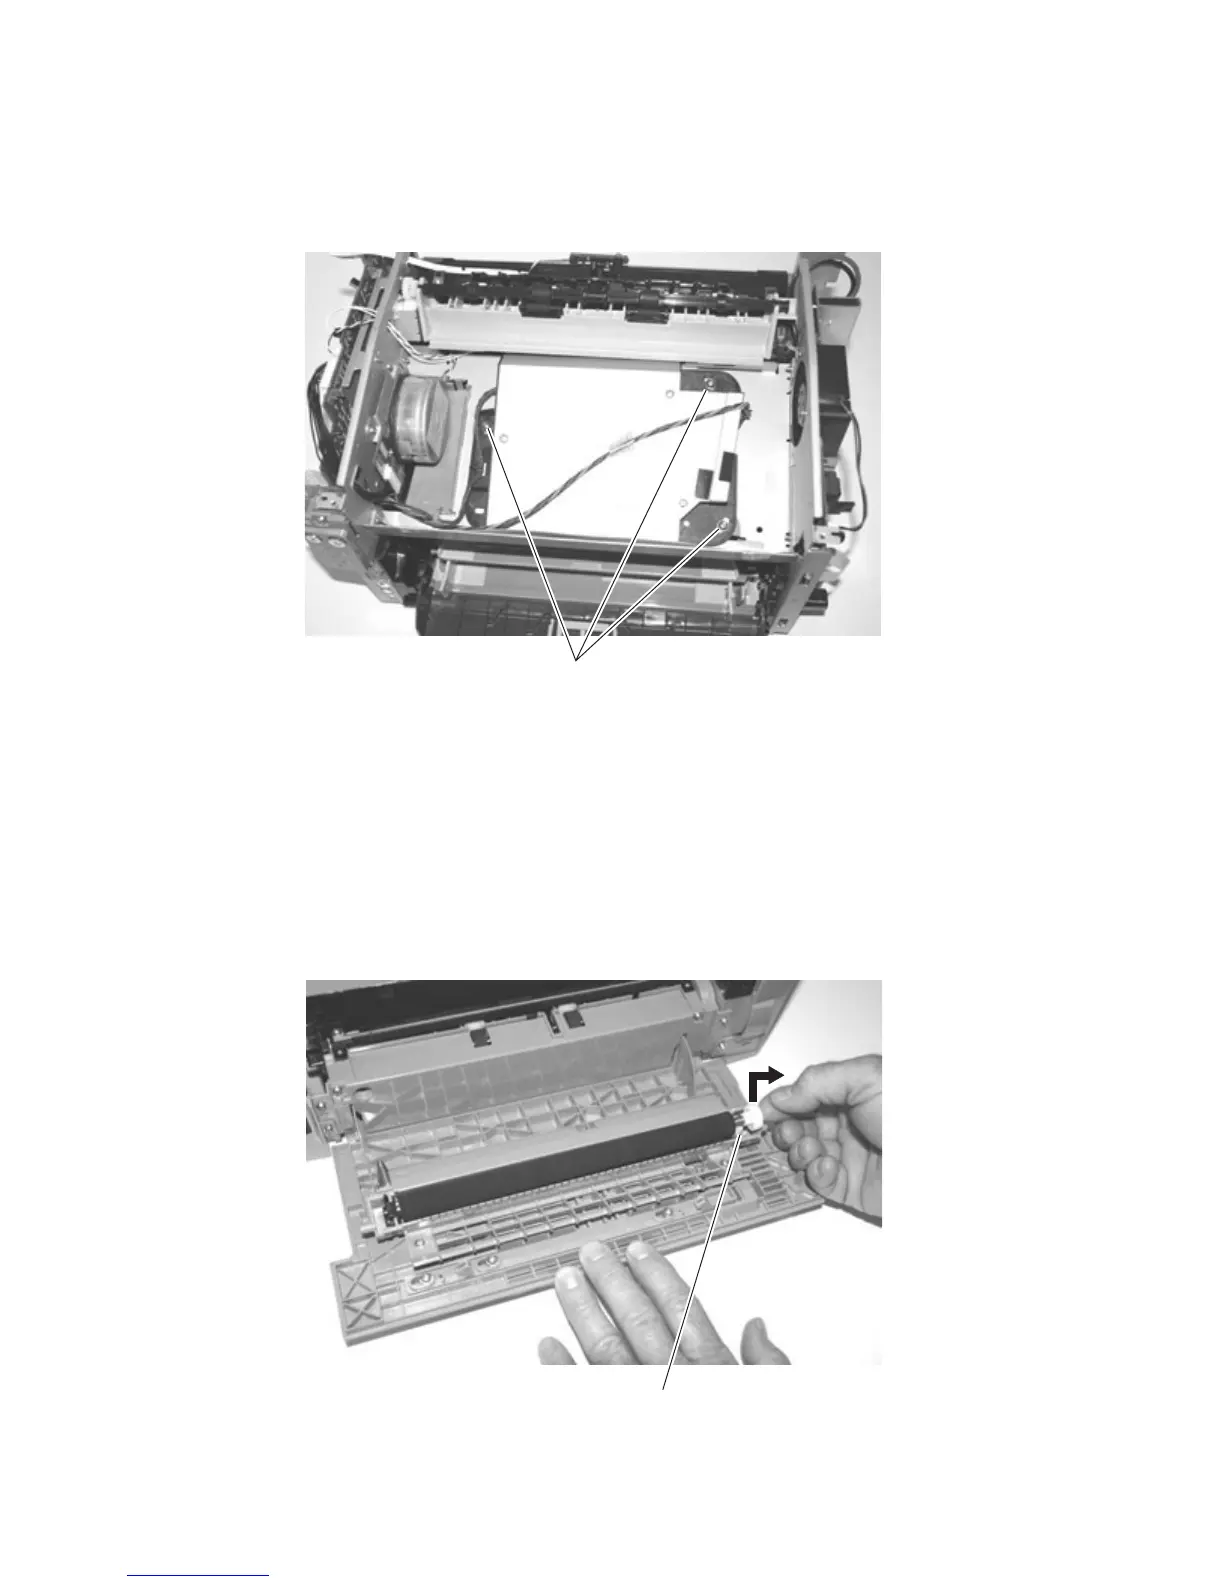
Printhead removal
1. Remove the top cover. See “Top cover assembly removal” on page 4-9.
2. Remove the three screws (A).
3. Disconnect the printhead cables at J12 and J13 on the controller card.
4. Remove the printhead.
Note: After reinstalling the printhead, check the alignment. If necessary, perform the “Printhead assembly
adjustment” on page 4-2 before the final reinstallation of the top cover.
Transfer roll assembly
1. Turn the back of the printer to face you.
2. Open the back door.
3. Lift the right side of the transfer roll until the shaft unsnaps from the bearing (A).
4. Pull the roll to the right and slide the left end of the shaft from the bearing.
A
A