Diagnostic information 2-1
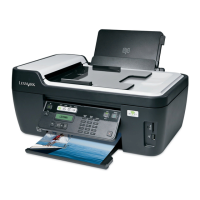
Lexmark S400 Series
2. Diagnostic information
Power-On Self Test (POST) sequence
Plug the All-In-One into an electrical outlet, and press the Power button.
The All-In-One does a Power-On Self Test (POST) sequence.
1. The Power button light comes on.
2. The following will be displayed on the LCD:
Lexmark
3. The paper feed and transport carrier motors run, and then stop.
4. The carrier moves off of the maintenance station, and then returns.
5. The copy button light, color light, and Wi-Fi light stay on.
6. The LCD copy screen will be displayed.
If any of these fail to occur, remove and reinstall the print cartridge, and then repeat the POST. If the POST remains
incomplete, then see “Service checks” on page 2-11. Find the symptom, and take corrective action.
Troubleshooting tables
The All-In-One has the capability to report internal errors. This is accomplished by displaying the error code on the
operator panel LCD. Also, some errors are reported to host through Extended NPA Device Status Alert (DSA). See
Consumer Printer Division Host-Printer Communications Specification for more details on NPA and DSA.
There are four classes of All-In-One errors:
• POST errors
• Catastrophic unrecoverable errors
• Paper handling errors
• Printhead errors
Note: Each error will have a unique, 4-digit code.
 Loading...