4-2 Service Manual
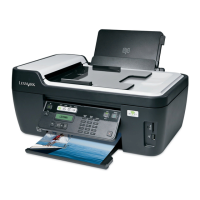
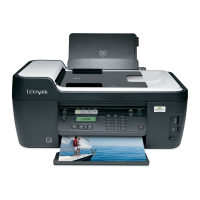
Lexmark S400 Series
Removal procedures
The following procedures are arranged according to the name of the All-In-One part discussed.
Releasing plastic latches
Many of the parts are held in place with plastic latches. The latches break easily; release them carefully. To remove
such parts, press the hook end of the latch away from the part to which it is latched.
General precautions
Use caution when disassembling and reassembling components. The close proximity of cables to moving parts makes
proper routing a must. When components are removed or replaced, any cables disturbed must be replaced as closely
as possible to their original positions. Before removing any component from the machine, be sure you note the cable
routing.
When servicing the machine:
• Verify that documents are not stored in memory.
• Move the print cartridge to the far right to cap the nozzles.
• Always remove the power cord from the AC wall outlet. Do not RE-BRICK the printer.
• Use a flat and clean surface.
• Use only authorized replacement parts.
• Do not force plastic parts.
CAUTION:
Unplug the power cord before removing any parts.
 Loading...