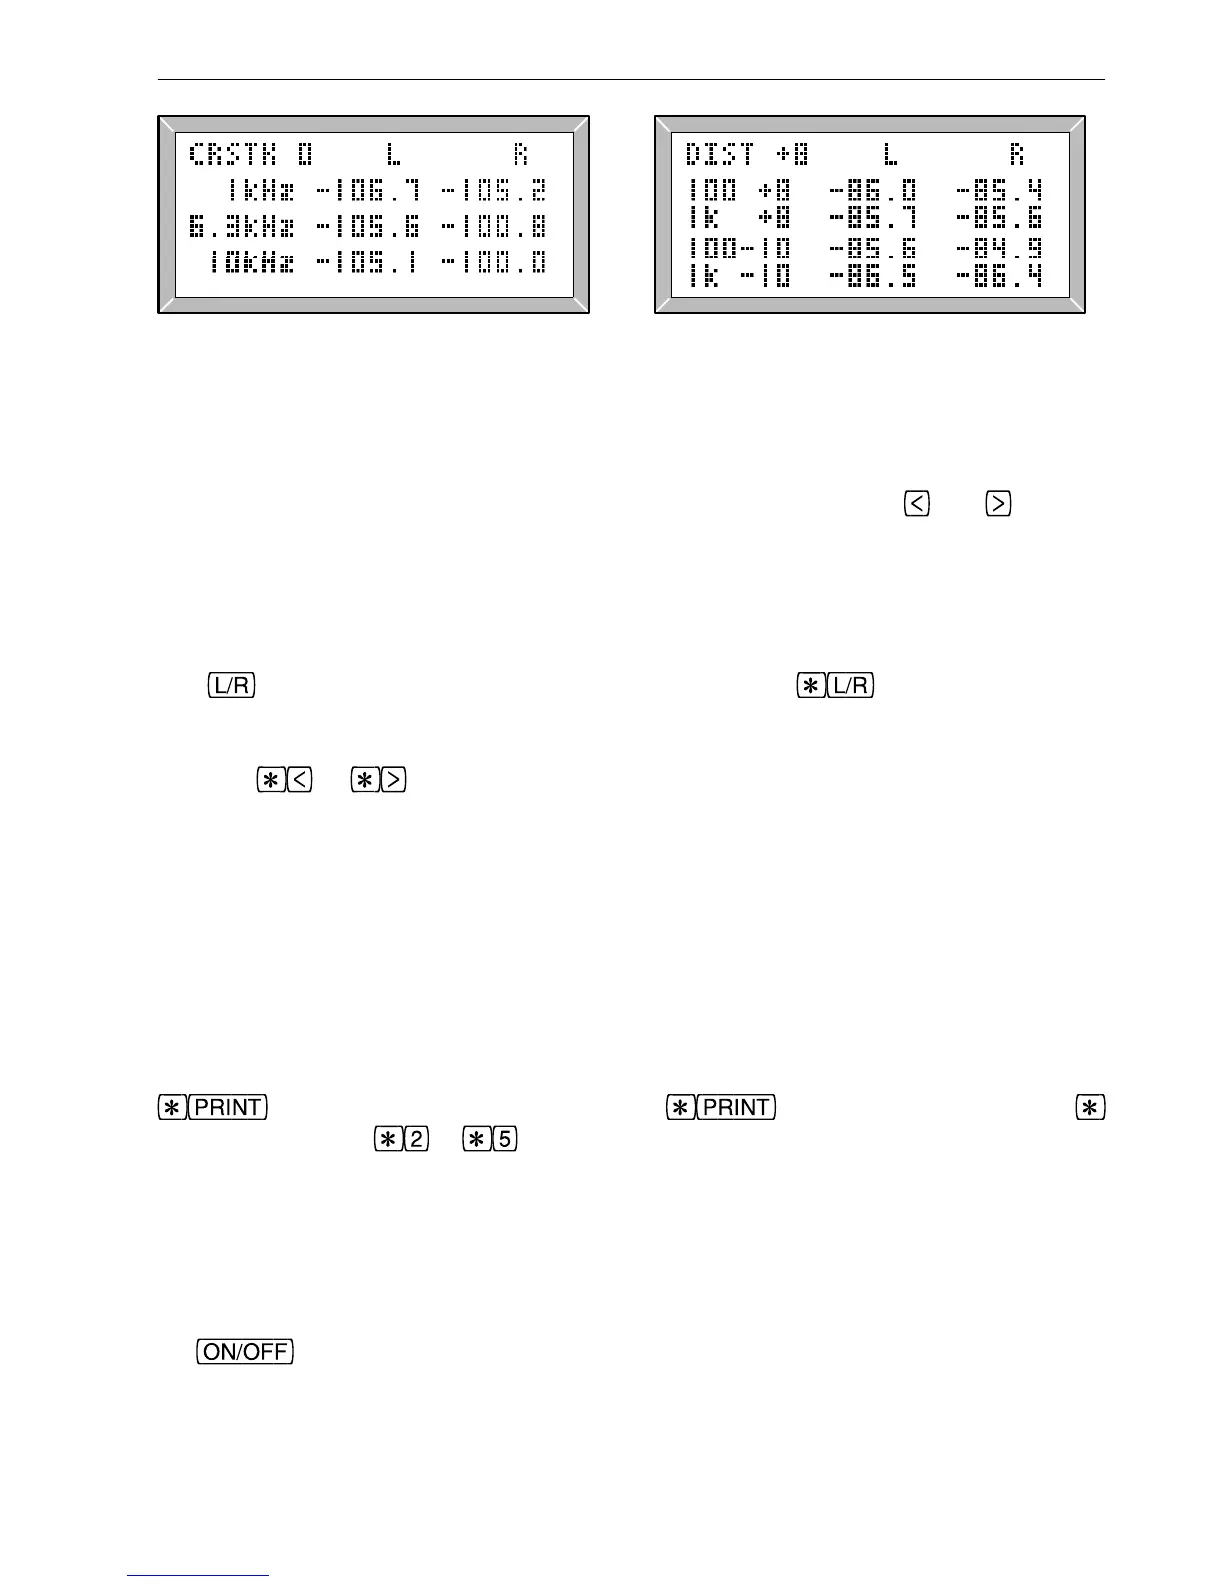
Fig. 3.9 Crosstalk Results Fig. 3.10 Distortion Results
3.3 Frequency Response Results Graph display Moving the cursor Relative level
The frequency response page shows a graph (fig. 3.6), usually covering 20Hz to 20kHz,
with a scale marked at 1dB (single pixel) and 5dB intervals (double pixels). The cursor
may be moved to any (third octave) frequency using the arrow keys
and , and the
frequency and level (at the cursor position) may be read from the numerical readout
which is based on stored information using 256 points per graph, and much more accurate
than can be seen directly from the graph. Similarly, the printed frequency response graph
is of much higher resolution (typically 512x512 pixels), as shown in fig. 3.11.
The
key toggles between left and right graphs, while displays a difference
graph (R-L). An ‘L’, ‘R’ or ‘D’ character is displayed to indicate Left, Right or
Difference graph. The level the sweep was transmitted at is shown to the left of the
display.
or can be pressed to expand or contract the dB scale of a displayed
graph, giving a range of 2, 4, 8, 16 or 32dB. This does not affect the printout, but a
similar control of the graph scale on the printout is available with configuration G. The
displayed levels are usually normalised to 1kHz, but this can be changed (see section
3.16). When the frequency response results are printed a table of frequency and levels is
printed beside the graph, using the frequencies shown for each sweep segment in table
3.2.
3.4 Printing Sequence Results Printing sequence results Stop printing Multiple copies
To print the results of a sequence test ensure that a suitable printer is connected and press
. To print two or more copies press and, without releasing the
key, press a number to . A typical printout is shown in fig 3.11.
If the message
NO HANDSHAKE appears, or if the output is garbled then the printer
connections, the LA102 configuration options or the printer’s DIP switch settings may be
wrong. The LA102 will drive a wide range of printers directly, and the most likely fault
is incorrect setting of configuration P (printer type) or B (printer baud rate). Full details
of printer operation and the printout options are given in chapter 8. To abort printing, tap
the
key.
Automatic printing of sequence results is also possible, by setting LA102 configuration A
43
3. Sequence Testing
 Loading...