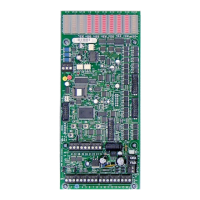
Lighting Relay Panel
Controller User’s Guide
www.lumisys1.com
Due to continuous product improvement, Lumisys reserves the right to change product specications without notice.
Page 28
Write Database to LRP Controller
1) Select “Device” drop down menu. Select “Write” to write LRP Controller database to the LRP Controller.
2) Select this box if header information is to be written to selected LRP Controller.
Header information includes all the global LRP Controller data such as “inputs”,
“relays”, “on-time after flash”, “flash off time”, “switch timer durations”, “relay refresh
rate” and relay energize duration.
3) Select this box if input configurations are to be written to selected LRP Controller. Input Configurations includes “input
names/numbers”, “types”, “timers”, “flash” and “input polarity”.
4) Select this box if group information is to be written to selected LRP Controller. Group information includes all group
information listed in the “group setup” display.
5) Select the number of groups to be written to selected LRP Controller. If the LRP Controller is configured for 10 groups,
type in the number or use the scroll bars until the desired number is displayed. This information takes the longest time to
write.
6) Select “Write” to begin writing to LRP Controller. Commands and responses will be displayed as information is written to
the LRP Controller.
7) As information is being read or written the box to the left of, and under th word “Command” and to the left of, and under the
word “Response”, displays in English the information being communicated. The box to the right displays the actual
protocol commands.
8) The “Response Time” with “Relative Speed” indicator will reflect system communication speed.
This screen is displayed while you are writing information to a LRP Controller.
Read LRP Controller Database
1) Select “Device” drop down menu “Read” to read LRP Controller database.
This screen is displayed while you are reading information from a LRP Controller.

 Loading...