Lighting Relay Panel
Controller User’s Guide
www.lumisys1.com
Due to continuous product improvement, Lumisys reserves the right to change product specications without notice.
Page 17
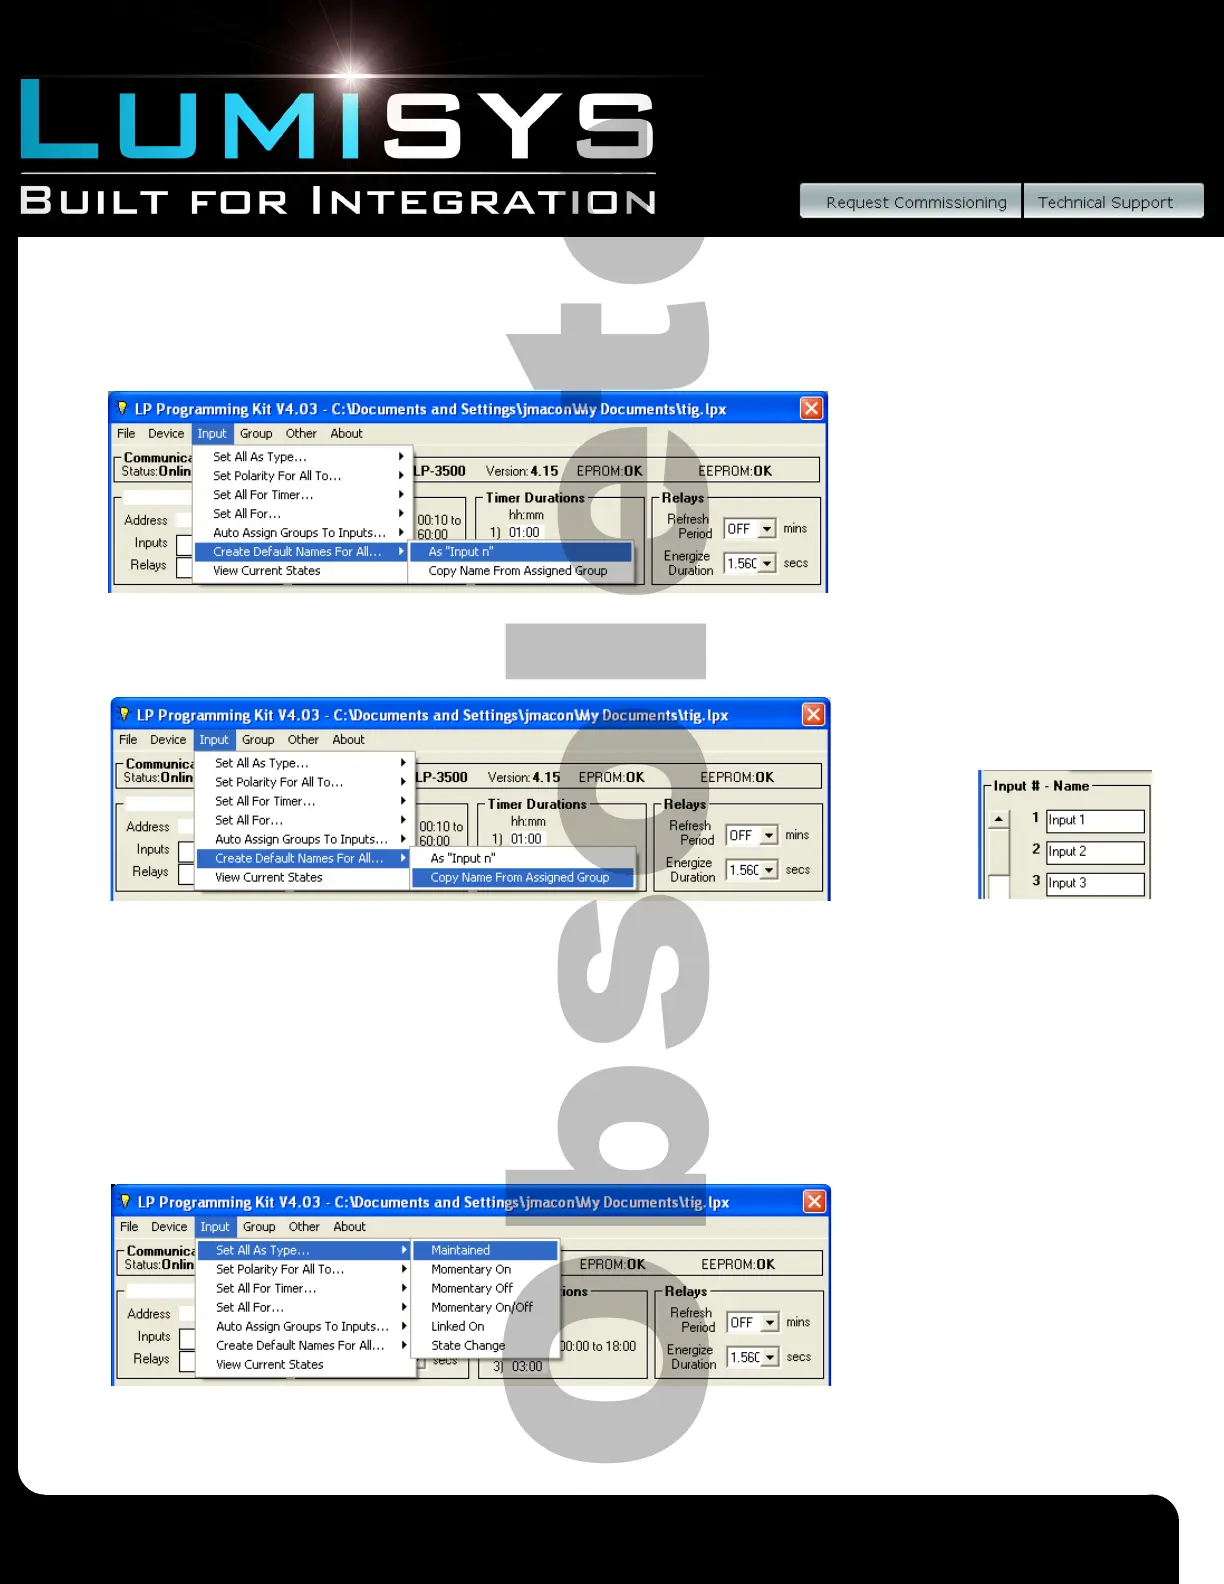
Naming Inputs
1) Each input can have a name in addition to a number.
2) To automatically name the inputs as Input 1, Input 2, etc. go to the tool bar and select “Input/Create Default Name for All”
then select “As Input n”. Each input will be named according to its input number e.g. Input 1, Input 2, etc.
3) To automatically name the inputs with the name of the group it controls go to the tool bar and select “Input/Create Default
Name” for All then select “Copy Name From Assigned Group”. Each input will be named with the same name of the group
it controls.
4) To individually assign a name to an input type in the desired name of each input in the box labeled “Name” next to the
column labeled “Input #”.
5) Repeat step 4 for each switch input.
6) To save this information to a le or to the LRP Controller see “General LRP Controller Data - Save File and Write Database
to LRP Controller”.
Input Type
1) There are six input types: Maintained, Momentary On, Momentary Off, Momentary On/Off, Linked On and State Change.
See the LRP Controller Software section of this manual for a description of each input type.
2) To automatically assign all inputs to the same type go to the tool bar and select “Input/Set All As Type” then select the
desired type. All inputs will be assigned this type.
3) To individually assign input types select the input type in the box directly next to the input number labeled “Type”.
4) Repeat step 3 for each input.
5) To save this information to a le or to the LRP Controller see “General LRP Controller Data - Save File and Write Database
to LRP Controller”.
 Loading...