644 XML to UI
Second, create a file named skew.xml and place it in your Commands folder. Place the
following code into the file and save the file:
<dialog id="skew-dialog" title="Skew Selection" buttons="accept, cancel">
<grid>
<columns>
<column/>
<column/>
</columns>
<rows>
<row align="left">
<label value="Skew x: " control="xSkew" align="left"/>
<popupslider id="xSkew" minvalue="-180" maxvalue="180"/>
</row>
<row align="left">
<label value="Skew y:" control="ySkew" align="left"/>
<popupslider id="ySkew" minvalue="-180" maxvalue="180"/>
</row>
<row align="left">
<label value="Edge:" control="edge" align="left"/>
<menulist id="edge">
<menupop>
<menuitem label="top center"/>
<menuitem label="right center"/>
<menuitem label="bottom center"/>
<menuitem label="left center"/>
</menupop>
</menulist>
</row>
</rows>
</grid>
</dialog>
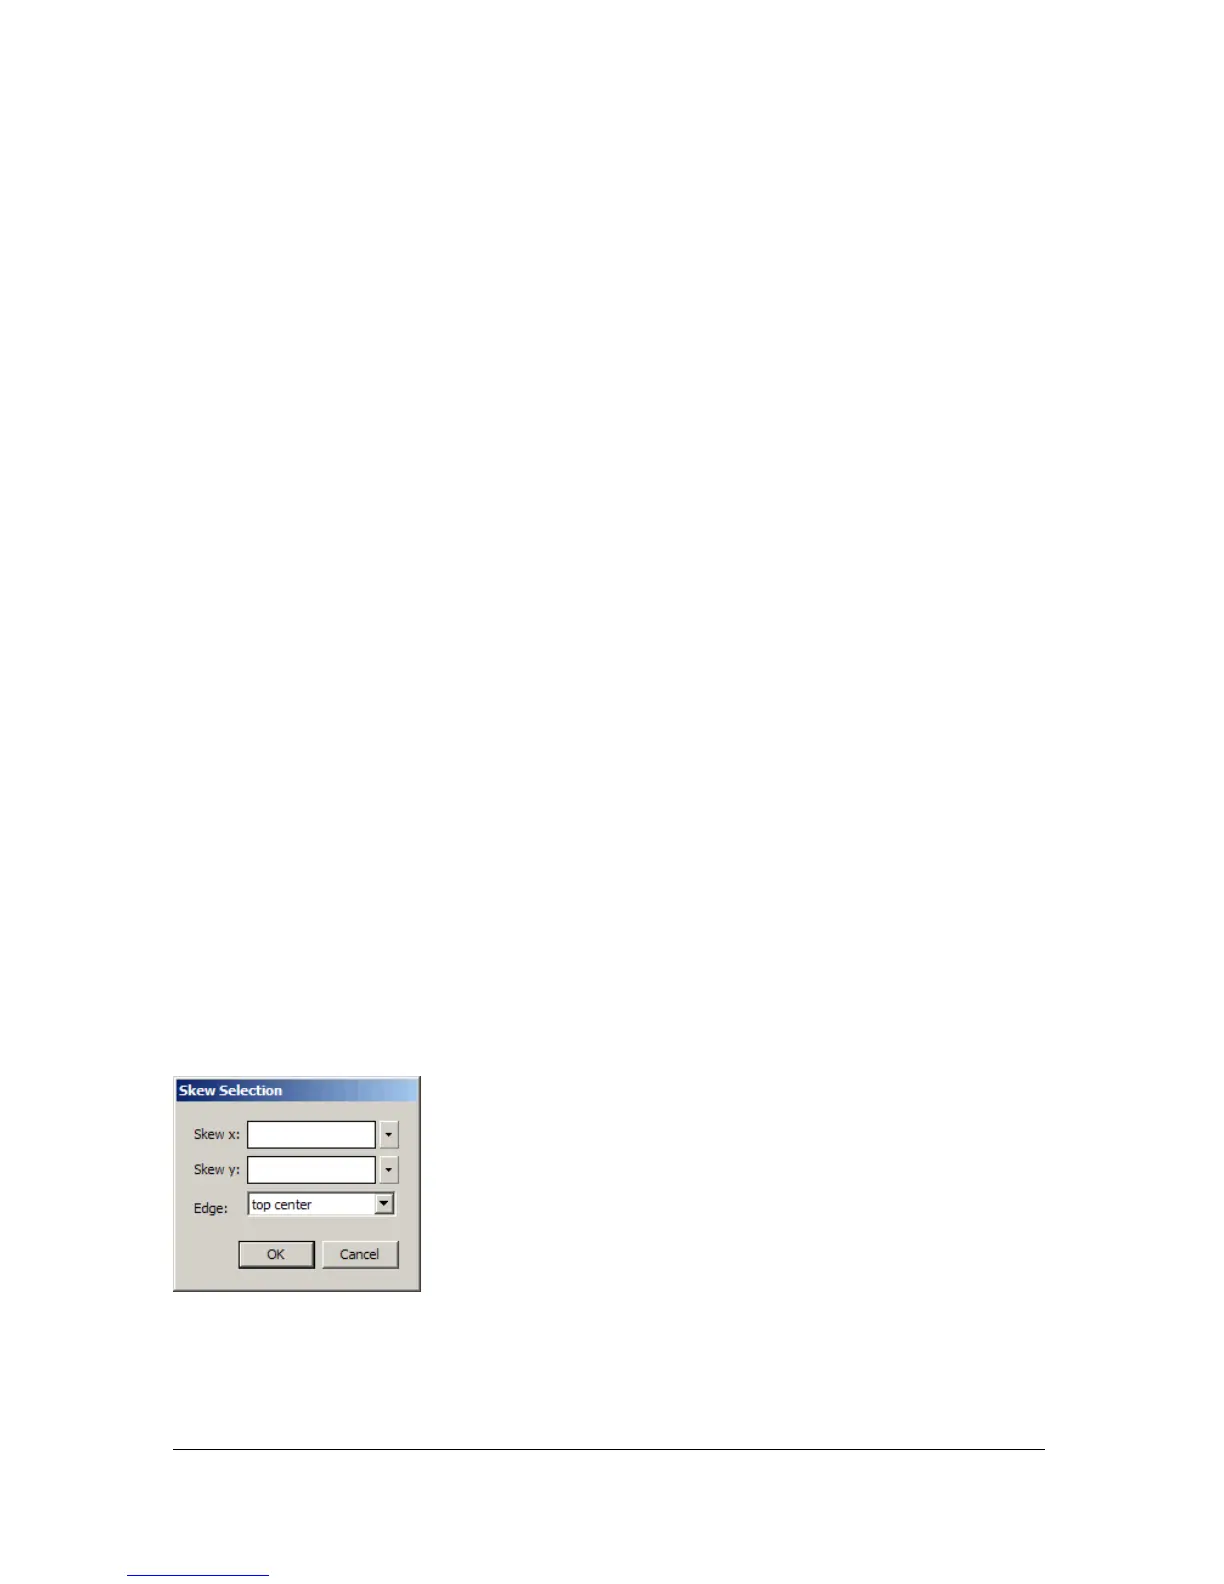
The skew command now appears on the Commands menu. Draw a shape on the Stage, then
select it with the pointer tool. If you then select the
skew command from the Commands
menu, the dialog box defined by skew.xml appears, as shown in the following figure: