34
INSTALLATION ORDER
■ Select the location;
■ Install the indoor unit;
■ Install the outdoor unit;
■ Connect the drain pipe;
■ Wiring;
■ Test operation
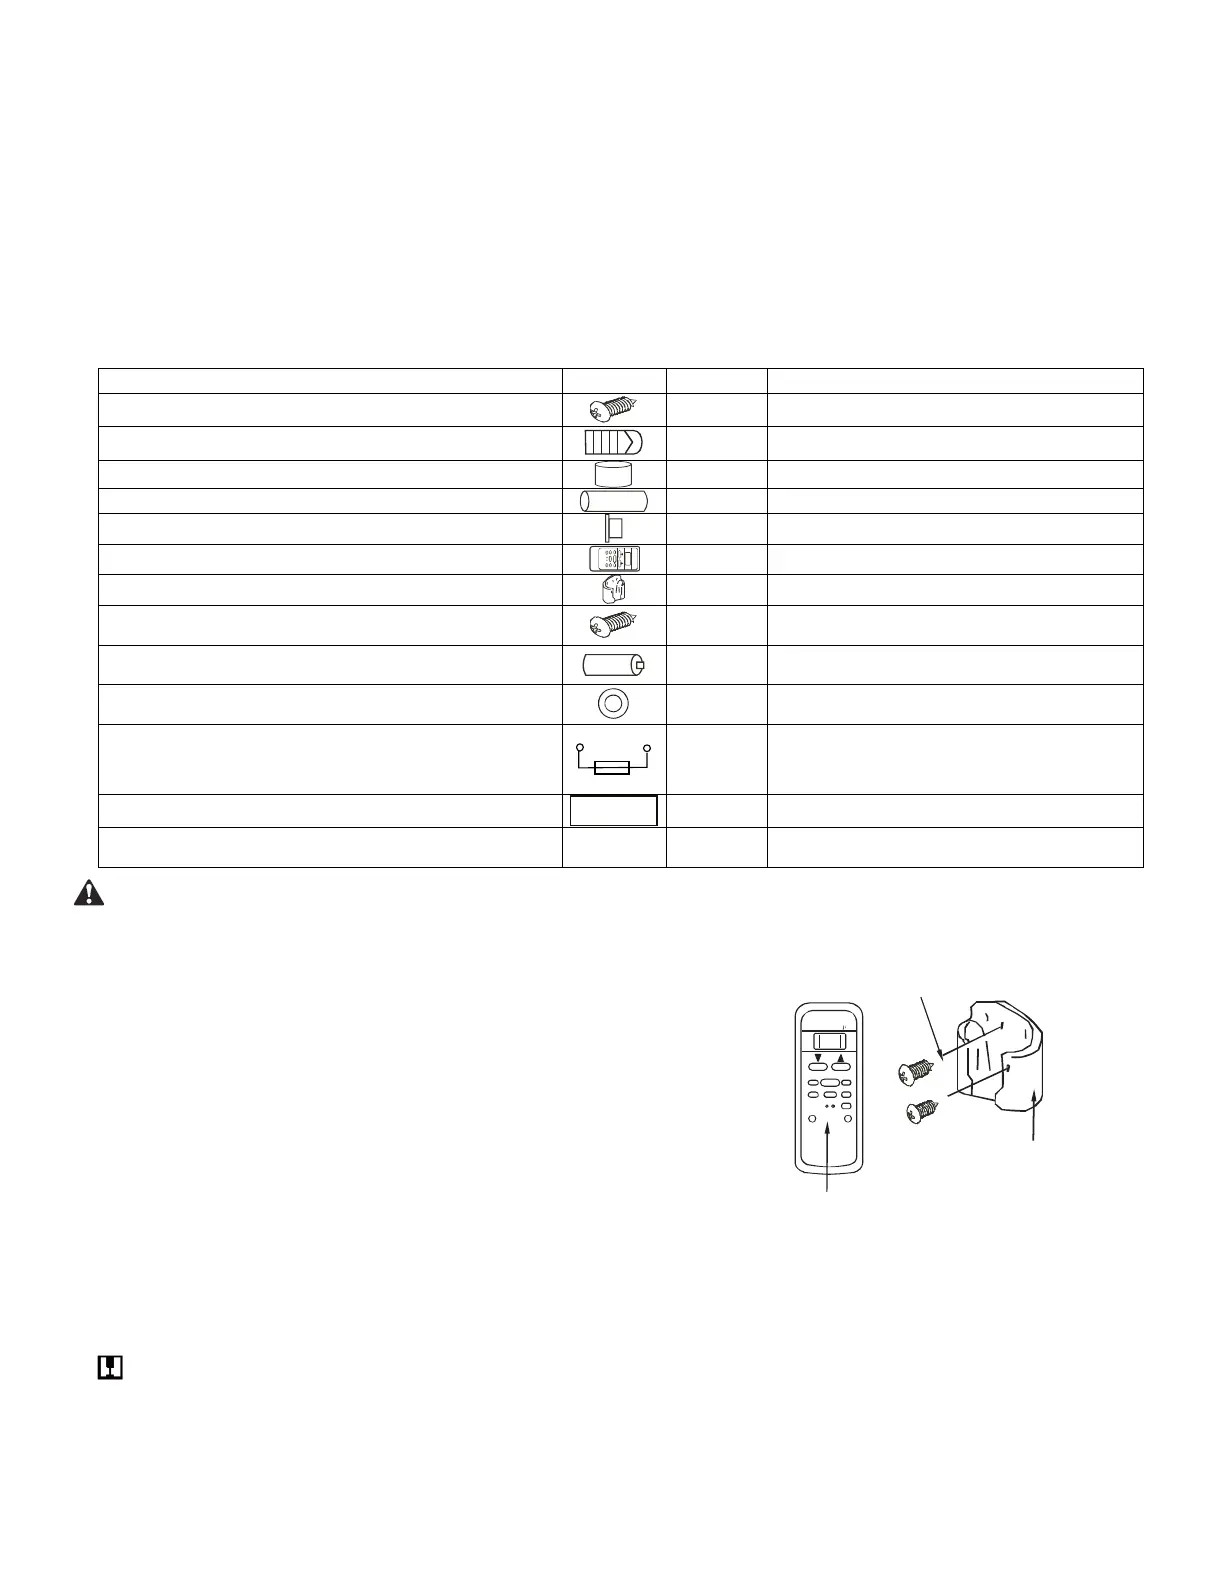
8.3. Accessory
Please check whether the following fittings are of full scope. If there are some spare fittings, please restore them carefully.
Screw ST3.9x25 for installation board
8 Secure the installation board
Plastic expanded tube
8 -------------------
Wall conduit cover
1 -------------------
Remote controller (including operation manual)
Frame
1 Hold the remote controller
Mounting screw (ST2.9 x 10-C-H)
2 Insulation Holder for remote controller
Alkaline dry batteries (AM4)
2 For remote controller
Seel gasket
4 For connect water pipe
Network matching wire
The indoor unit which at the terminal of
communication system
between port X
and port Y. should connect a impedance
Insulation
Prevent the walls from getting damp
User’s-installer’s manual ---------- 1 -------------------
Cautions on remote controller installation:
■ Never throw or beat the controller.
■ Before installation, operate the remote controller to determine its
location in a reception range.
■ Keep the remote controller at least 1m apart from the nearest TV set or
stereo equipment. (it is necessary to prevent image disturbances or noise
interferences.)
■ Do not install the remote controller in a place exposed to direct sunlight
or close to a heating source, such as a stove.
■ Note that the positive and negative poles are right positions when
loading batteries.
SET T EM PE RAT UR E
O
C )
A
U T O
COO L
D RY
H
E AT
FAN
HIGH
MED
LOW
TEM P.
M
ODE
ON/OFF
F
A N
SPEE D
SWING
E CO NO MIC
TIMER ON
RESET
LOCK
TIMER OFF
A IR DI RE C TION
P O W E R F U L
Remote
controller
Remote controller
holder
Mounting screw B
ST2.9x10-C-H
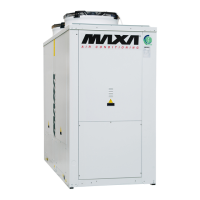
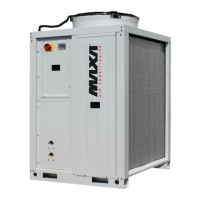
8.4. Inspecting and handling the unit
At delivery, the package should be checked and any damage should be reported immediately to the carrier claims agent.
When handling the unit, take into account the following:
1)
Fragile, handle the unit with care.
2) Choose on before hand the path along which the unit is to be brought in.
3) Move this unit as originally package as possible.
4) When lifting the unit, always use protectors to prevent belt damage and pay attention to the position of the unit’s centre of
gravity.