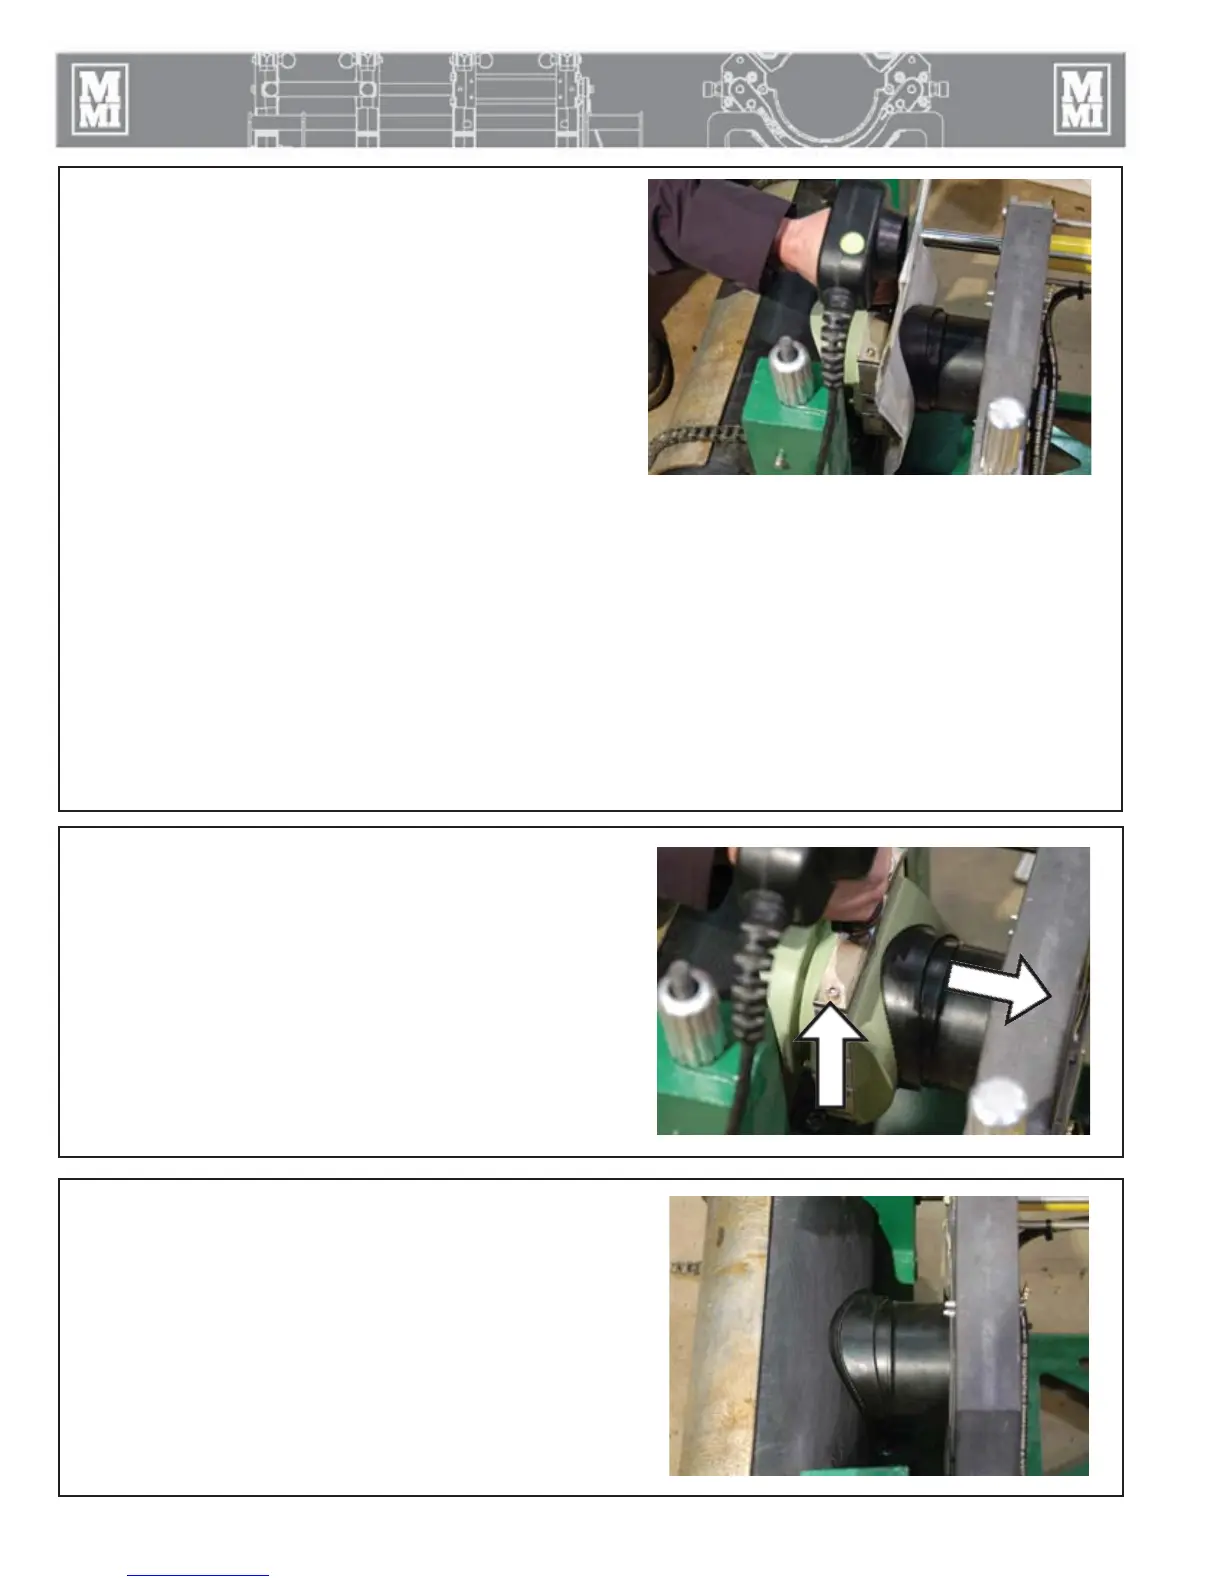
Remove Heater
Shift the carriage control valve to neutral and move the selector
valve to the top position. Open the carriage just enough to
remove the heater.
Remove the heater.
Quickly check for a complete and even melt pattern on the pipe
main and fitting.
TX04029-4-12-10
Fuse Fitting to Pipe
Quickly close the carriage bringing the fitting and main together
under the pipe manufacturer's recommended pressure or
appropriate joining standard.
TX04030-4-12-10
PH04115-3-30-10
PH04116-3-30-10
Heat Pipe and Fitting
Move selector valve to the bottom position.
Move the fitting against the Flexible Heat Shield under bead-
up pressure, and observe melt bead formation on the main all
around the heater faces. When a melt bead is first visible on
the main all around the heating tool faces, in a quick continuous
motion, open the carriage slightly and remove the Flexible Heat
Shield.
Move the fitting against the heater face and start the heat time.
When a melt bead is first visible all around the fitting base
(usually about 3 to 5 seconds) immediately move the selector
valve to the middle position to reduce pressure to the heat soak
pressure (usually drag). Wait for the pressure to drop to drag
pressure then shift the control valve to neutral. Maintain the
heat soak pressure according to the pipe fitting manufacturer's
recommendations or appropriate joining standard.
TX04042-4-12-10
PH04114-3-30-10
Special Operations
- Saddle Fusion Procedure
5 - 5