208 of 289
8. Remove the EMI Cover from the main control board.
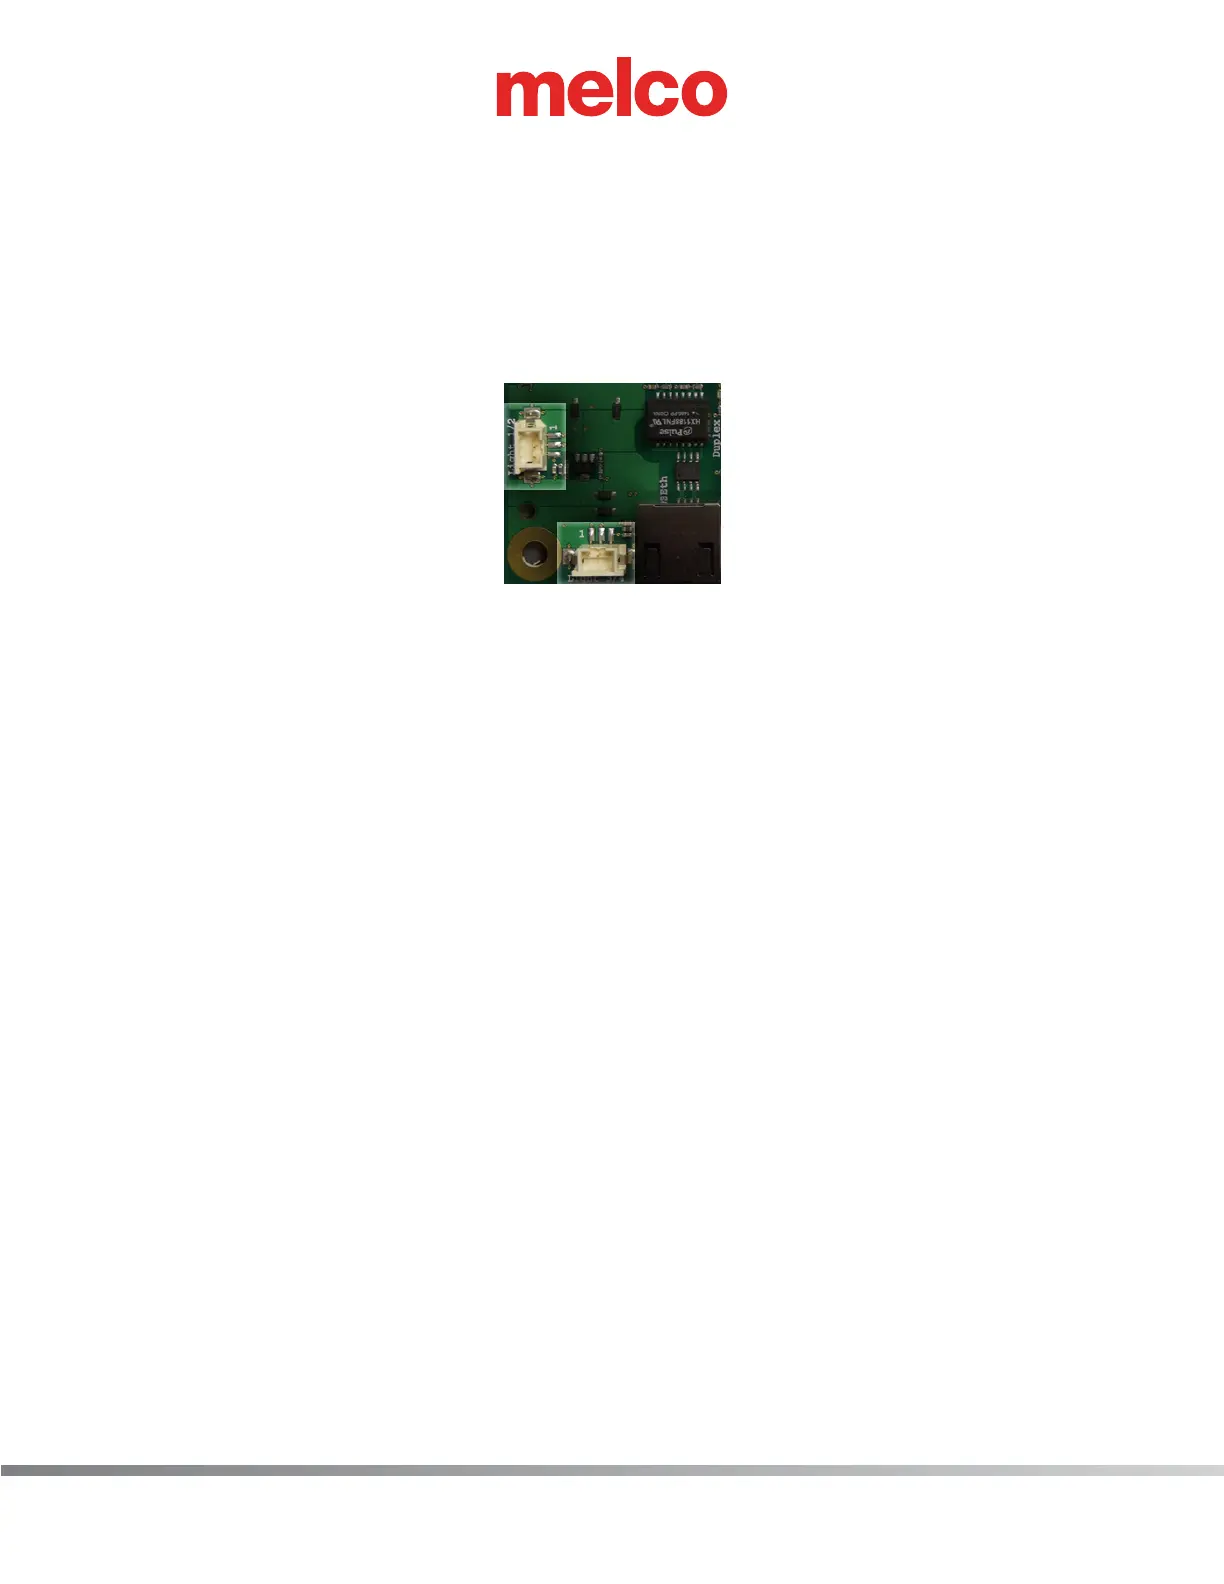
9. Remove the right LED cluster harness from adjacent harnesses and disconnect the right LED clus-
ter harness from the Main PCB at connector location “Light 3/4”.
10. Connect the new LED cluster harness to the right LED cluster assembly and run it the right upper
arm access hole to the back of the machine to the right lower arm access hole.
11. Run the LED cluster harness through the right lower arm access hole to around the left inside pe-
rimeter of the base and connect it to the Main PCB at connector location “Light 3/4”.
Figure 5 - LED Cluster Harnesses Connected at Main PCB
12. Replace all twist-lock cable ties that were removed from the harnesses.
13. Replace the EMI cover carefully.
14. Install the right upper arm front cover and tighten the screws to the torque specications.
15. Install the remaining covers in the reverse order that you removed them and tighten the screws to
the torque specications.
16. Turn the machine ON and verify that the LEDs come on in the right LED cluster assembly.
 Loading...
