60 of 289
10. Reinstall the ve (5) mounting screws to hold the cover in place. It is important to leave them just
loose enough that the cover can still move, but make sure that the screws are in far enough that
they will not catch the needlecase as it moves over them.
The screws will be fully tightened in a future step.
•
Important: Ensure that the button head screw is installed in the lower left side location of the
cover as shown in the image.
•
WARNING!! If you proceed without mounting the right upper arm front cover, damage to your
machine will occur and a service call will be necessary.
•
Note: Melco will not be responsible for any damage to the machine or related service costs
caused by not performing this step.
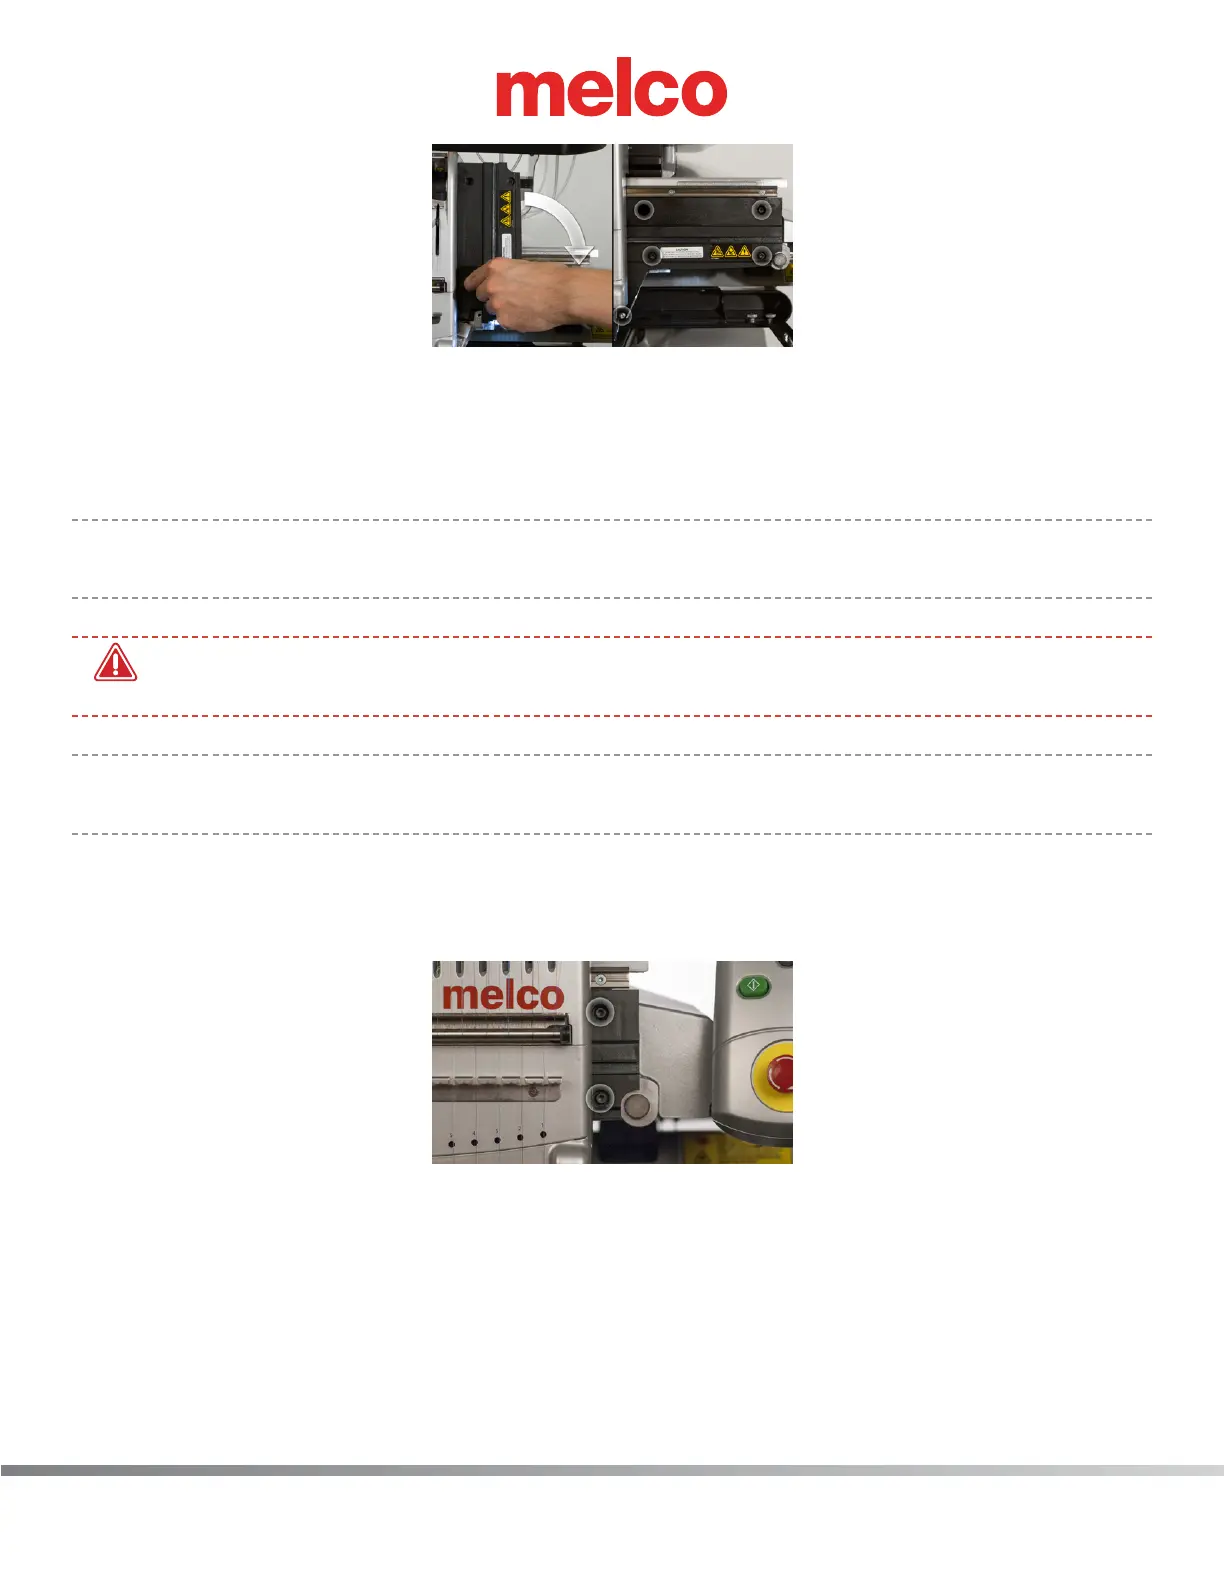
11. Color change to needle #12.
12. With the needlecase holding the right upper arm cover in the appropriate position, tighten the
two screws in the right side of the upper arm front cover as shown in the image.
13. Color change to needle #1.
14. Now tighten the three remaining screws on the left side of the right upper arm front cover as
shown in the image.