MAINTENANCE
The PCS 400 was designed for maintenance-free
operation. User maintenance is not recommended
beyond that given in the ‘Troubleshooting Guide’,
and replacement of parts listed in the ‘Spare Parts
List’, both of which follow. If you have questions not
covered by this manual the Mensor team is ready
to help. Call 1.800.984.4200 (USA only), or
1.512.396.4200 for personal assistance, or at any
of the on-line addresses listed in the front of the
manual. We are ready to help.
BEYOND THE WARRANTY
Take advantage of Mensor’s expert product care.
Mensor Corporation provides complete mainte-
nance and calibration services, available after the
warranty for a nominal fee. Our service staff is
knowledgeable in the innermost details of all of our
instruments. We maintain units that are in opera-
tion in many different industries and in a variety of
applications, and by users with a wide range of
requirements. Many of these instruments have
been in service for over twenty years, and continue
to produce excellent results. Returning your instru-
ment to Mensor for service benefits you in several
ways:
1. Our intimate knowledge of the instrument
assures you that it will receive expert care.
2. In many cases we can recommend for your
consideration, upgrading to the latest en-
hancements.
3. Servicing our own instruments which are
used in “real world” applications keeps us
informed as to the most frequent services
required. We use this knowledge in our con-
tinuing effort to design better and more robust
instruments.
PROGRAM DISK REPLACEMENT
In order to replace the system program disk, first
remove the power cord from the instrument. Then
remove the rear panel by removing the seven
screws holding it to the frame. The disk drive is
located in the rear upper center of the instrument.
The disk is ejected by pressing the button.
Push in the new disk until it locks in place. Replace
the rear panel and restore the instrument power.
Turning on the instrument will reboot the instru-
ment using the new disk.
MODULE REPLACEMENT
To replace an electrical or a pneumatic module
follow these steps:
1. Remove power cord.
2. Remove the top cover by removing the three
screws on the top rear.
3. Remove the pressure fittings from rear ports.
4. To remove the pneumatics module, remove
the two screws on the rear panel that screw
into the pressure manifold, and the two
screws under the bottom plate that hold down
the module. Disconnect all pneumatic module
cables from the electrical module. Then slide
the pneumatic module forward slightly to dis-
engage it from the key-hole slots in its base,
and lift it out the top of the instrument.
5. To remove the electrical module, remove the
cables to the pneumatic module and the front
panel, and remove the two screws under the
bottom plate that hold down the module.
Slide the module forward slightly to disengage
the key-hole slots in its base, and lift the
module out the top.
6. Reverse the order to replace the module.
ELECTRICAL MODULE
To gain access to the circuit boards inside the
electrical module without removing the module,
remove the instrument top cover (3 screws), and
the left side panel (2 screws). This allows access to
the 10 screws that secure the module cover to the
module chassis; 4 screws at the top, and 2 screws
each at the front, left and right sides. Remove the
2 top center screws and front left screw from the
module chassis. Loosen the remaining 7 screws,
leaving them threaded into the module chassis. Lift
module cover up in the front and slide towards you.
All of the circuit boards in the module are compat-
ible with standard IBM format Personal Computers
(PC’s). Most are purchased from various manufac-
turers; they may differ in appearance and position
from one unit to the next but their functionality
remains the same. The exceptions are that the
Solenoid Driver and PLA boards are proprietary,
designed and assembled by Mensor.
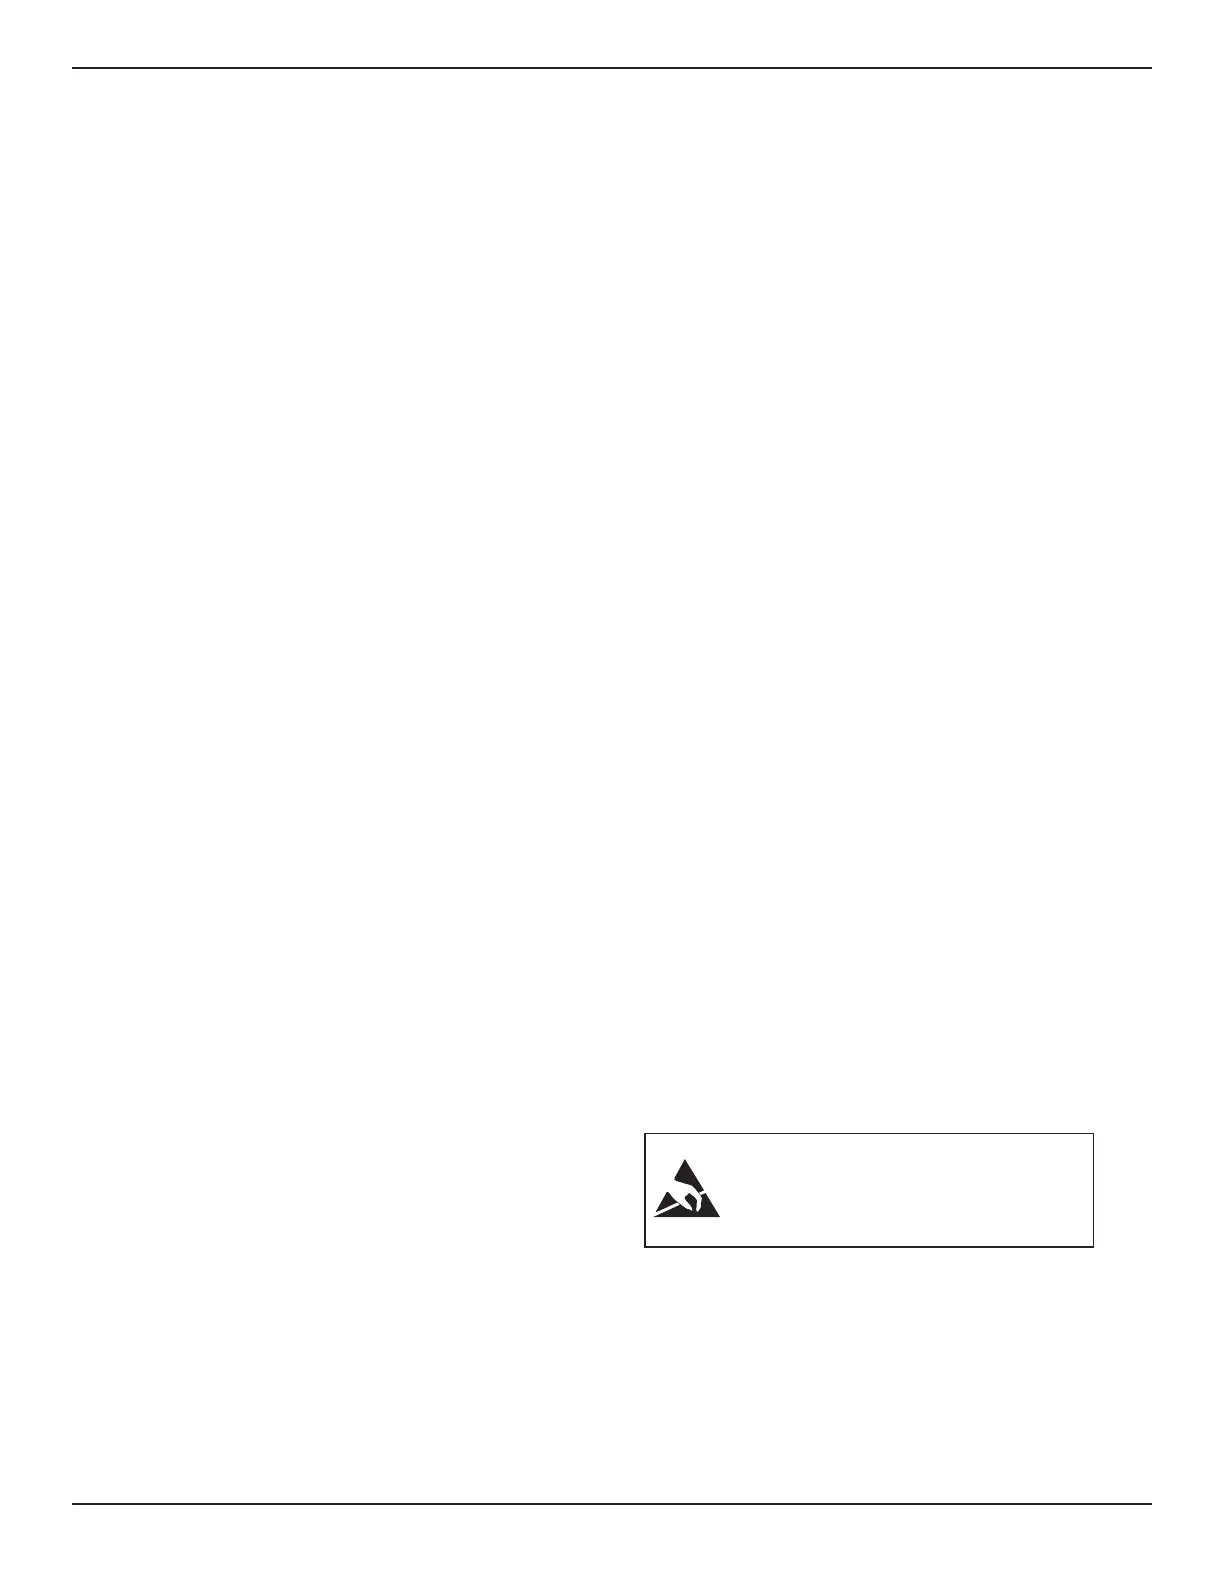
CAUTION: ESD PROTECTION REQUIRED.
The proper use of grounded work surfaces and
personal wrist straps are required when coming
into contact with exposed circuits (printed circuit
boards) to prevent static discharge damage to
sensitive electronic components.
PCS 400 MAINTENANCE
www.mensor.com 5-1