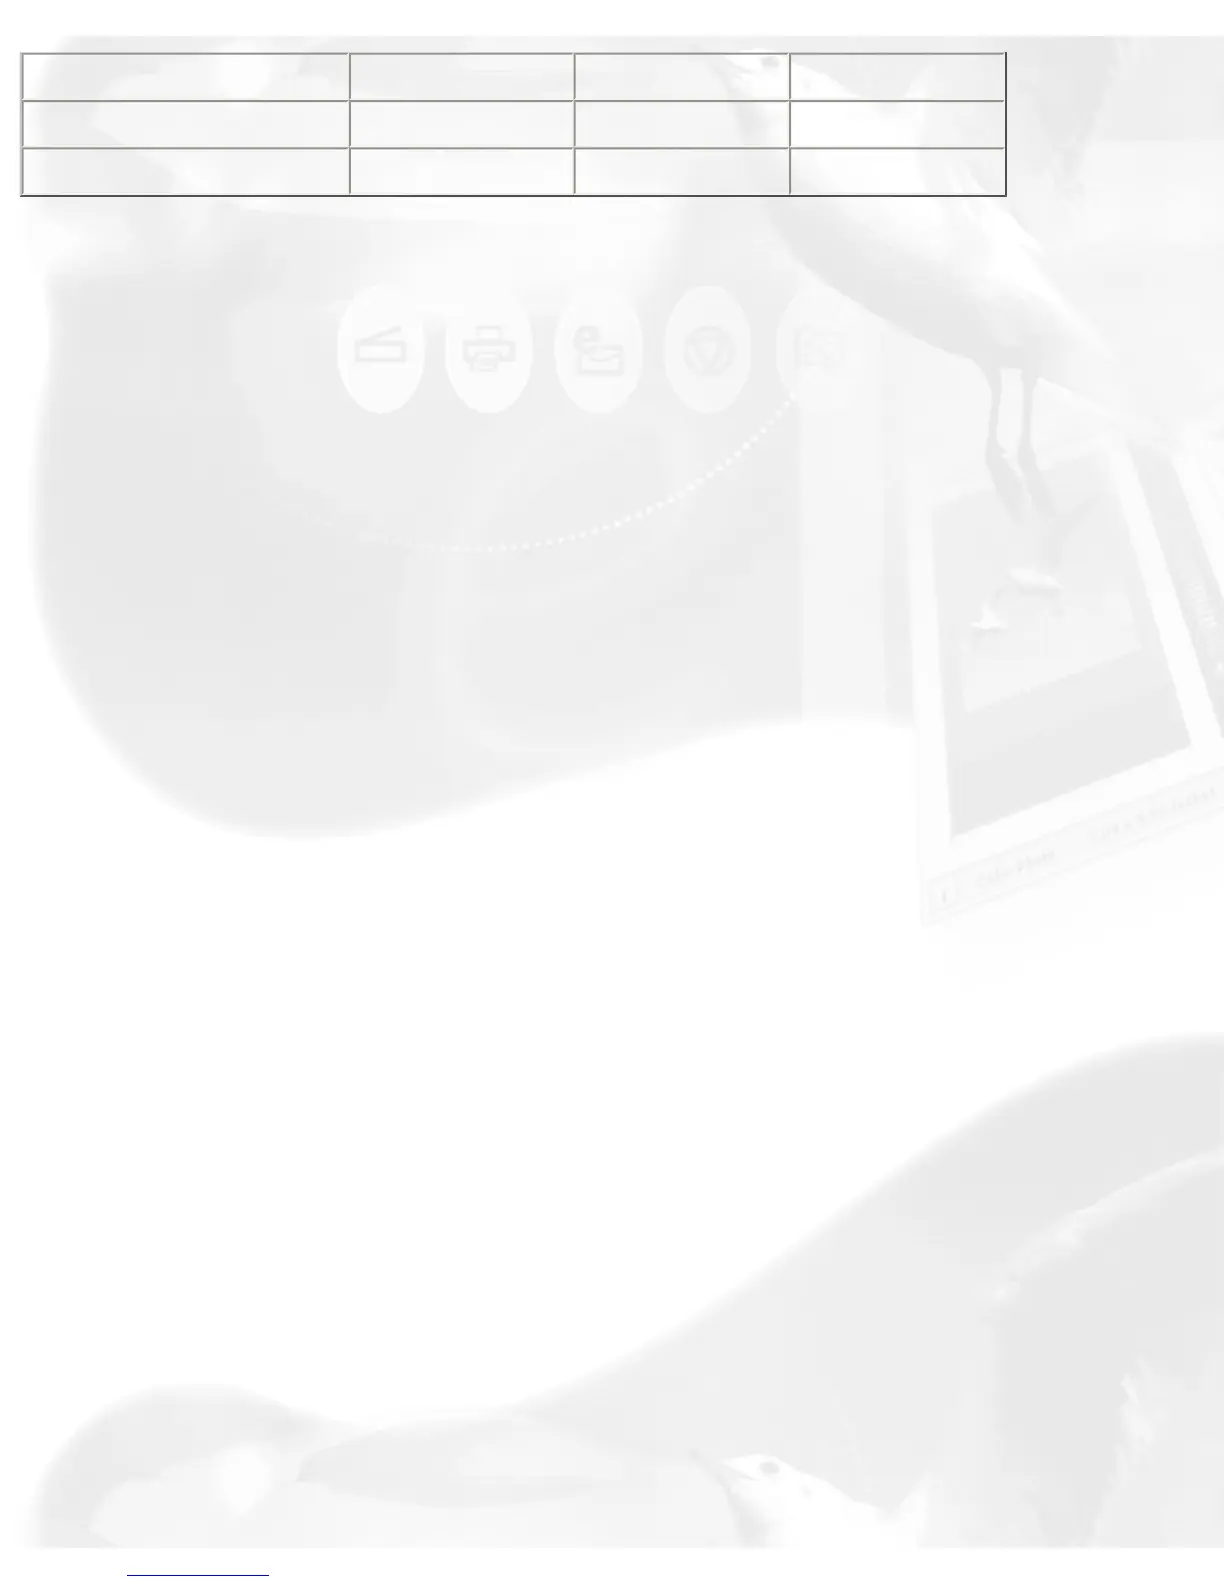
600 Laser Printer
600 150 300
Fax
200 200 200
OCR
300 300 300
Scale Output button
This button lets you select image output resolution in terms of size/aspect
ratio. (50%, 75%, 100%, 150%, or 200 %).
Adjust button
This button is your basic image enhancement tool for modifying or
enhancing image(s) at the scanning stage.
It is suggested that you adjust the Brightness, Contrast, Sharpness, Color,
and Saturation of the preview image to enhance the output image. Click on
the Adjust button, and the Standard Control Panel image correction tool will
display. Adjust the image appearance by dragging the slider of each tool.
Observe the changes from the preview image every time you move each
button.
Reset button
This button will cancel your defined choices or revert to the default settings.
Preferences button
This button will give you access to the "Preferences" dialog box to set up
the scan function and allow you to repaint or customize the appearance of
your Standard Control Panel.
The Preferences setup dialog box provides options on how you would like
ScanWizard 5 - Standard Control Panel to handle your scan material when
the program is launched.
To redefine the Preferences setup, click on the Preferences button. From the
Preferences dialog box, select and choose your preferred options.