Head Cleaning
2-42
3
Remove the ink cartridge of the displayed color on the screen.
• The lamp located above the cartridge lights to inform you of the ink cartridge to be removed.
• After the ink cartridge is removed, ink discharging starts.
• When discharging is completed, the screen on the right is displayed.
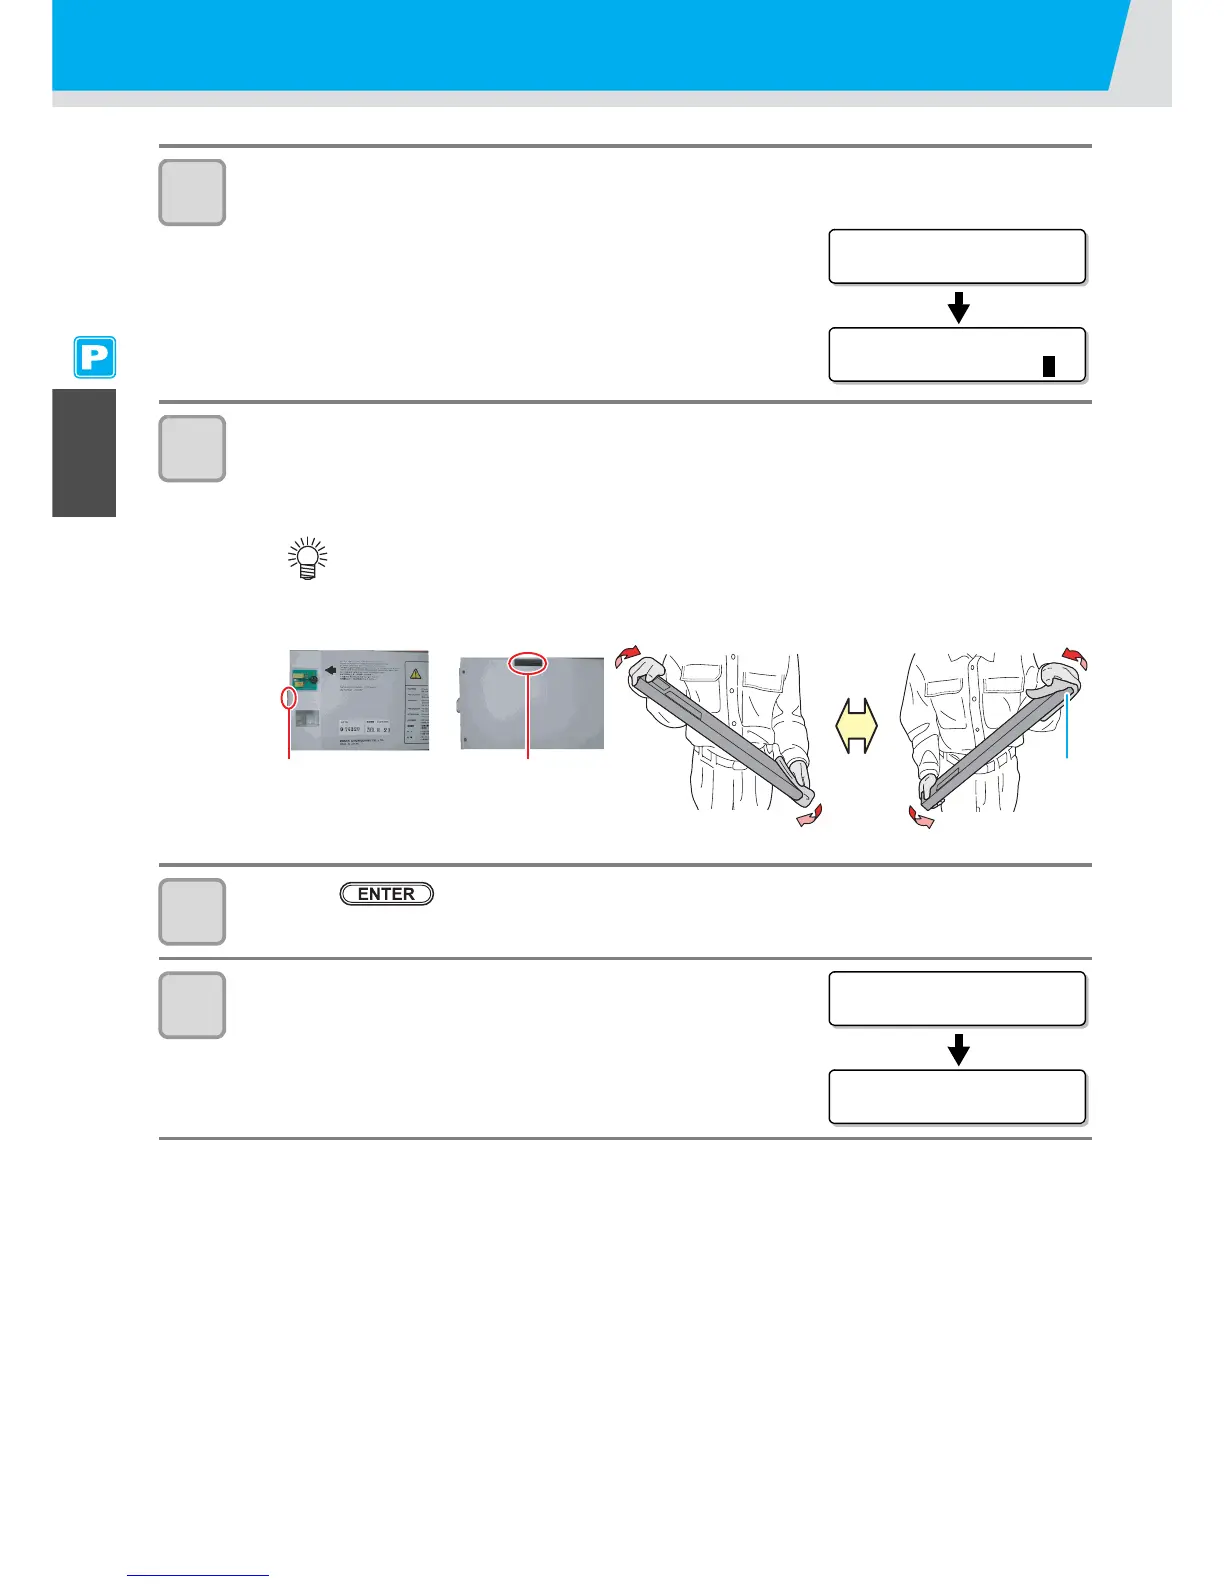
4
Slowly shake the removed ink cartridge more than twenty times right and left.
• To prevent ink from leaking when you shake the cartridge, wear gloves and firmly cover the A part of the
upper surface of the cartridge and the B part of the bottom surface of the cartridge with paper towels.
Then, shake it more than twenty times right and left so that ink flows inside the cartridge.
5
Press the key.
6
Set the cartridge.
• After the cartridge is set, filling starts.
• When filling is completed, the screen returns to LOCAL.
• If you shake it too strong, the pack inside may be damaged and it may cause ink
leakage. Therefore, perform this carefully.
• If the remaining amount of ink is less, ink in the cartridge cannot be beaten enough. Tilt
the cartridge until it becomes vertical.

 Loading...


