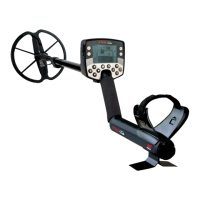
THE MINELAB EXPLORER
45
QUICKSTART
5
THE IRON MASK
THE IRON MASK
Adjusting the Iron Mask
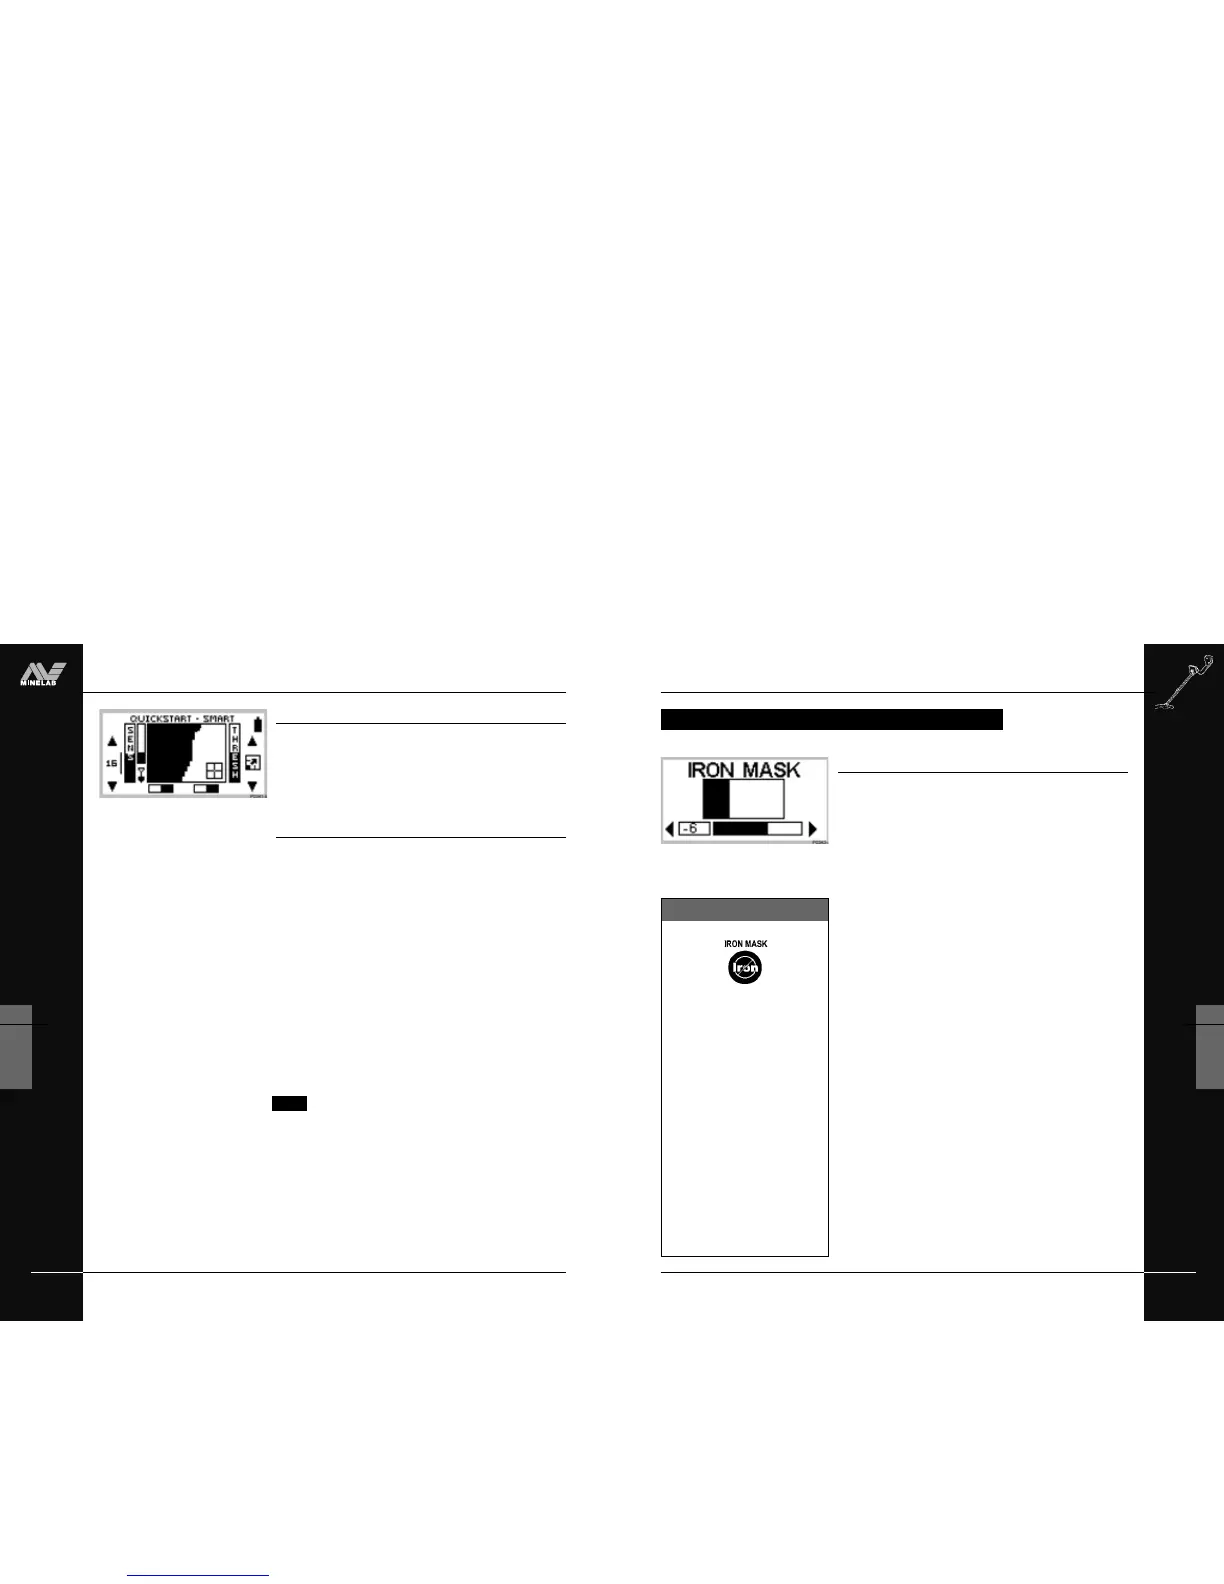
Figure 5.5
Pressing the IRON MASK shortcut button on the control panel will
display the Iron Mask adjustment screen.
Preset Level
The Explorer's Iron Mask is set at a rating of -6. This is suitable
when detecting non-ferrous metals.
Detecting more ferrous objects
If you want target responses from more ferrous objects (e.g. war
relics) it is necessary to reduce the level of ferrous rejection. This
is done by pressing the bottom left shift button next to the slider
control, reducing the extent of the Iron Mask. You may need to
experiment a little with the settings.
Detecting all ferrous objects
If you wanted to detect all objects, regardless of ferrous content,
ferrous rejection can be reduced to a minimum level of -16. The
screen will be completely clear and all objects will sound a target
response.
Rejecting all ferrous objects
If you want target responses to be suppressed for all ferrous
objects, the Iron Mask may be increased to a level of 0. This is
represented by the mask extending to half way across the
Smartfind screen (as depicted in the section explaining
two-dimensional discrimination, see page 42).
Figure 5.5 Adjusting the Iron Mask
The Iron Mask shortcut button on
the control panel allows you to
switch between Iron Mask and
Discrimination.
Before you experiment with this,
an understanding of the features
of these functions will greatly
assist in deciding which will
locate the kind of targets you want
and how to adjust the Explorer to
suit your preferences.
The tutorials featured later in this
chapter also assume a basic
understanding of Iron Mask and
Discrimination functions.
Iron Mask Shortcut
THE MINELAB EXPLORER
44
QUICKSTART
5
www.minelab.com
Introducing Discrim
Discrim (an abbreviation of Discrimination) instructs the detector to
accept some types of targets and reject others. It uses Smartfind's
two-dimensional discrimination, allowing you to specify one or more
target patterns for detection.
Smartfind Discrimination pattern
Figure 5.4
When you begin in Quickstart, you will see a Smartfind display
resembling Figure 5.4. This display shows that the detector is
ready to operate in its preset Coins Discrim function.
The discrimination pattern represents the typical characteristics of
non-ferrous coins (actually a composite of hundreds of coins from
around the world). When the search coil passes over an object
matching the conductive and ferrous characteristics of coins, the
target crosshair will appear in the clear area and a target response
will sound. Objects outside of the accepted (clear) area are not
displayed and the threshold ‘hum’ is temporarily silenced. The target
crosshair will remain locked in the position of the last accepted target.
The discrimination pattern 'maps' the specific ferrous and conductive
properties of coins, providing excellent accuracy in detection of this
particular type of target.
NOTE Quickstart offers a range of discrimination patterns
which may be used on their own or in combination. This is
detailed in Selecting Targets, page 62.
Figure 5.4 Smartfind’s preset Discrim
function
QUICKSTART’S SMARTFIND DISPLAY