39
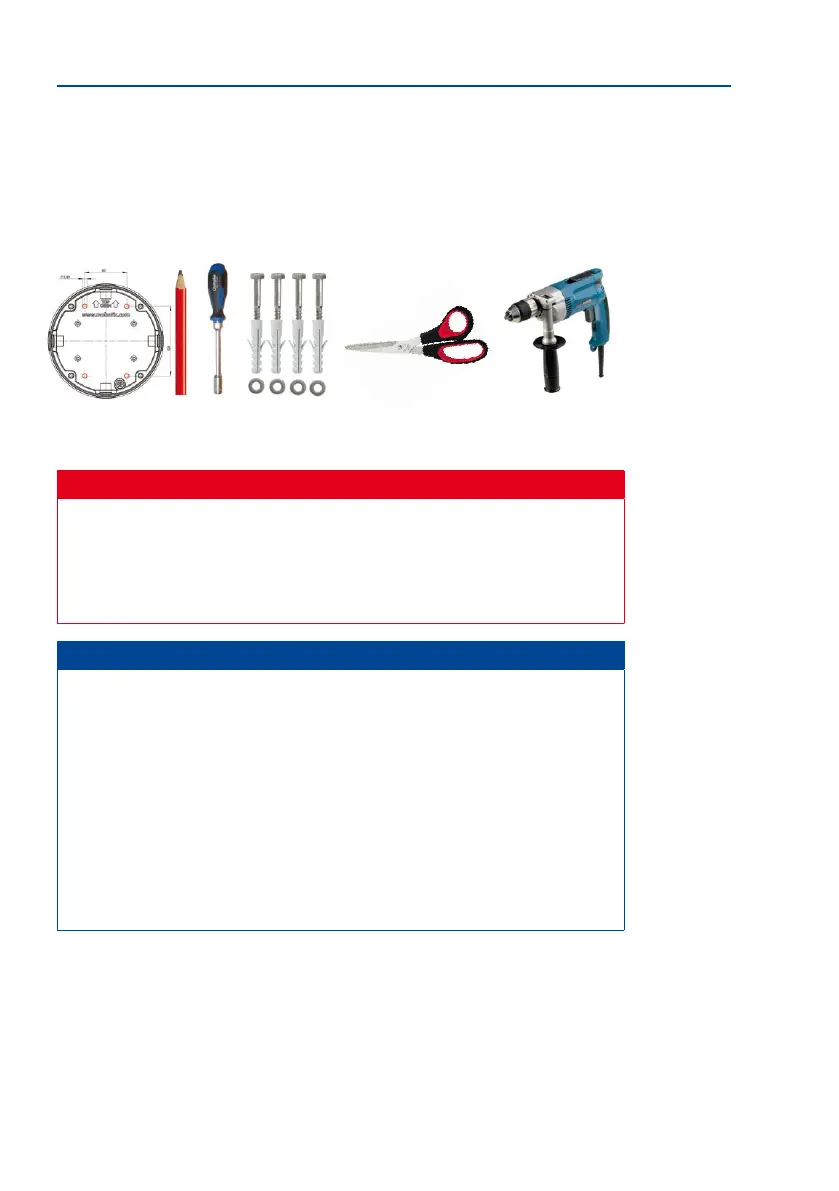
Mounting the Camera Without Accessories
• Scissors to cut out the template
• Pen to mark the drill holes
• Materials and any tools needed to connect the pre-installed MOBOTIX network cable
in the camera with the on-site network cable.
Caution
For safety reasons, only use the pre-installed MOBOTIX network cable that was included
in the delivery. Always ensure that the rubber plug of the network cable reliably pro-
tects the outer shell from moisture entering the camera. All openings of the camera
housing need to be properly sealed. This is the only way to guarantee that the camera
remains weatherproof.
Notes
Network Connection Without Pre-Installed Cable
The network cable is fed through the ceiling directly above the camera. Make sure
the cable is completely sealed by the rubber gasket on the housing (do not bend the
cable!) When preparing the installation, ensure that at least 15 cm of cable length
(excluding the connector itself) remains inside the camera housing (similar to factory
preinstallation). This will ensure that you can turn and tilt the lens mount freely later on.
Surface-Mounted Socket
If a surface-mounted socket is used, the camera must be mounted using the Outdoor Wall
Mount. The camera cannot be mounted directly on top of protruding, surface-mounted
sockets.