46
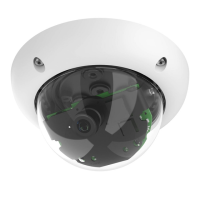
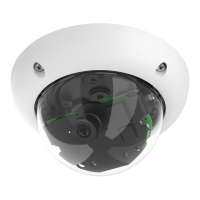
D26 Camera Manual: Installation
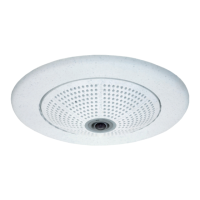
2.4 Mounting the Camera with the In-Ceiling Set
2.4.1 Mounting Instructions
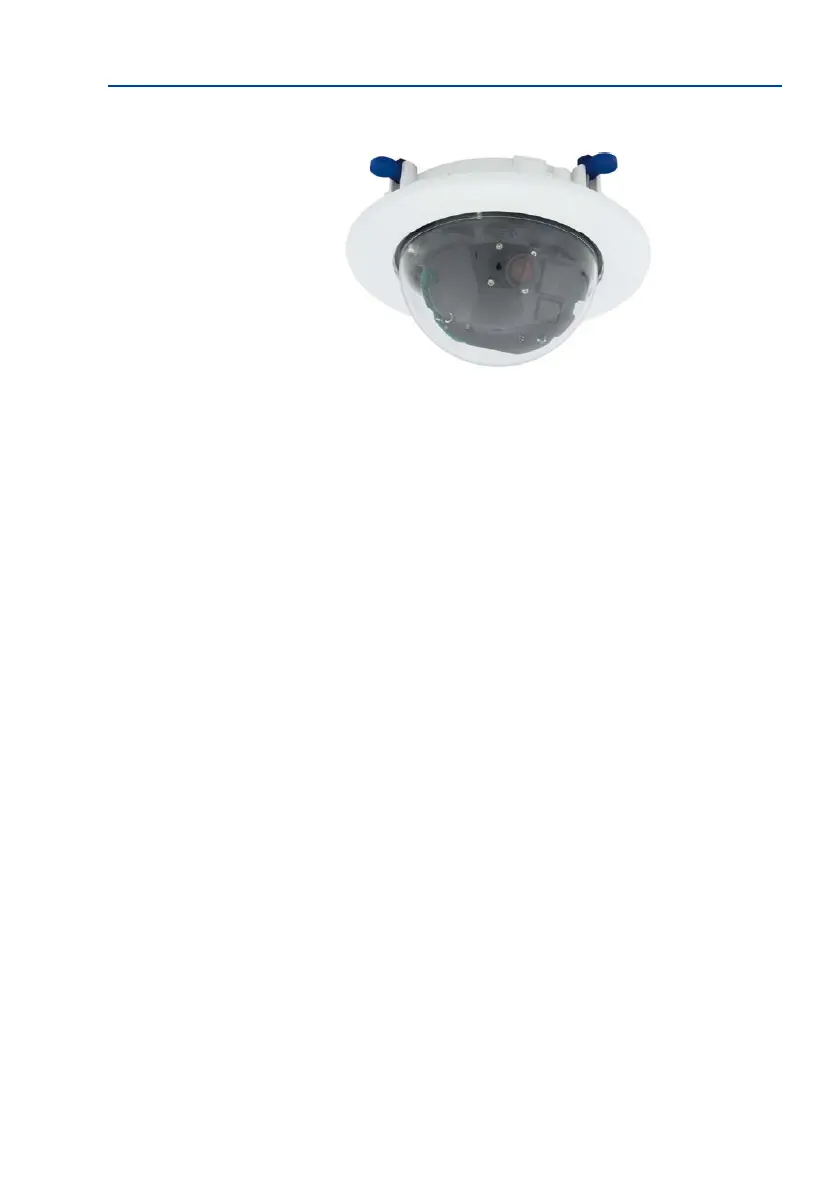
The In-Ceiling Set oers the most stylish installation option for the D26. When properly
installed, the only visible component is a particularly sleek and discreet dome camera, while
most of the remaining components are concealed inside the ceiling. Only the compact dome
and the thin decorative ring that conceals the screws can be seen.
For these reasons, the D26 installed with the In-Ceiling Set is the preferred option for most
indoor spaces frequented by customers or the general public (e.g. hotels, restaurants, banks,
retail stores, public buildings, etc.).
The common use of suspended ceilings in commercial and public buildings is an additional
reason to place a preference on in-ceiling installation. The installation process is also sim
-
plied, as the network cable may be laid without diiculty and only a 15 cm diameter hole
must be cut in the ceiling or ceiling component.
Before installing the MOBOTIX D26 on an indoor ceiling with the In-Ceiling Set, you must
prepare the network connection and drill a hole for the camera:
• Network connection: The network cable is fed through the ceiling directly above the
camera. When preparing the installation, make sure that about 15 cm of cable remains
unused.
• Cut a hole for installation: The hole should have a diameter of 150 mm (see drilling
template on www.mobotix.com, Support > Download Center > Documentation >
Drilling Templates).
The white decorative
ring is also available
in stainless steel