56
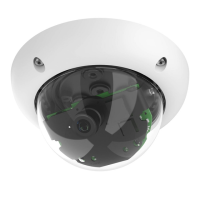
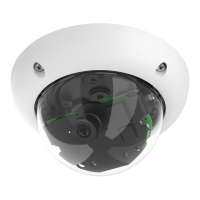
D26 Camera Manual: Installation
Required Parts
Please rst check that all the components supplied with the Wall Mount Set are present in
the original packaging. The following additional items are required for installation:
• Power drill for screw anchor holes
• Screwdriver
• MOBOTIX drilling templates (on www.mobotix.com)
• Scissors to cut out the template
• Pen to mark hole positions
• Materials and tools needed to connect the pre-installed MOBOTIX network cable in
the camera with the on-site network cable.
• Cleanandsocotton cloth
2.6.2 Procedure
1.
Remove the camera mounting ring: Separate the black mount-
ing ring from the camera housing. This ring is not required
when mounting the camera to the Wall Mount. If the D26 was
not in its original packaging, then it may be necessary to remove
the outer shell with the four Allen screws beforehand.
2.
Separate the bottom plate from the Wall Mount: The bot-
tom plate is used to hold the camera and is only attached
and screwed into place during a later step.