82
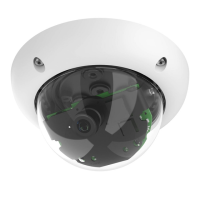
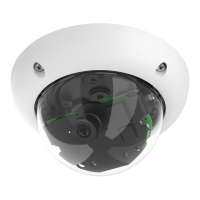
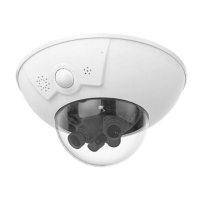
D26 Camera Manual: Operating the Camera
3.2.4 Start Options of the Camera
By default, the camera starts as DHCP client and automatically tries to get an IP address
from a DHCP server. To start the camera in a mode dierent from the default mode, you can
activate the boot menu of the camera.
Preparing the Camera
• Disconnect the camera’s power supply.
• Reconnect the power supply of the camera.
Activating the Boot Menu
The red LED lights up red 5 to 10 seconds aer establishing the power supply and will stay on
for 10 seconds. Briey press the key. The camera enters the boot menu, ready for selecting
one of the start options.
The LED now ashes once and repeats the ashing signal aer pausing for one second (the
number of ashes indicates the current start option). To go to the next start option, briey
press the key again (< 1 sec). Aer the last start option, the camera returns to the rst option
(LED ashes once).
Selecting a Start option
Press the key longer (> 2 sec). The camera conrms the selection by ashing rapidly three
times. You can now remove the paper clip. Aer 20 sec, the camera will conrm the selection
by playing a sound according to the table above.
If nothing is selected, the camera will resume its normal boot process aer a certain time.
LEDs
Key
LED default settings:
1
Power (on),
Error (ashing)
2
Recording (ashing)
1 2
LED
ashes
Start
Option
Meaning Audio
Conrmation*
1 x — This option is not used on this camera model. —
2 x
Factory
Defaults
Starts the camera with factory defaults (factory default IP address,
users and passwords will not be reset).
Boing
3 x
Automatic IP
Address
Starts the camera as DHCP client and tries to obtain an IP address
from a DHCP server. If a DHCP server cannot be found or no IP address
can be obtained, the camera starts with its factory default address.
Boing Boing
4 x
Recovery
System
Starts the camera with the recovery system, e.g., in order to recover
from a failed update of the camera soware.
Alarm Sound
*Only on cameras with audio option and installed speaker.