40
D26 Camera Manual: Installation
2.2.2 Procedure for Installing the D26 Without Accessories
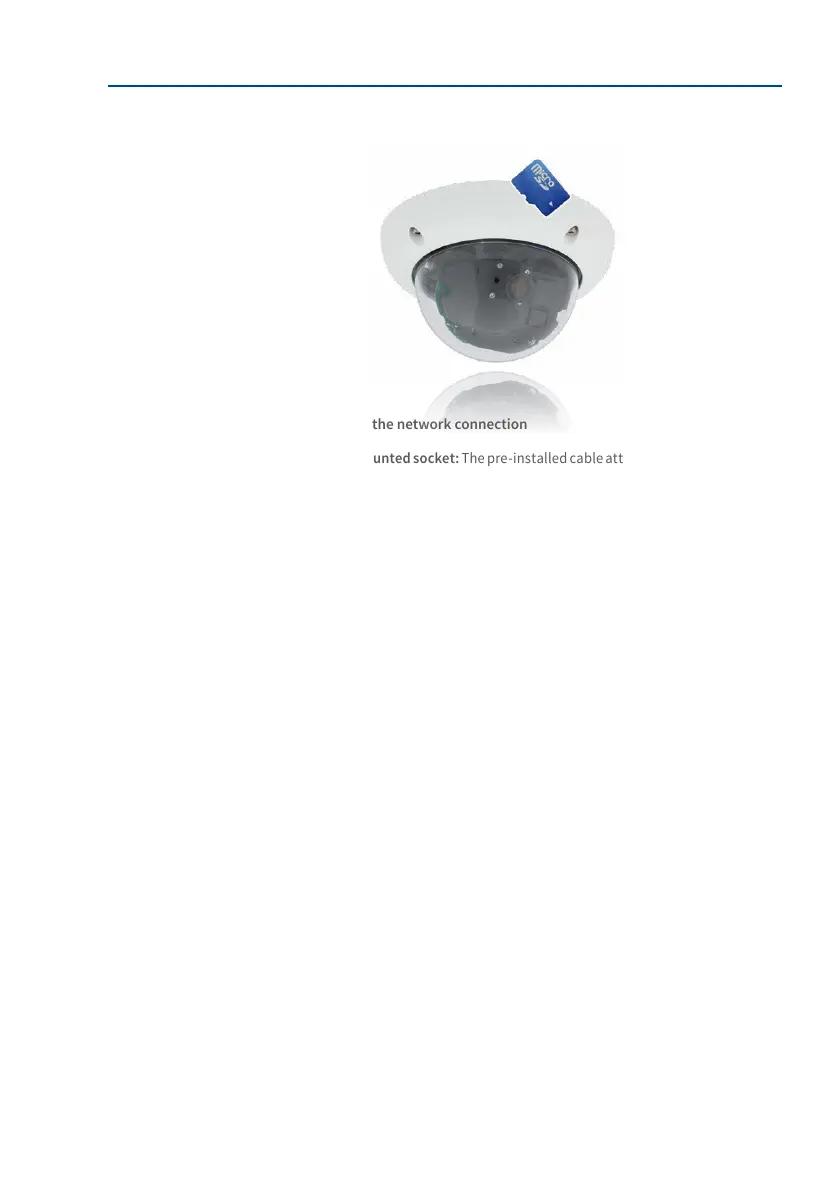
1. Install and prepare the network connection
2.
Installtheush-mountedsocket: The pre-installed cable attached to the camera must
be connected with the on-site network cable. For installation without accessories, a
ush-mounted socket must be installed rst to provide space for the connection. The
cabling is now perfectly protected and cannot be seen or accessed from the outside.
The camera cannot be mounted directly on top of protruding, surface-mounted
sockets. Use the camera drilling template to mark the position of the ush-mounted
socket for the desired camera position.
3. Drill the holes: Drill the holes for the supplied screw anchors (see drilling template).
4. Connect the cable: Connect the on-site network cable to the camera patch cable
using a standard connector.
5. Attach the camera: Use the (included) screws to aix the mounting ring and the
camera at the designated position.
6. The outer shell is required at a later stage in the installation and is attached only
when the dome has been removed and placed back aer a lens adjustment.
7. Proceed to Section 3.3.1, «Aiming and Adjusting the Lens».