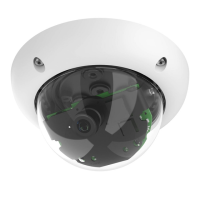
43
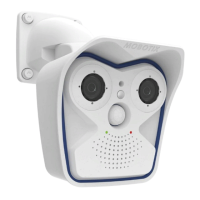
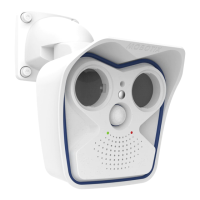
Mounting the Camera with the On-Wall Set
Notes
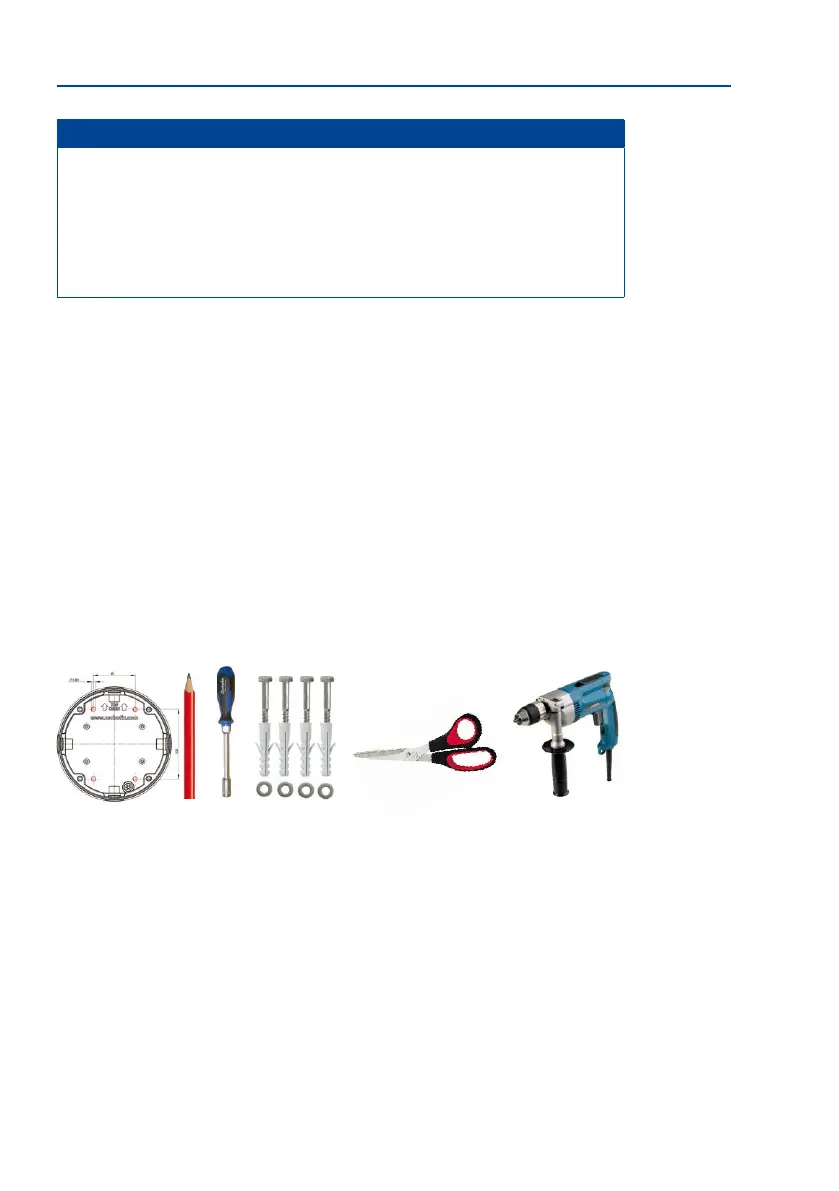
Use the drilling template available on www.mobotix.com, Support > Download
Center > Documentation > Drilling Templates (valid for both 0° and 10° On-Wall Sets).
Make sure that the drilling template is not scaled or adjusted to the paper size when
printing the PDF le (enlarged or reduced).
The maximum torque for all screws is 1 to 1.2 Nm.
Required Parts
Please rst check that all components supplied with the On-Wall Set are present in the
original packaging. The following additional items are required for installation:
• Suitable materials for ceiling/wall installation: 4 screws incl. screw anchors and
washers (e.g. from the original camera packaging)
• Screwdriver
• Power drill for screw anchor holes needed for ceiling/wall mounting
• MOBOTIX drilling templates (on www.mobotix.com)
• Scissors to cut out the template
• Pen to mark the drill holes
• Materials and tools needed to connect the pre-installed MOBOTIX network cable in
the camera with the on-site network cable