40
M26 Camera Manual: Installation
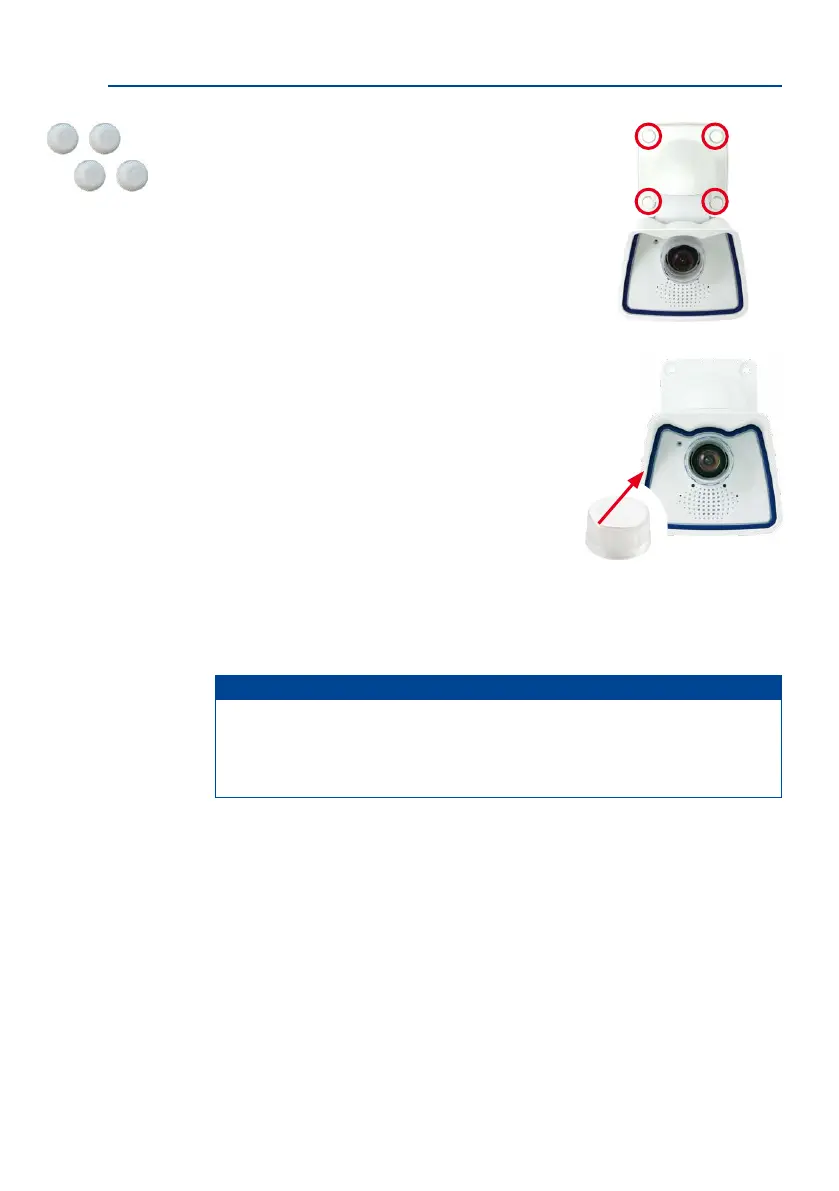
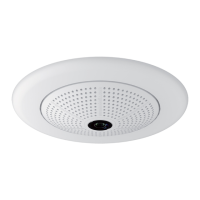
5. Attach the camera: Place the wall mount over the
drill holes and hold it against the wall. Then use the
four screws each with a washer and tighten them
using the appropriate wrench. Do not overtighten
the screws as this may damage the plastic mount.
Check that the screws are securely in place and place
the white caps on the screw heads. Then position the
camera as described in Section 3.2.
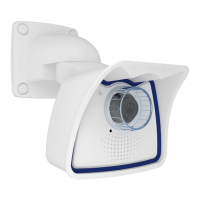
6. Clean the lens cover: Once you have removed the
white protective foil xed to the front of the lens cover,
clean the cover that has already been screwed on with
a clean so cotton cloth for optimal image results.
The cover does not have to be removed.
7. Establish a connection to the camera, check the
image: Establish a connection to the camera as
described in Section 3.1, «Manual and Automatic Operation – Overview» and the following
sections. The live image from the camera should be visible on the computer monitor.
Check the image section on the computer monitor.
Note
Make sure that you always use the
VarioFlex Mount
with
ceiling adapter*
when
installing
to ceilings
(see Section 2.3, «Mounting the Camera with Ceiling Mount*»).
*The ceiling mount is only included if this had been specied when ordering the camera!
Screw caps for fas-
tening screws