VS1 Operations and Maintenance Manual Operating the transmitter
Issue 3.1 2013-10-01 Page 2-11
Navigational buttons
There are six push-buttons on the right-hand side of the LCD display that allow navigation through
the UI pages, as well as modifying selected settings.
– Up and down - on menu and list screens, moves cursor up and down through the
associated page; on edit screens, increases and decreases the value of a parameter being
modified.
– Left - on menu and list screens, exits to the next higher level screen; on edit screens,
moves the editing cursor left, as applicable.
– Right - on menu and list screen, goes to the next lower level screen; on edit screens,
moves the editing cursor right, as applicable.
– Checkmark - on menu screens, goes to the next lower level screen; on edit screens, acts
as an “accept” or “save” function; in some cases the display will prompt its use.
– X - on menu and list screens, exits
– to the next higher level screen; on edit screens, acts as a “cancel” function; in some cases
the display will prompt its use.
Turning RF on and off
From any UI screen, pressing X and the up arrow simultaneously, toggles the RF on/off status. You
can also use the Main Menu -> RF On/Off screen to toggle the status.
Saving settings
Many of the UI screens allow for modifying a selected setting. Use the checkmark button to save a
change. Use the X button to cancel a change and revert back to the previously stored value.
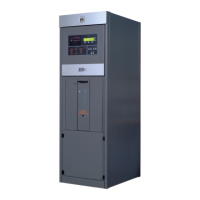
LEDs
There are four LEDs on the left-hand side of the LCD display that provide the operational status of
various sections of the transmitter - Exciter, Power Amplifier, Output Network and Power Supply
(see Figure 2.5 on page 2-10). The LEDs can glow green, amber or red. Typically, green indicates
normal operation, amber indicates a warning, and red indicates a fault or error. Refer to the
Troubleshooting section for more detailed information on LED status.