51
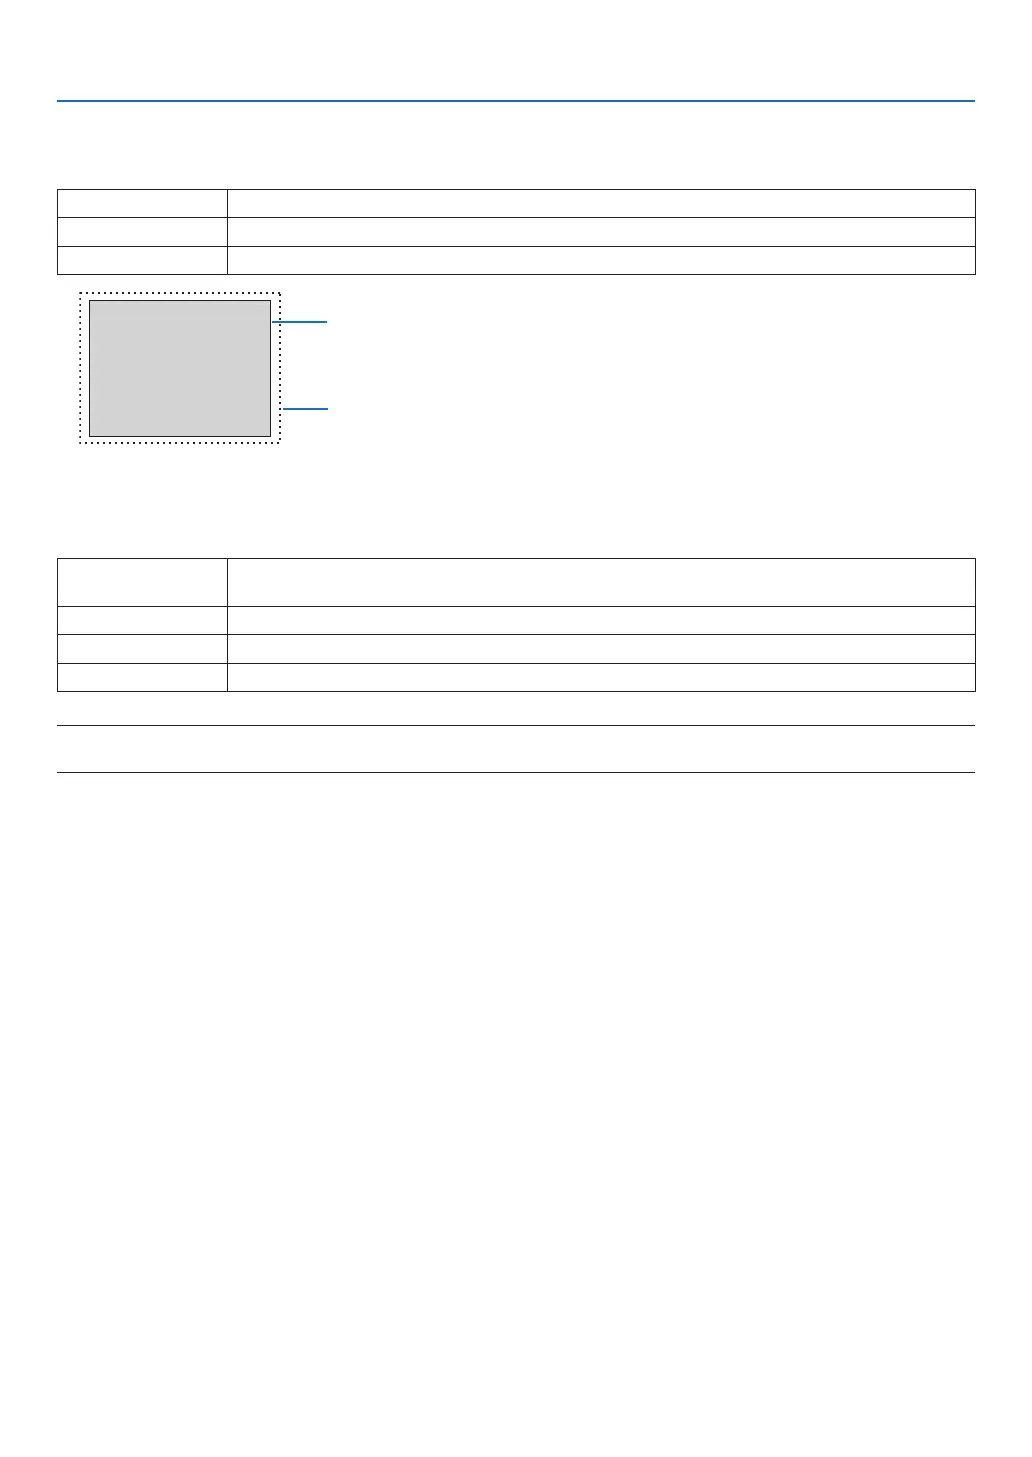
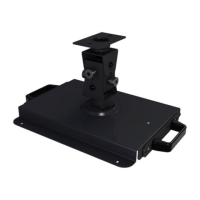
4. Using On-Screen Menu
4-3-5. OVERSCAN
Set overscan (process to cut the frame around the screen).
OFF Overscan will not be performed.
CROP Projects the image with the surroundings hidden.
ZOOM Enlarges the image to t the projection screen.
Projected image
Overscaned by 10%
4-3-6. IMAGE OPTIONS
When projecting an analog video signal, adjust the screen color shift, icker and position of the screen.
H TOTAL Adjust the screen brightness until it is constant (light and dark vertical bands do not appear). (Clock
frequency)
H START Moves the screen in the horizontal direction. (HORIZONTAL)
H PHASE Adjusts the phase so that the screen color shift and icker are minimized. (Phase)
V START Moves the screen in the vertical direction. (VERTICAL)
NOTE:
• The screen may be distorted while adjusting the clock frequency and phase but this is not a malfunction.
4-3-7. TEST PATTERN
Project a test pattern.
• Press the ◀/▶ button to change the pattern of the test pattern.
• Press the EXIT button to erase the test pattern.
• You can also display the test pattern by pressing the TEST button on the remote control.
The test pattern is displayed when checking the screen distortion during installation or when adjusting the focus.
We recommend that you adjust the focus 30 minutes or more after the test pattern is projected.