5
2.5 Power Up / Auto Calibration
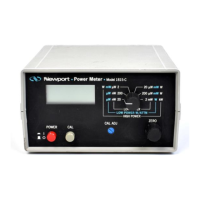
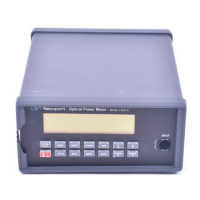
Turn on the 1830-C by depressing the red power switch, located in the lower
left-hand corner of the front panel, until it clicks and remains in its depressed
position. At power-up, the 1830-C will perform the following sequence:
1) Momentarily display all the segments on the display
2) Display the software version number
3) Perform an Auto-Calibration, designated by displaying CAL on the
display
4) Display the serial number of the detector/calibration module
(If no calibration module is installed, the meter will display 000 as the
serial number.)
5) Display the wavelength to which the meter is set (If no calibration
module is installed, the meter will display 0257nm as the wavelength.)
The auto-calibration process involves measuring amplifier offset voltages
which arise from aging and temperature effects. These offsets are then
appropriately corrected for during normal operation. The 1830-C will
automatically disconnect the input signal from the amplifier during the
auto-calibration mode. To achieve stable readings at the specified accu-
racy, auto-calibration should be executed after a minimum 60 minute warm-
up period. This can be done either by resetting the 1830-C with the RESET
button on the back of the meter, or by sending the auto-calibration remote
command, O.
NOTE
The 1830-C must be powered-up with the calibration module connected to
the meter in order for the calibration data to be downloaded into the 1830-C.
Always power off the meter before removing or inserting the calibration
module.
 Loading...