Chapter 5 Laser Unit
5.2 C-LU2 Two-laser Unit, and C-LU3 Three-laser Unit
1-114
2
Attaching the fiber coupling
1. Close all laser shutters.
Figure 5.2-17
2. Tighten the three screws and attach the fiber
coupling unit. Since this will be rotated at a
subsequent step, do not tighten excessively at this
time. Tighten so that the units can still be rotated by
inserting the tool in the tool opening.
Make sure that the key slot in the fiber coupling is at
the bottom (different from EX).
Handle the coupling carefully to keep out debris.
3
Transmitting Ar laser light through the fiber
WARNING
Never look directly at the fiber tip. Always monitor laser emissions by aiming the tip down
onto a sheet of paper.
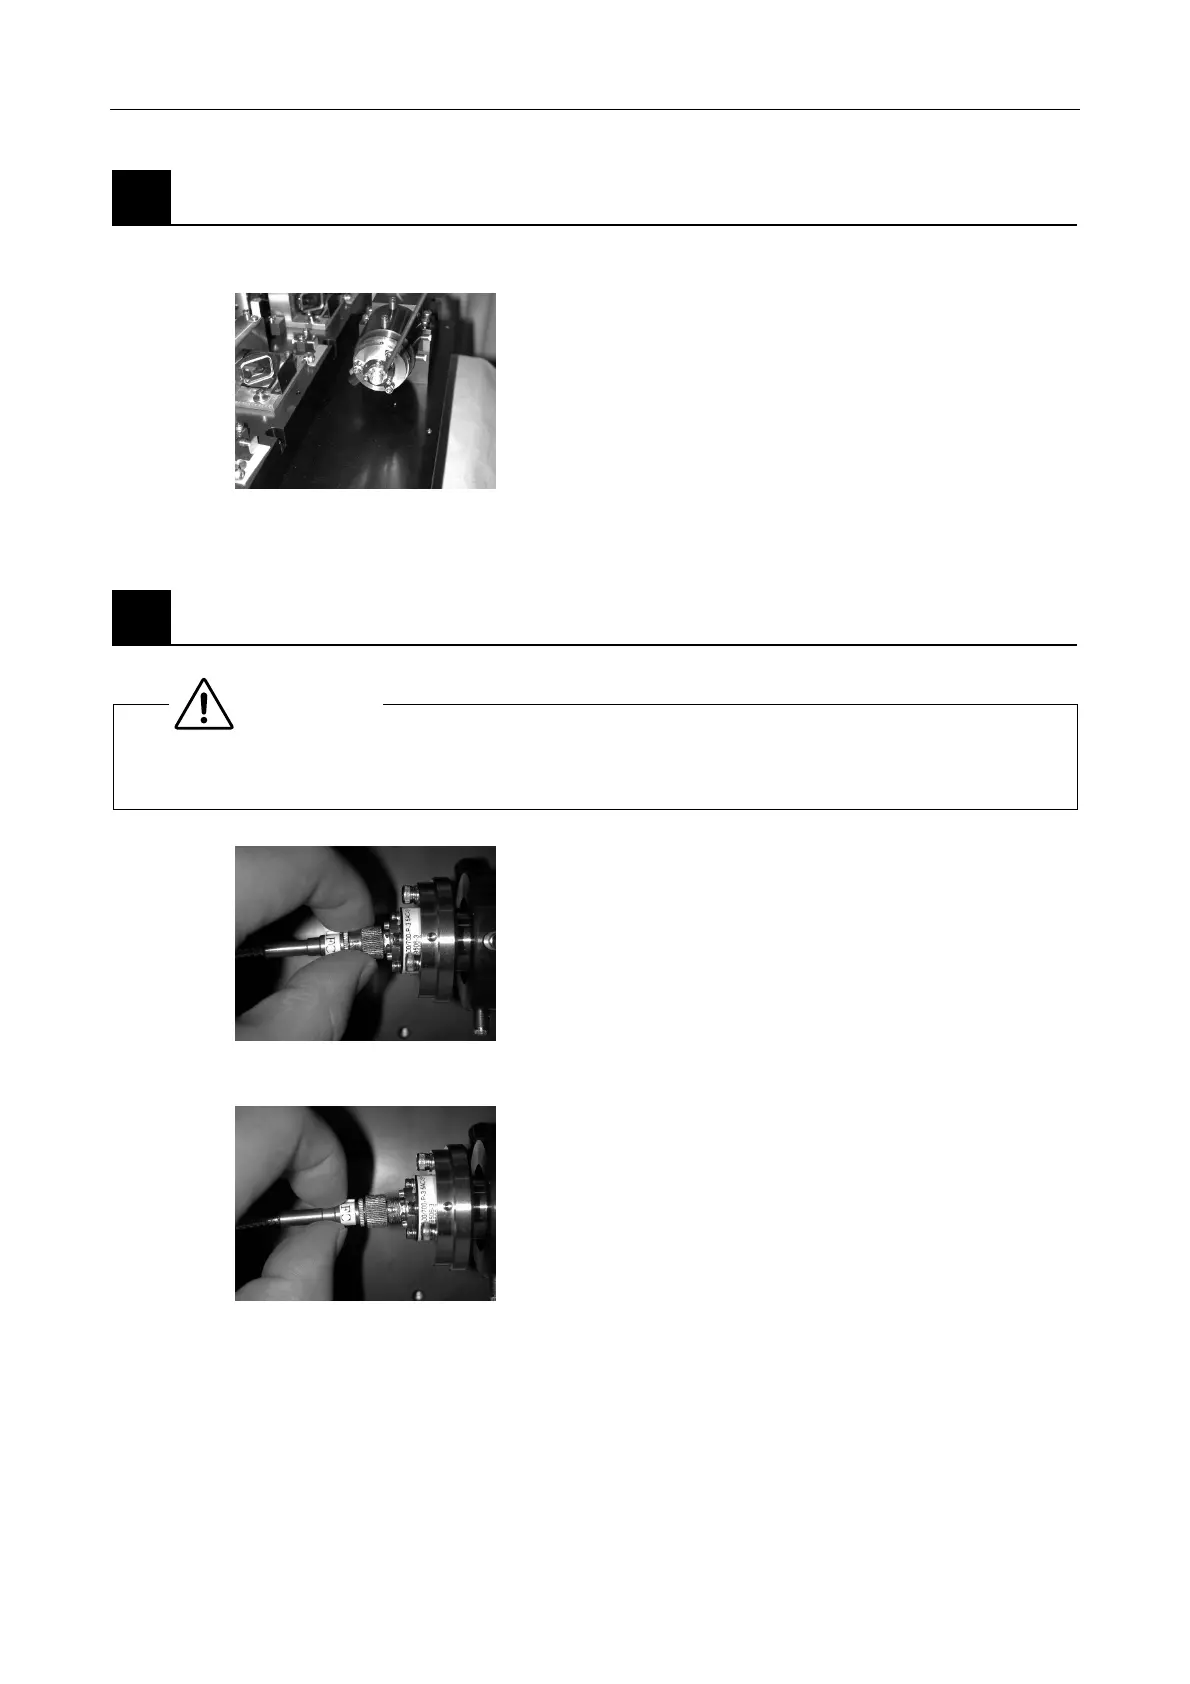
Figure 5.2-18
1. Carefully align the end of the fiber (the end without
the tag) with the key slot in the coupling and insert as
far as it will go. Tighten the fiber connector.
Gradually tighten, stopping when light is first emitted
from the tip of the fiber.
Figure 5.2-19
2. If no light is emitted from the end of the fiber in step
1., loosen the fiber connector approximately 10
degrees, gradually pull out the fiber, and observe
whether light is emitted. (Light is emitted more easily
if defocused.)
If this is not effective, repeat the steps of loosening
the connector and pulling the fiber a couple of times.