Chapter 2 Preparations
2.2 Overview of Setup Procedure
1-69
2.2 Overview of Setup Procedure
1
2
• Attaching the light source (TI-TIRF, TI-TIRF-E, or TI-PAU)
• Attaching the dichroic mirror (TI-PAU only)
• Attaching the epi-fl filter turret (TI-FLC, TI-FLC-E, or
TI-FLC-E/HQ)
• Assembling the microscope
• Attaching the field diaphragm unit
• Attaching the laser safety cover (TI-TIRF or TI-TIRF-E)
• Mounting the filter cubes
• Attaching the camera
3
• For two-laser unit and three-laser unit
• For three-laser unit EX
• For the four-laser module A
• For the four-laser PS rack
4
• Connection to the Shutter Unit
• Connection to the fiber light source (TI-TIRF, TI-TIRF-E, or
TI-PAU)
• Replacing the optical path switch mirror (if necessary)
5
• Laser safety check
• Check sheet entry
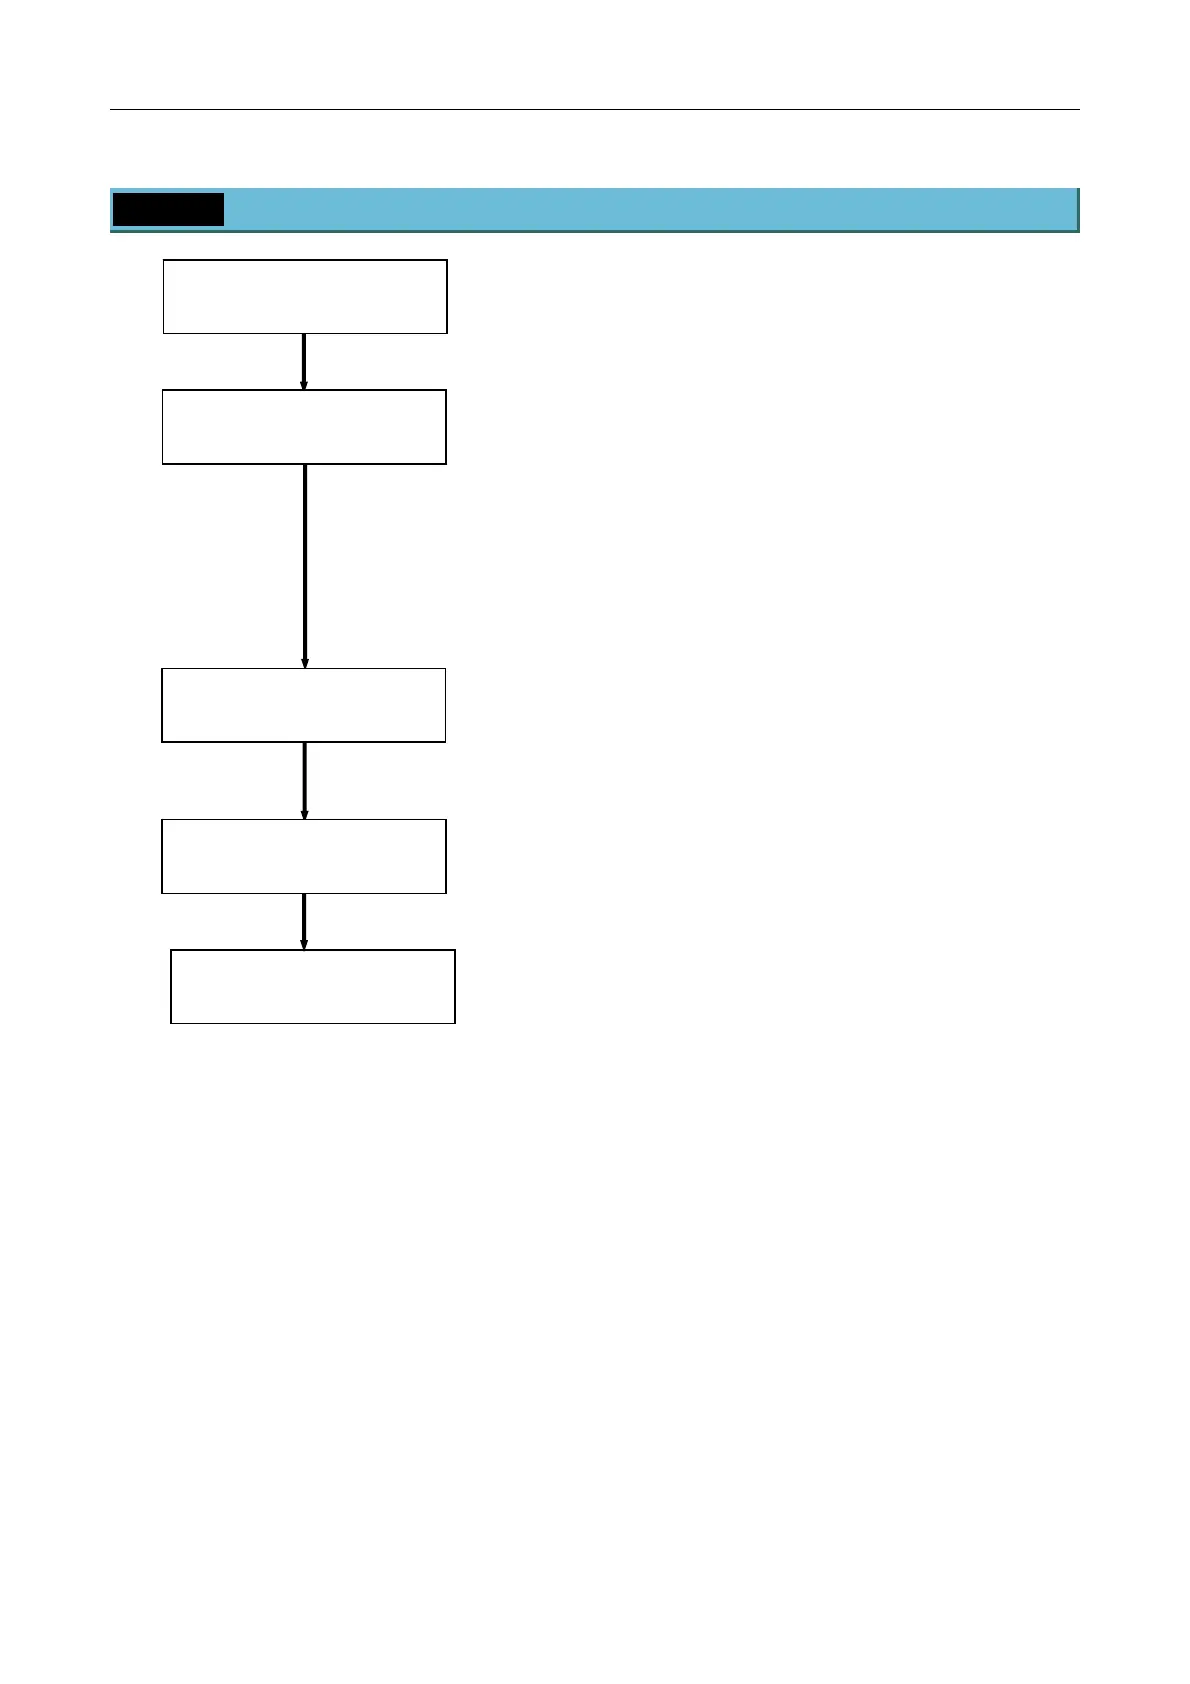
Setting Up the PC and
Operation Software
(Chapter 3)
Confirmation and
Check Sheet
(Chapter 7)
Setting Up the Microscope
(Chapter 4)
Laser Unit (Chapter 5)
Connection between the Laser
Unit and the Microscope
(Chapter 6)