Chapter 5 Laser Unit
5.4 LU4A Four-laser Module A
1-166
5
405-nm (Coherent) solid-state laser installation
Figure 5.4-27
1. Attach a black ring to the L2 laser inlet of the LU4A
body.
Figure 5.4-28
2. Install the 405C N-STORM laser adapter
(MXA22115) to L2 of the LU4A.
Figure 5.4-29
3. Install the laser to the supplied laser adapter part
(small) with the supplied four screws so that the laser
is pressed against the black ring. Open the shutter
incorporated in the end of the laser body before
installing the laser. (The left knob in the figure)
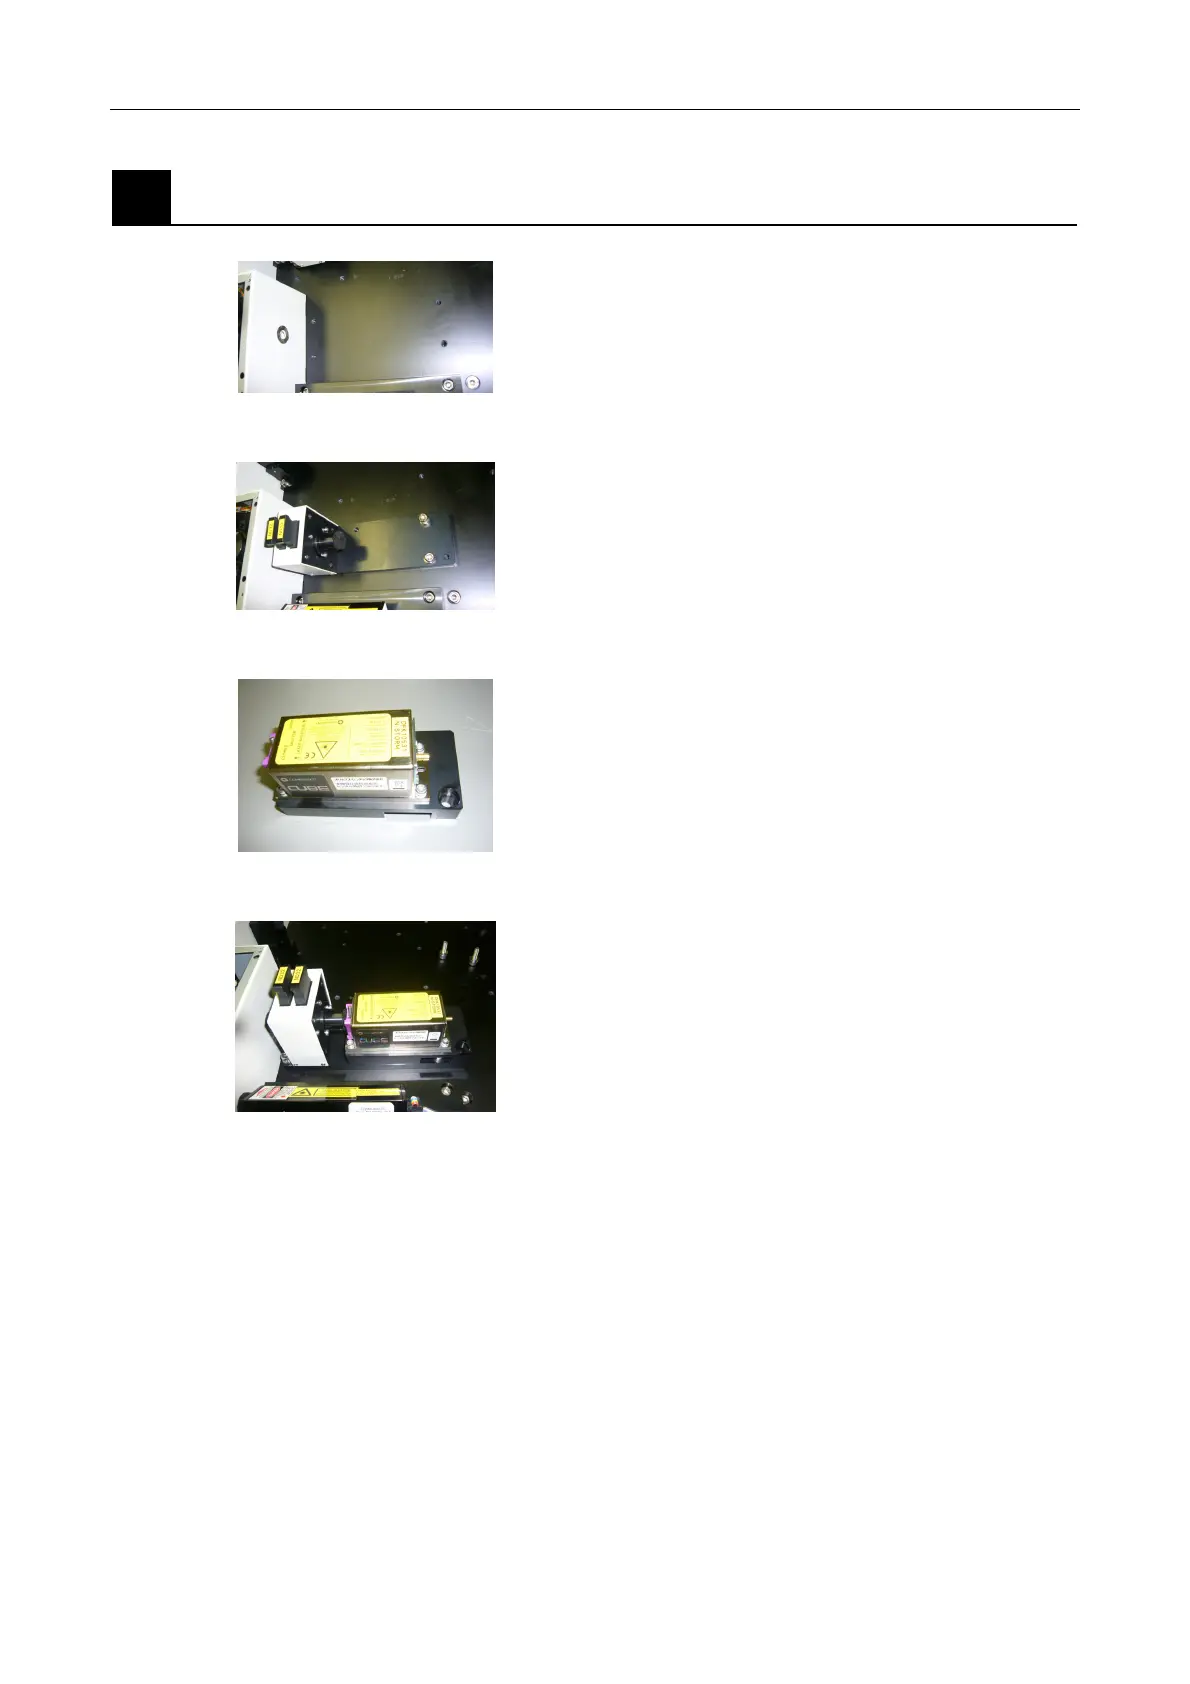
Figure 5.4-30
4. Install the laser adapter part (small) installed in step
3 to the laser adapter (table with ND filter attached)
with two screws.
5. Set the ND filter installed in the laser adapter to the
OUT state (removed upward) before adjusting the
laser.
* This figure shows the IN state (pushed
downward).
This is the end of the laser installation.