Revision 6
NSP
3001·5
CONE
SEAL
NSP
3001·1
VALVE
BODY
NSP
3001·4
CAP
NSP
3001·3
WASHER
NSP
3002·20
RUPTURE
DISC
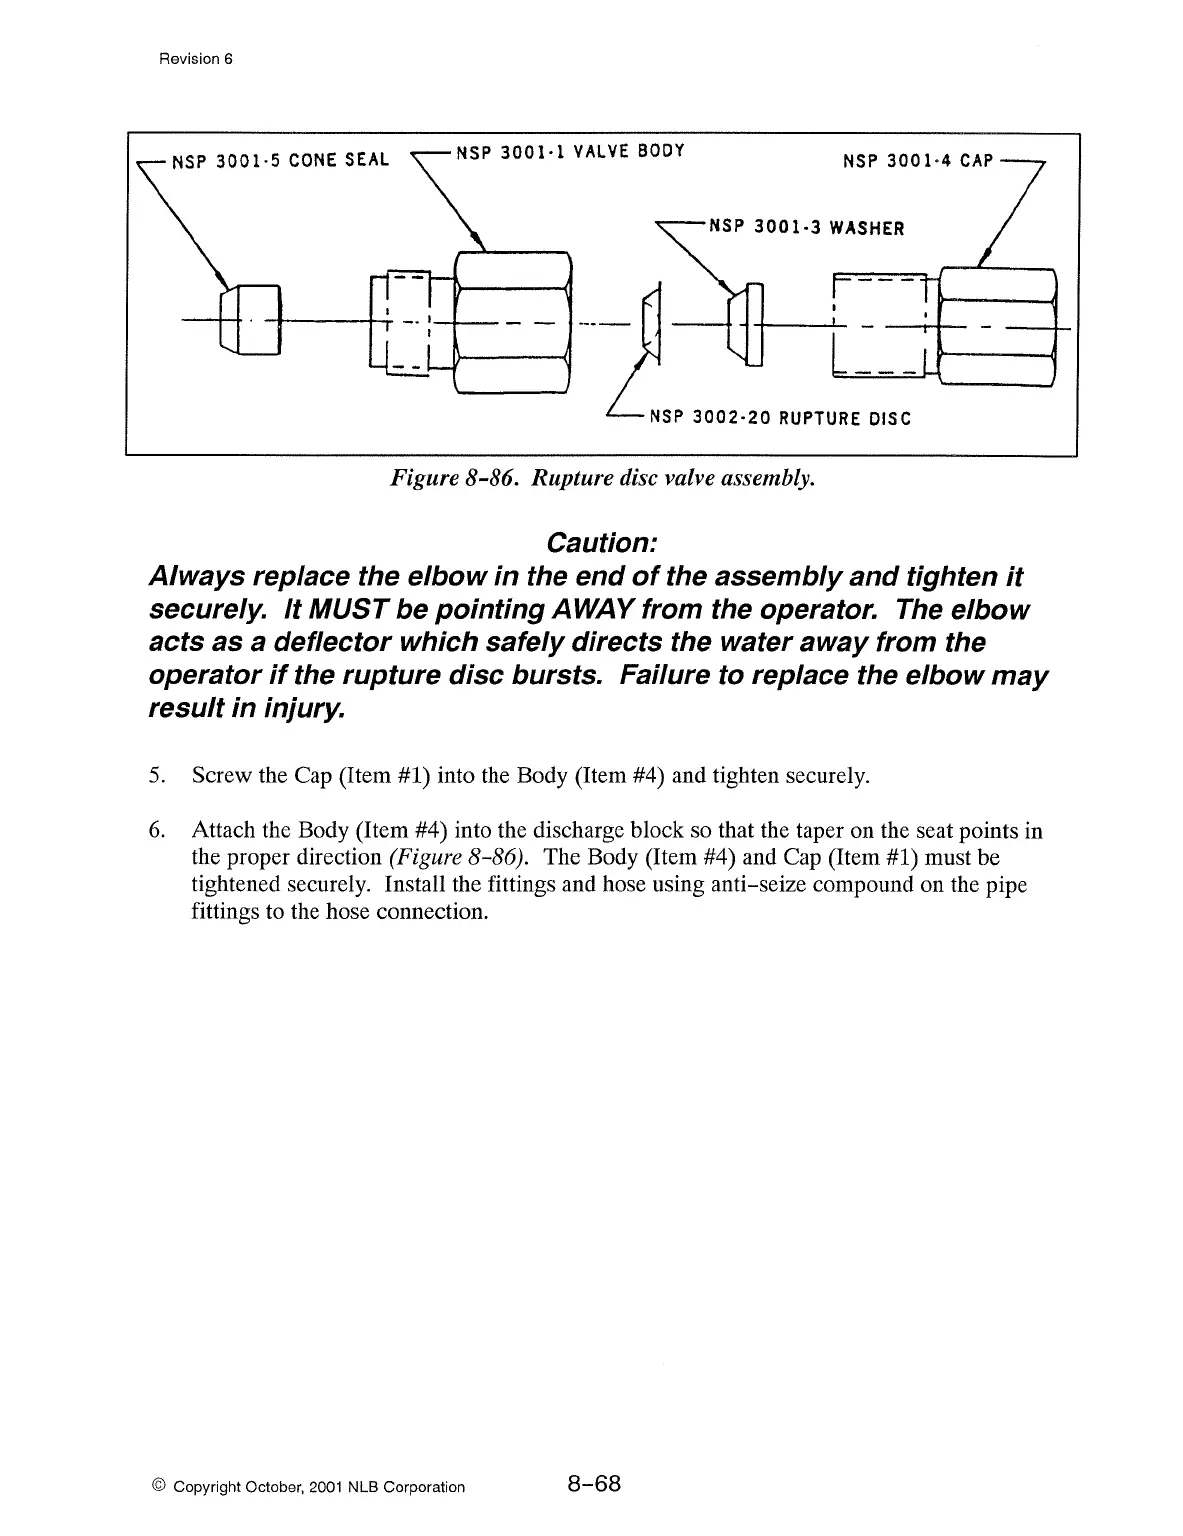
Figure 8-86. Rupture disc valve assembly.
Caution:
Always replace the elbow in the end
of
the assembly
and
tighten it
securely. It
MUST
be pointing AWAY from the operator. The elbow
acts
as
a deflector which safely directs the water
away
from the
operator
if
the rupture disc bursts. Failure
to
replace the elbow
may
result in injury.
5.
Screw the Cap (Item #1) into the Body (Item #4) and tighten securely.
6.
Attach the Body (Item #4) into the discharge block so that the taper on the seat points in
the proper direction
(Figure 8-86). The Body (Item #4) and Cap (Item #1) must be
tightened securely. Install the fittings and hose using anti-seize compound on the pipe
fittings to the hose connection.
© Copyright October,
2001
NLB Corporation
8-68