7210 SAS-D CHASSIS INSTALLATION GUIDE Installing the Chassis
Issue: 08 3HE 10087 AAAA TQZZA Edition 01 31
3.2 Installing the Switch
3.2.1 Rack Mounting
Before starting this procedure, ensure that you have the following items:
• bracket mounting kit (sold separately as 3HE06696AA 7210 SAS-D rack
mount kit)
• four additional screws and washers (not provided in the Bracket Mounting Kit)
for installing the switch in the rack
• torque screwdriver that is compatible with the additional screws
• an available grounding point near the installation location
To rack-mount the 7210 SAS-D:
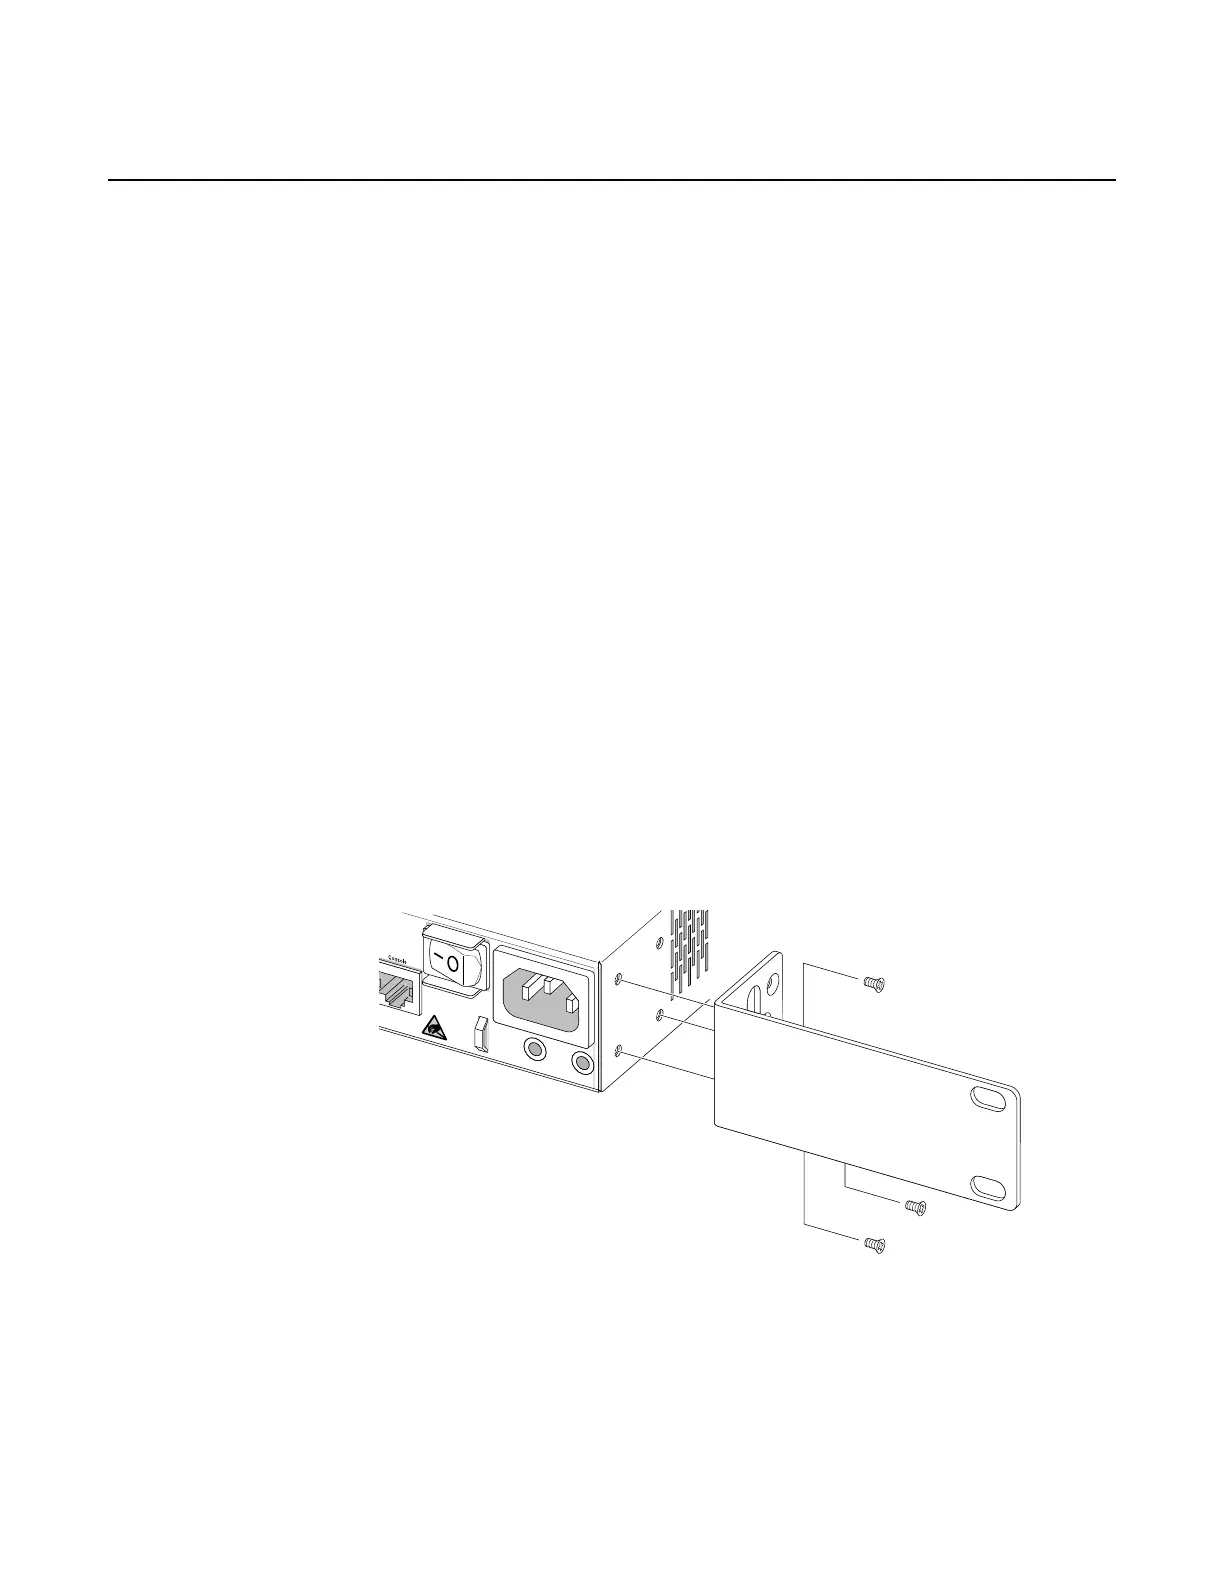
Step 1. Attach the brackets from the Bracket Mounting Kit to the switch by
positioning the bracket holes to the switch as shown in Figure 11, and using
the screws provided in the Bracket Mounting Kit (sold separately). Tighten
the bracket-mount screws to a torque of 9 lbf-in (1.02 N·m) maximum. Do
not over-tighten.
Figure 11 Attaching the Brackets
Step 2. Mount the switch to the rack by positioning the attached brackets against
the rack, and then using the additional screws and washers to attach the
brackets to the rack as shown in Figure 12. Tighten the rack-mount screws.

 Loading...