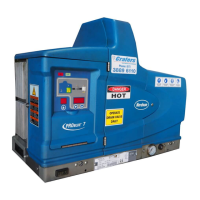
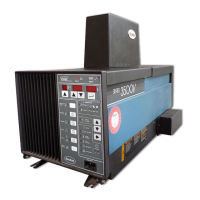
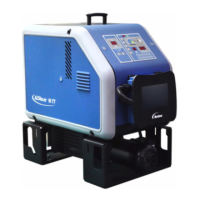
Tank key
Left display and scroll key
Enter key
Ready LED
Operation
4-19
Part 1024496_06
2014 Nordson Corporation
Adjusting Component Temperatures
You can adjust the the set‐point temperature of heated components using
the following methods:
Global—The tank and all hoses and guns are set to the same
set‐point temperature.
Global‐by‐component group—All of the hoses or all of the guns are
set to the same set‐point temperature.
Individual Component—The set‐point temperature of the tank
and each hose and gun is adjusted independently.
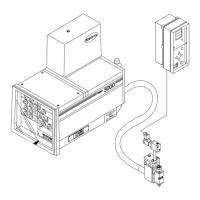
Before adjusting set‐point temperatures, confirm that each hose/gun pair
is connected to the correct hose/gun module. For example, hose/gun pair 1
should be connected to the first receptacle (lowest) on hose/gun module 1
(lowest module). Refer to More About Heated Components earlier in this
section for information about hose/gun modules.
To adjust set‐point temperatures using the global method
1. Press and hold the Tank key for three seconds.
The left display flashes 1.
2. Scroll the left display to 0 (flashing).
The right display indicates all dashes (‐ ‐ ‐ ‐) and the LEDs on all of
the component keys turn green.
3. Press the Enter key.
The right display flashes.
4. Use the keypad to enter the set‐point temperature recommended by
the manufacturer of the hot melt. Refer to the technical data
sheet provided by the manufacturer of the hot melt to determine the
optimal set‐point temperature.
NOTE: If the keypad or the right‐display scroll keys have no affect on the
right display, the melter is password protected. You must enter a valid
password before you can change set‐point temperatures. Refer to
Entering the Melter Password later in this section.
5. Press the Tank key.
All components begin to heat or cool to the new global
set‐point temperature. When all of the components reach their
set‐point temperature, the ready LED turns on (green).

 Loading...
