8.7 User Interface
It is possible to control the projector using the remote control, via either wired or wireless LAN, or via the
projector keypad.
The projector can also be controlled using a PC-application, available separately, using ASCII commands over
TCP/IP. You will need to download, install and run this application on a compatible computer that is on the same
network as the projector(s). For more information about the application, please check the manufacturers
website or contact your dealer.
8.8 Menu System
The Menu system gives access to core projector controls and settings via an on-screen Display.
NOTE! Menu functionality may vary slightly from the illustrations / descriptions below depending on
projector variant and product software version.
8.9 Menu Navigation
The menu is organized hierarchically. Options appear according to user selection.
Pressing the Menu button toggles the menu on and off. Navigate the menu using the arrow keys (left, right, up,
down) and the OK and Back buttons. Select the desired option using the arrow keys, press OK to select. In some
instances, numeric input is required. Press Back to step up in the hierarchy.
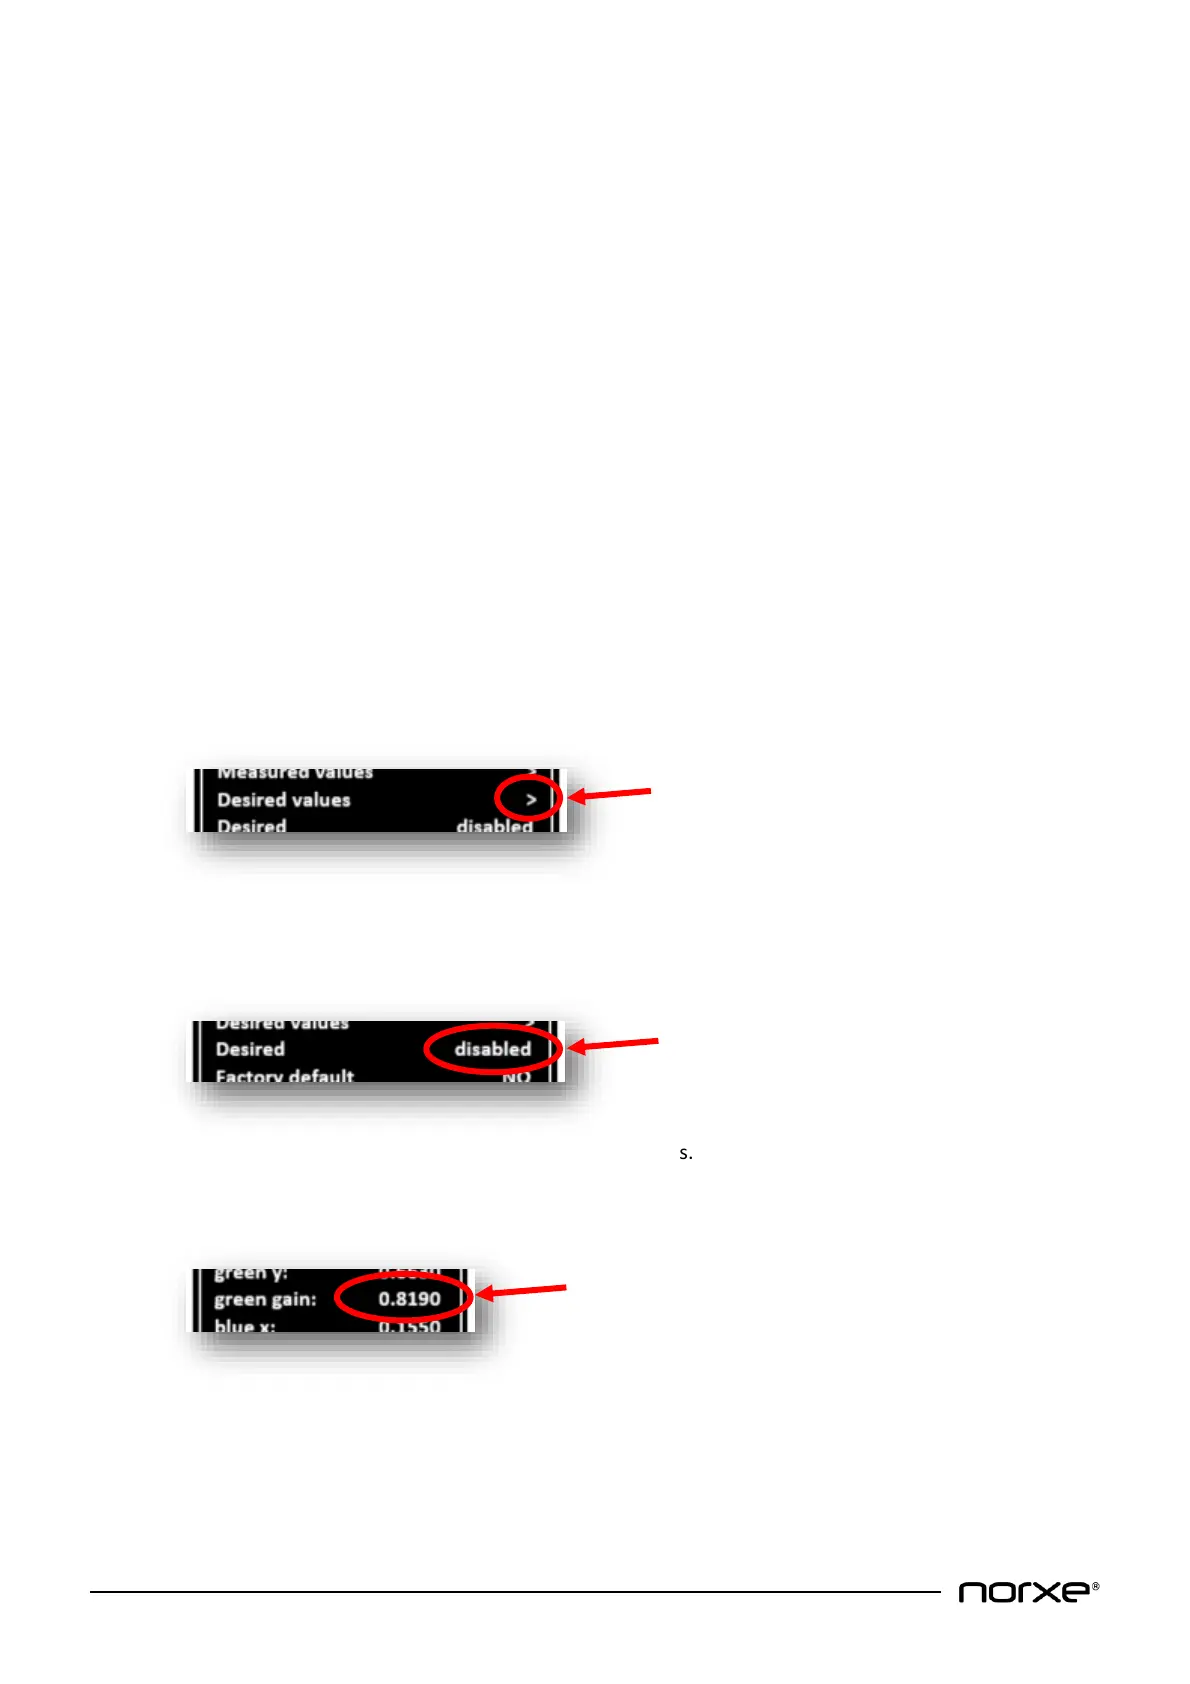
Sub-menus are indicated with an arrow to the right (>) like this:
Press the OK button to navigate to the underlying sub-menu.
Selected (or default) options are shown where there is no further sub-menu like this:
Push the arrow keys left or right to select between the alternatives.
Numbers are shown like this:
Use the number keys on the remote control or the projector keypad to change values.