12
Fig.10
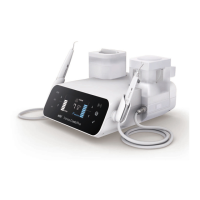
(1) Insertion or Removal of Bur
The chuck is opened by turning the Chuck Control
Ring to an open position. The chuck is loosened
and the bur can be removed. By turning the Chuck
Control Ring in the LOCK direction, the chuck is
closed and the bur can be mounted. At this time,
turn the ring until it clicks. (Fig. 9)
(2)
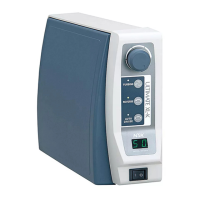
Cleaning and Replacement of Chuck
(1) Removal of Chuck
To remove the chuck, open the Chuck
Control Ring and turn the chuck
counterclockwise with the provided spanner
wrench. (Fig. 10)
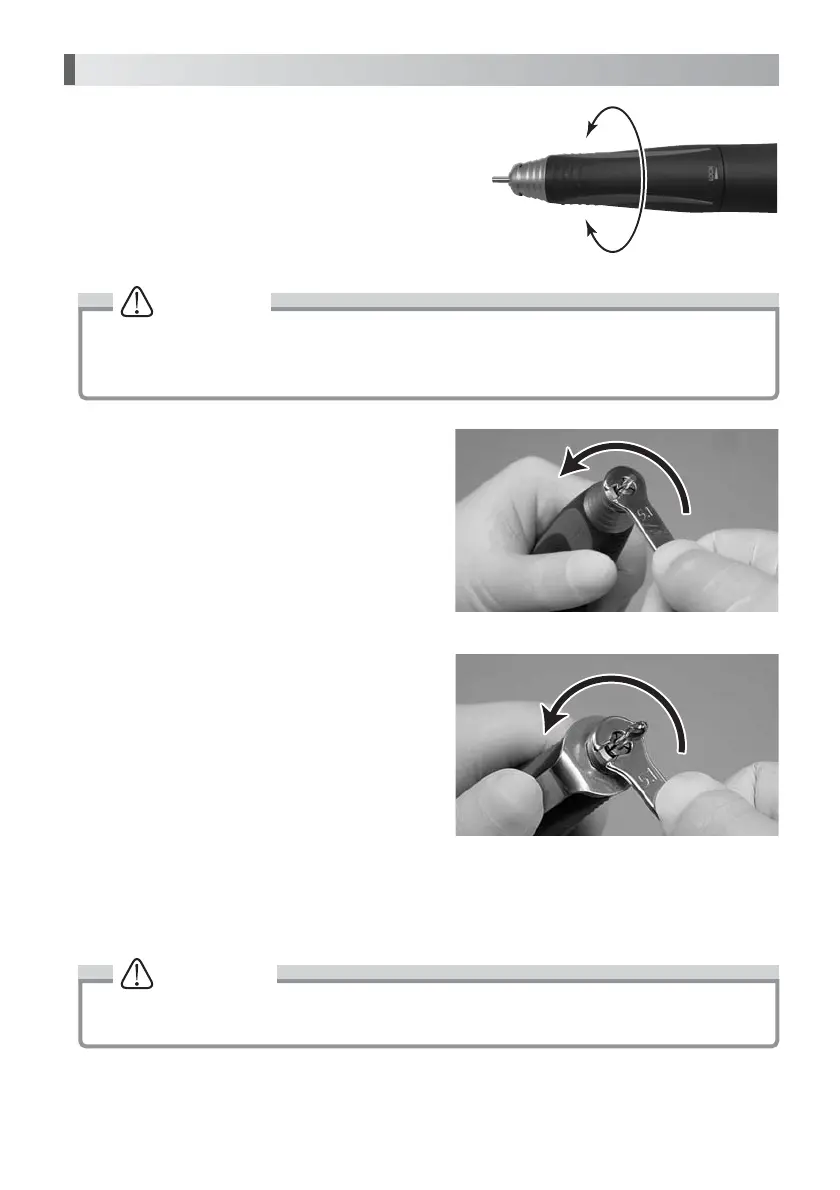
* If a bur having a large diameter of a cutting
part is used under a high torque, the chuck
may rotate in the close direction and the bur
may be stuck and cannot be removed. In
this case, align the nose's slit and spindle's
spanner position (flat part), and apply an L
spanner to fix the spindle. Open the Chuck
Control Ring and turn the chuck
counterclockwise with the provided spanner
wrench to remove it. (Fig. 11)
(2) Cleaning of Chuck
To keep accuracy for the Chuck remove and clean the chuck as frequently as possible in the
ultrasonic cleaner. Clean at least once a week.
12. Handling of Motor and Handpiece
Fig.9
CAUTION
• Do not turn the Ring during motor rotation.
• Do not turn a motor, when it has not attached bur or the Ring Open position. It may be
reasons for the failure or overheating of the handpiece.
CAUTION
Neglecting to clean the chuck for a long time is very dangerous because wax, gypsum,
etc., accumulate in the chuck and the bur is caught insecurely, causing runout.
OPEN
LOCK
Loosen
Loosen
Fig.11
Loosen
Loosen
 Loading...