2.3 Printing Settings
2.3.1 External Printers Configuration
=======
Settings
2
===
Printing Settings
External Printing
Set Receipt
Print Density: 6
No Paper Detect
1
===
System Settings
Authority Settings
Keyboard Settings
Printing Settings
1
=== NTS ===
P Settings
R Registration
X PLUS&Departments
Z Reports
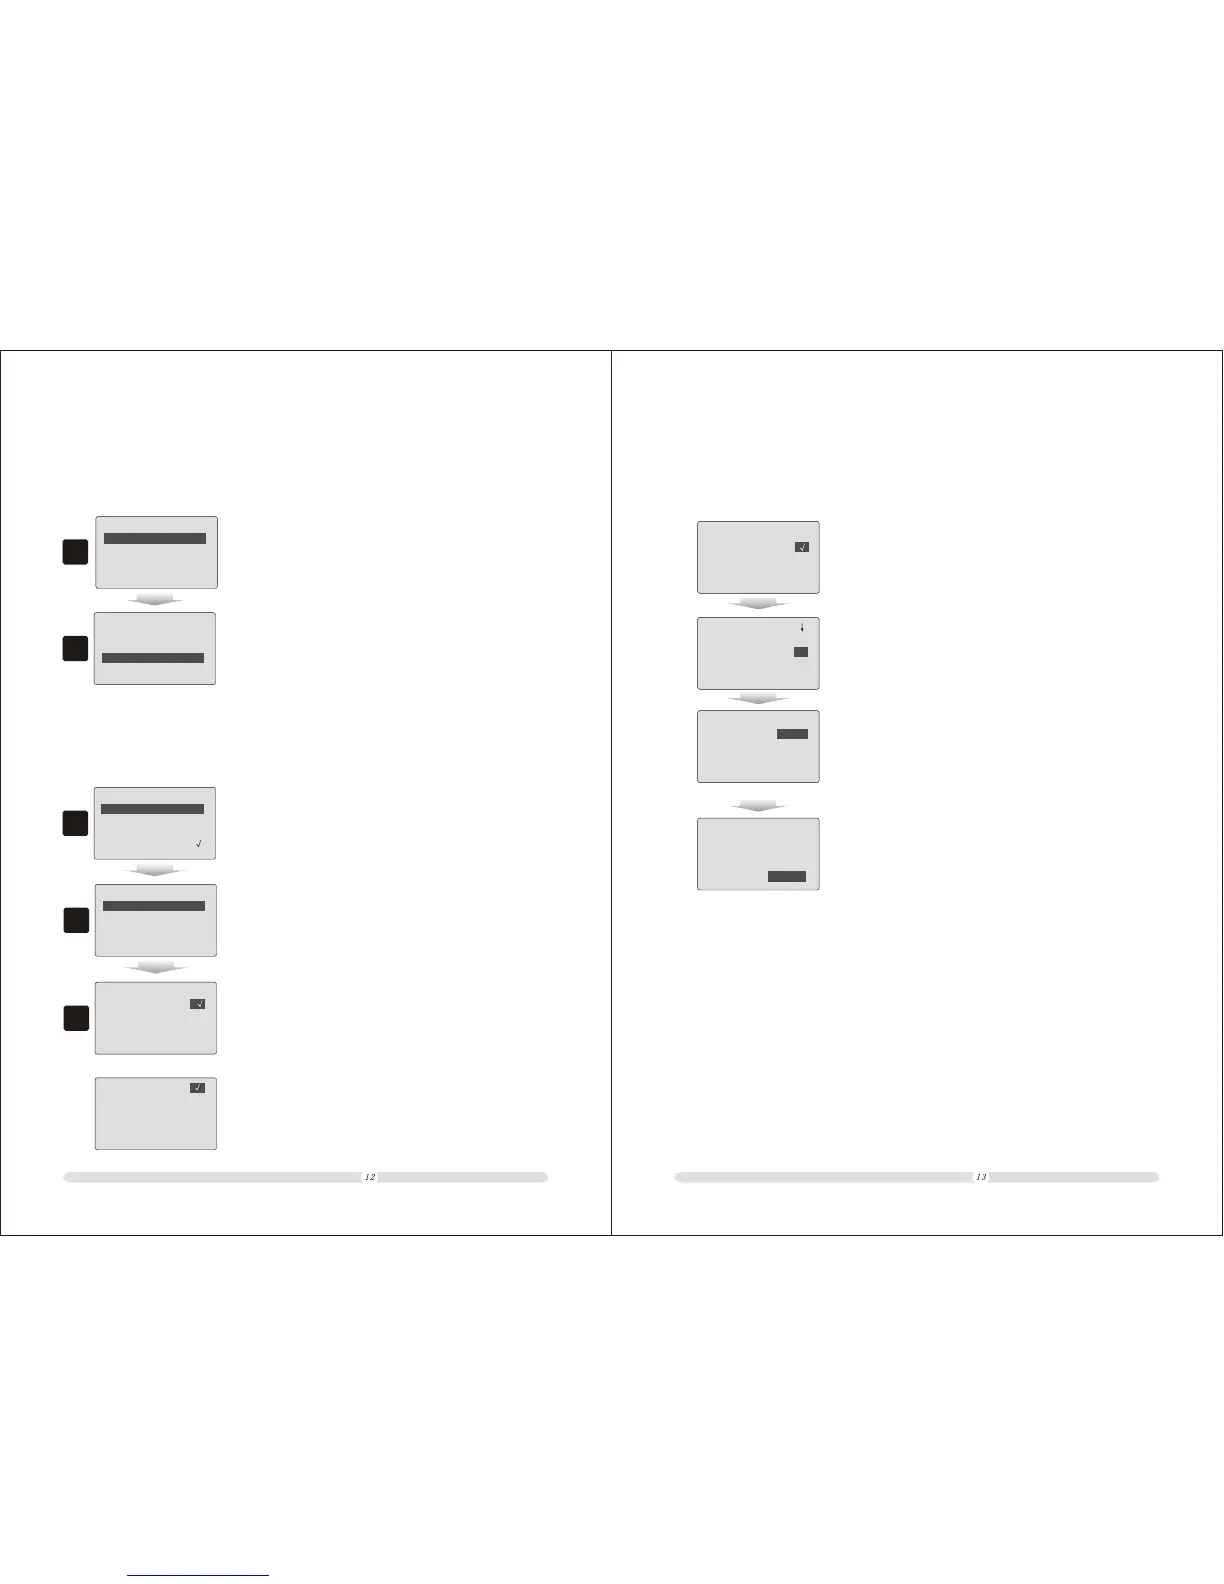
1. Select “Settings” in main menu and press the “Enter” key;
=======
2. In “Printing Settings”, user can define what to be printed out on
receipt and how the information placed on the receipt. In “Settings”
menu, move cursor to “Printings Settings” option, and then press
“Enter” to enter into printing settings.
1. In “Printing Settings” interface, select “External Printers” option
and press “Enter”;
ECR User`s Manual ECR User`s Manual
The cash register could connect to outside printers whether as a kitchen printer or servo printer.
=== ===
Port A
Port B
2
External Printers
2. There are two Serial ports for outside connections, Port A and
Port B. Select the port printer will be connected to, and then
press “Enter”;
3
3. In the “External Printers” parameter list, users can define
the printer to be used as kitchen printer or servo printer.
As a kitchen printer, there will be no price information on
the receipt. As a servo printer, the receipt printed out will
be totally the same as register printer. Also, users can define
whether to cut receipt or not (only for printers which
has auto cutter) and double the word height or not.
#A Cancel Printer:
Kitchen Printer:
Servo Printer:
Cut Receipt: x
Double-Herght : x
Kitchen Printer:
Servo Printer:
Cut Receipt: x
Double-Herght : x
#B Cancel Printer:
==
Set Receipt Printing
Print Receipt
Print LOGO X
Set Receipt Head
Set Receipt Tail
==
1. Users can select to printer receipt or not;
2. Users can select to print LOGO on the receipt or not;
3. Users can customize the content of receipt head and tail.
Users could customize up to 9 lines for each.
2.3.2 Set Receipt
Users could customize receipt head and tail. In “Printing Settings” interface, select “Set Receipt”
and press “Enter”.
=====
======
Set Receipt
Set Receipt
===
======
Holding Bill Print
Holding Bill Print
kitchen X
Receipt : X
Copy Receipt:
Print Double-Height:
Cancel
Multi
4. Users could select whether to print customer receipt for holding
bills or not;
5. Users could select whether to print kitchen receipt for holding
bills or not;
6. Users could define copy quantity when performing copy
receipt. There are two options, Single and Multi. “Single”
allows only one copy for each receipt; “Multi” allows any
copy quantity for each receipt and the quantity depends on
cashiers' performing of copy function.
======
Set Receipt
======
Copy Receipt:
Print Double-Height:
Multi
Cancel
7. Users could define stresses to specific information. The stress
will be emphasized by doubling the height. There are five
options, double height for “Full Receipt”, “PLU Info”, “Pay
Way”, “PLU Info & Pay Way” or “Cancel”.
 Loading...