NVIDIA DGX A100 Service Manual
3. Make sure that the latches are up and locked in place.
8. Install the new DIMMs from the upgrade kit to CPU-1 slots I0, I1, J0, J1, K0, K1, L0, L1, M0, M1,
N0, N1, O0, O1, P0, and P1.
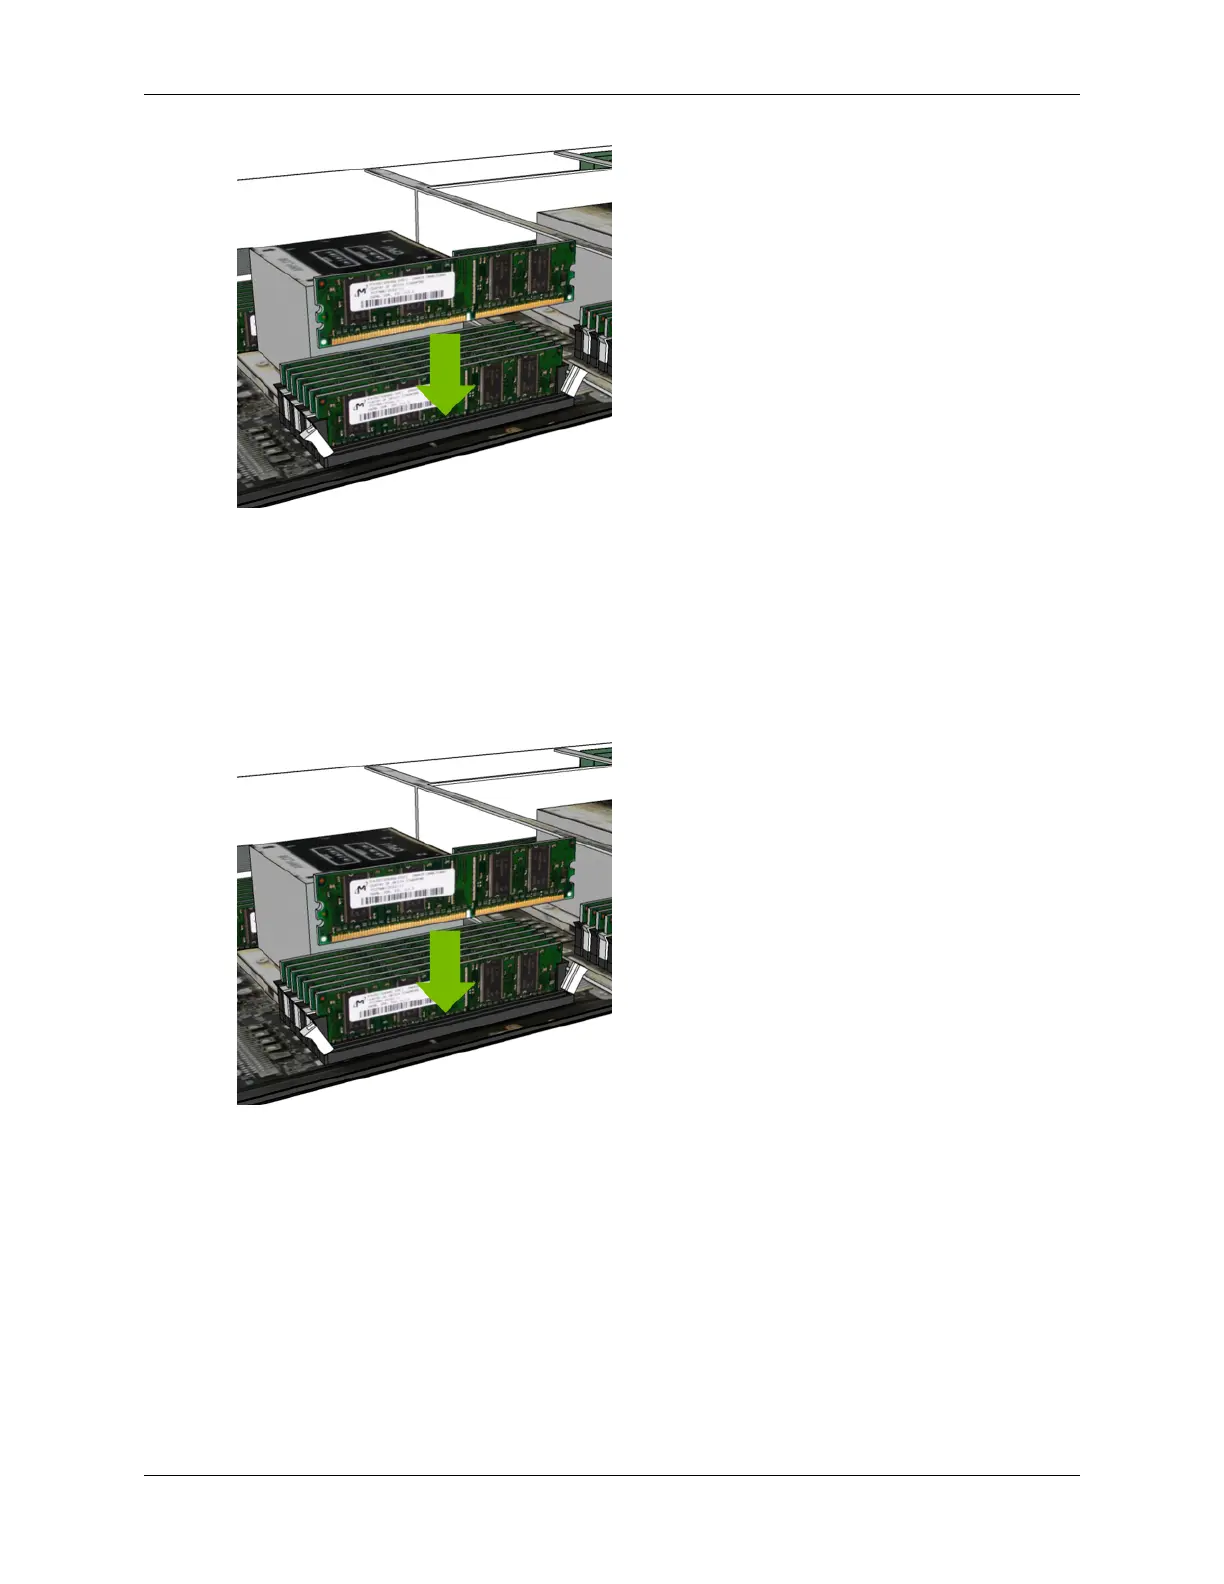
1. Make sure the socket latches are open.
2. Position the DIMM over the socket, making sure that the notch on the DIMM lines up with
the key in the slot, then press the DIMM down into the socket until the side latches click in
place.
3. Make sure that the latches are up and locked in place.
9. Install the three motherboard air baes, replace the motherboard tray lid and then install the
motherboard tray.
Refer to the instructions in the section Reinstalling the Motherboard Tray.
10. Connect all the cables to the motherboard tray.
11. Install all the power cords.
12. Power on the system and log in.
13. Conrm that the total memory is now 2 TB.
60 Chapter 13. DIMM Upgrade

 Loading...