NVIDIA DGX A100 Service Manual
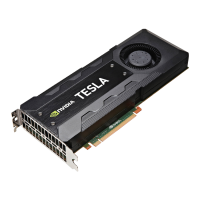
6. Remove 8 DIMMs from CPU-1 slots I1, J1, K1, L1, M, N1, O1, and P1
Press down on the side latches at both ends of the DIMM to eject the module from the slot, then
pull the DIMM out of the slot.
7. Carefully insert the 8 DIMMS that you just removed into CPU-0 slots A0, B0, C0, D0, E0, F0, G0,
and H0.
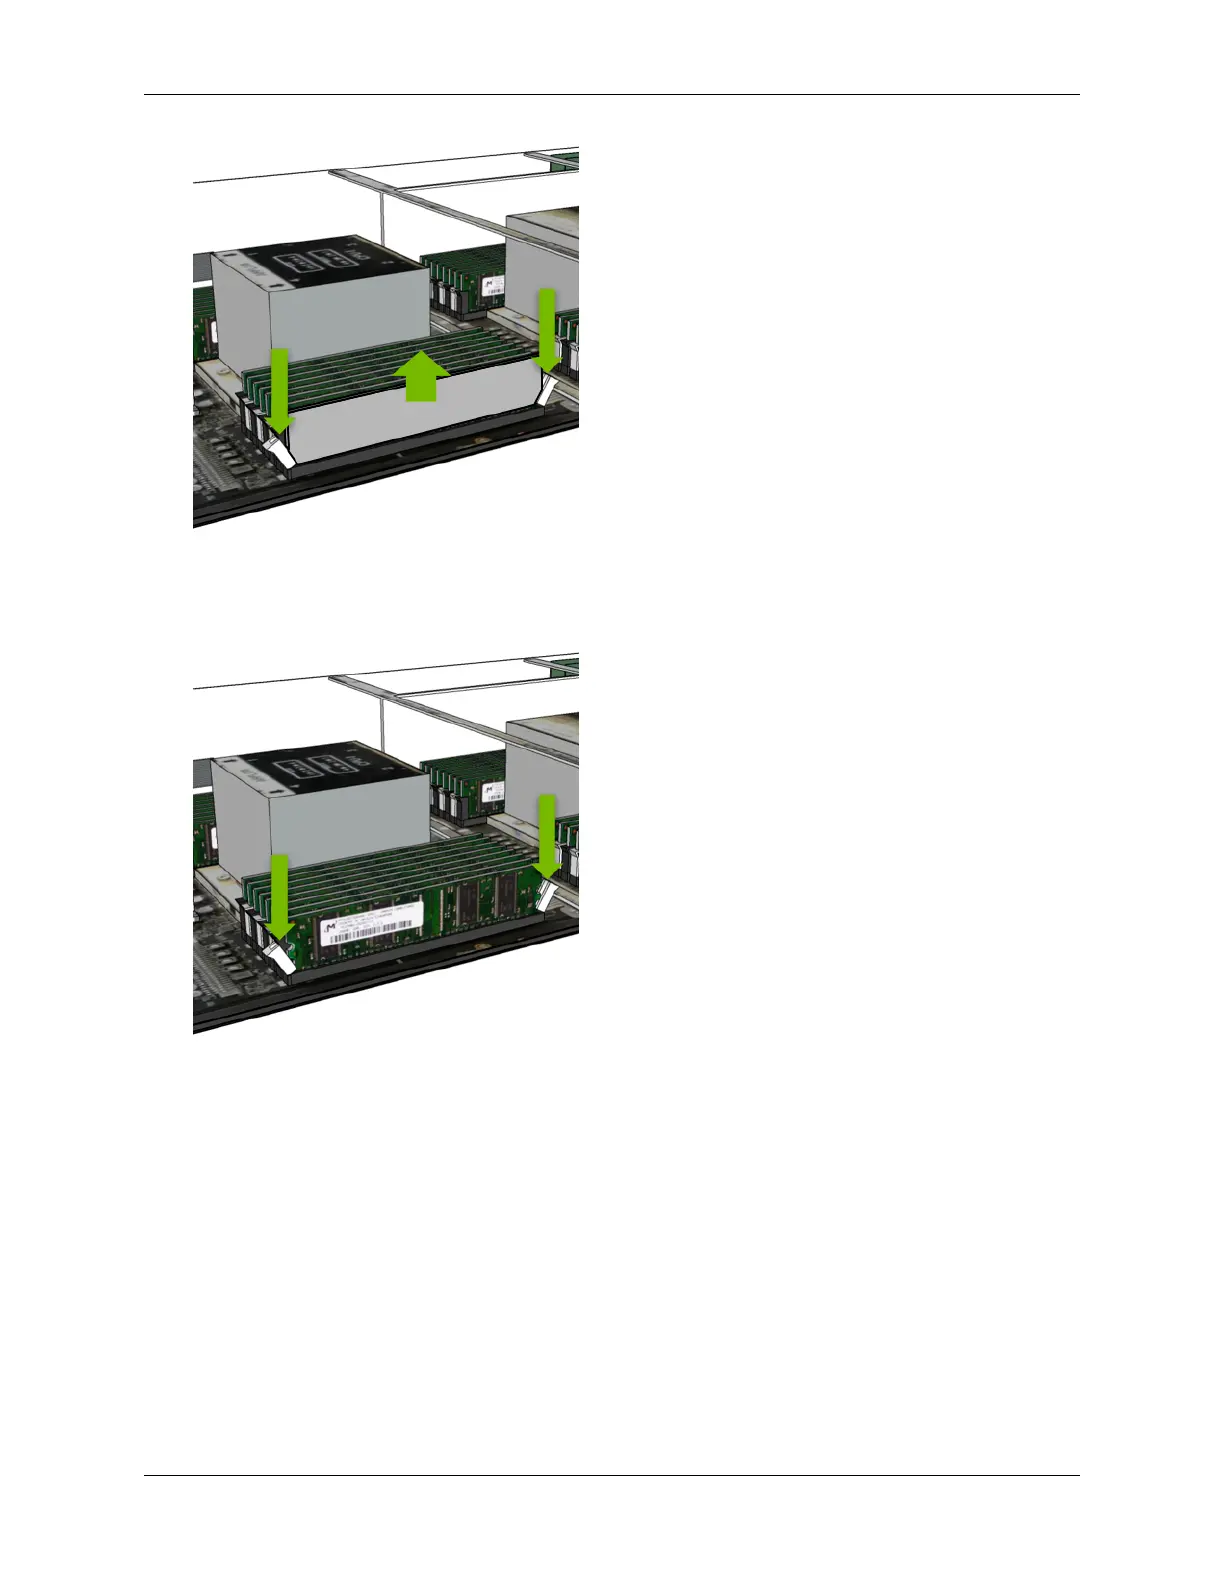
1. Make sure the socket latches are open.
2. Position the DIMM over the socket, making sure that the notch on the DIMM lines up with
the key in the slot, then press the DIMM down into the socket until the side latches click in
place.
13.2. Upgrading the DIMM 59

 Loading...