EasyManuals Logo

Oki B6200 Series Setup Guide

Oki B6200 Series
66 pages
To Next Page IconTo Next Page
To Previous Page IconTo Previous Page
Page #27 background imageLoading...
Page #27 background image
INSTALLATION AND RELOCATION PROCEDURE > 27
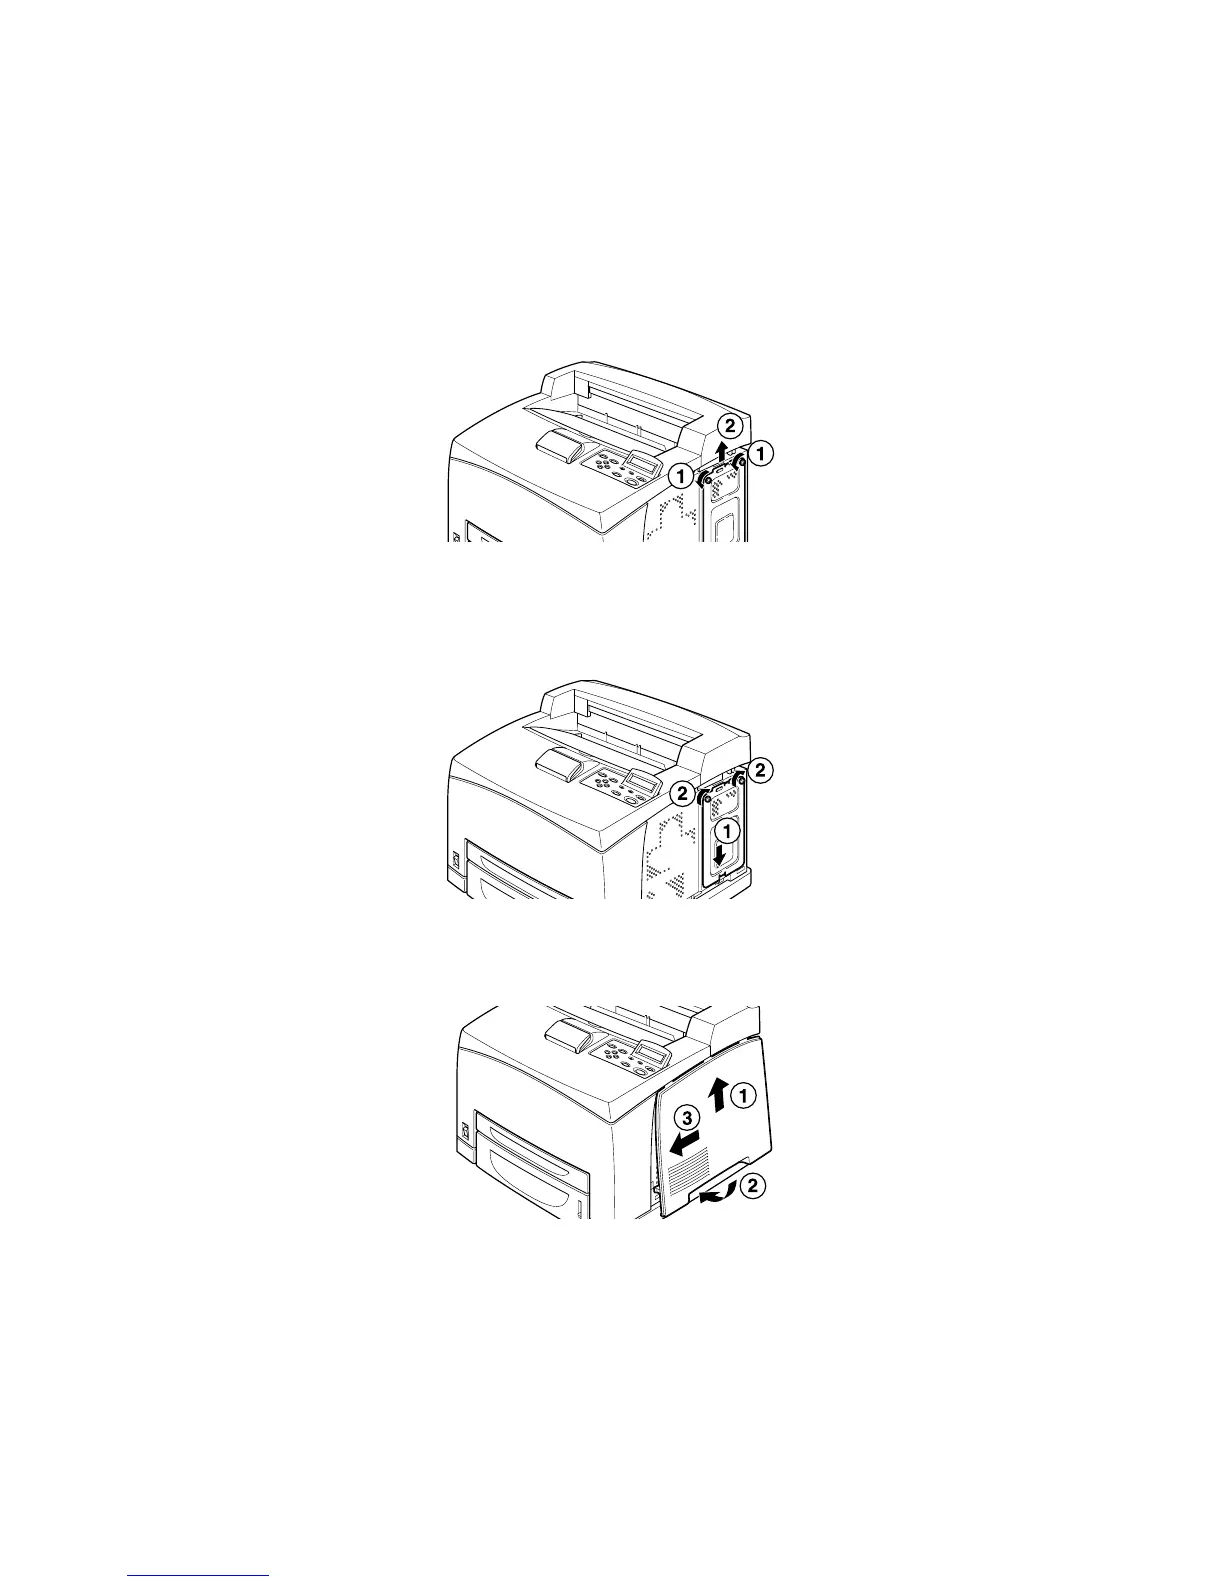
3. Remove the two screws on top of the metal cover (1), and pull the
metal cover upwards (2).
Closing the printer
1. Align and insert the protrusion at the bottom of the metal cover
into the notch of the printer (1), and tighten the two screws on the
top of the cover (2).
2. Align and insert the protrusions at the top of the right detachable
cover into the notches of the printer (1). Fit the protrusions at the
bottom of the cover into the printer (2) and slide the cover towards
the front of the printer (3).
3. Tighten the screw on the right detachable cover.

Table of Contents

Other manuals for Oki B6200 Series

Questions and Answers:

Question and Answer IconNeed help?

Do you have a question about the Oki B6200 Series and is the answer not in the manual?

Oki B6200 Series Specifications

General IconGeneral
Resolution1200 x 1200 dpi
Processor200 MHz
ConnectivityUSB 2.0, Parallel
Memory32 MB (expandable to 288 MB)
Operating Systems SupportedWindows
Print TechnologyLED

Related product manuals